Lake Shore Model 321 Autotuning Temperature Controller User’s Manual
3-18
Operation
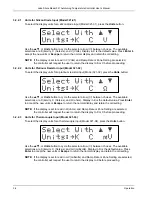
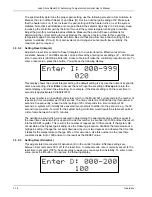
Press the
Enter
button. The Enter Setpoint display will then appear. Use the numeric keypad to enter
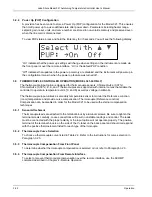
this setpoint. You should see the following display.
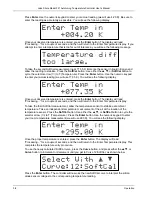
Press the
Enter
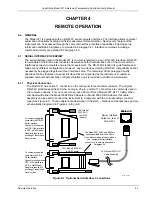
button. The Heater Range display will then appear as follows.
Use the
s
or
t
button to cycle the selector arrow (
→
) through Heater Range selections of Off, Low,
and High. For this example, we will select Low. Press the
Enter
button. The Gain (Proportional)
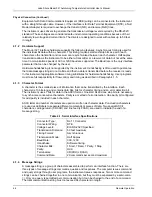
display is next as follows.
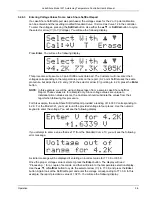
The user may select a gain setting from 000 to 999. For this example, we have entered a setting of
50. Press the
Enter
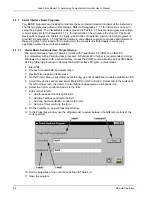
button. The Reset (Integral) display is next as follows.
The user may select a reset setting from 000 to 999. For this example, we have entered a setting of
20. Press the
Enter
button. The final entry is the Rate (Derivative) display as follows.
The user may select a rate setting from 000 to 999. For this example, we have entered a setting of
100. Press the
Enter
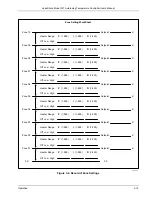
button. This completes the setting of a typical zone. Repeat this same
procedure for other zones as necessary.
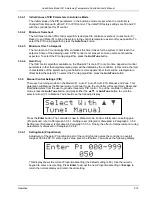
Once the number of zones required have been programmed, you need to place the controller in zone
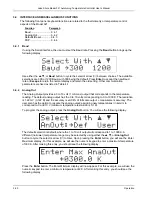
mode. To do this, press the
AutoTune
button. Use the
s
or
t
button to select Zone. Then press
Enter
to accept the new tuning mode. Once zone is turned on, the instrument will update the control
settings each time the setpoint is changed to a new zone. If the settings are changed manually, the
controller will use the new setting while it is in the same zone and update to the zone table settings
when the setpoint is hanged to a value outside that zone.

