Section 2: General operation
Model 2461 Interactive SourceMeter® Instrument Reference Manual
2-136
2461-901-01 A/November 2015
Setting up the Histogram
To set up the Histogram:
1. Press the
MENU
key.
2. In the View menu, select
Histogram
.
3. Select the
Data
tab.
4. Select the
Bin Buffer
. This reading buffer contains the data that is binned.
5. Select the
Scale
tab.
6. Set the
Minimum Boundary
to the lowest value of data to be binned. Any data below this value
is binned in the low outlier bin.
7. Set the
Maximum Boundary
to the highest value of data to be binned. Any data above this value
is binned in the high outlier bin.
8. Set the
Number of Bins
to the bins in which to group the data. Two additional outlier bins are
added to the number of bins to capture data that is outside the specified boundaries.
9. In most cases, set Method to
SmartScale
. SmartScale selects either the Auto Bin or Fit method –
whichever is most appropriate.
Fit
adjusts the y-axis so that the tops of all bins are visible;
Auto
Bin
redistributes the data evenly in the bins based on present minimum and maximum
boundaries.
You can pinch and zoom to change the scale of data. When you adjust the data on the screen, Auto
Scale is turned off. You can turn it on in the Scale tab.
10. To clear the Histogram, on the Data tab, select Clear Buffer. This clears the data from the
selected reading buffer and the statistics for the buffer, which in turn clears the Histogram.
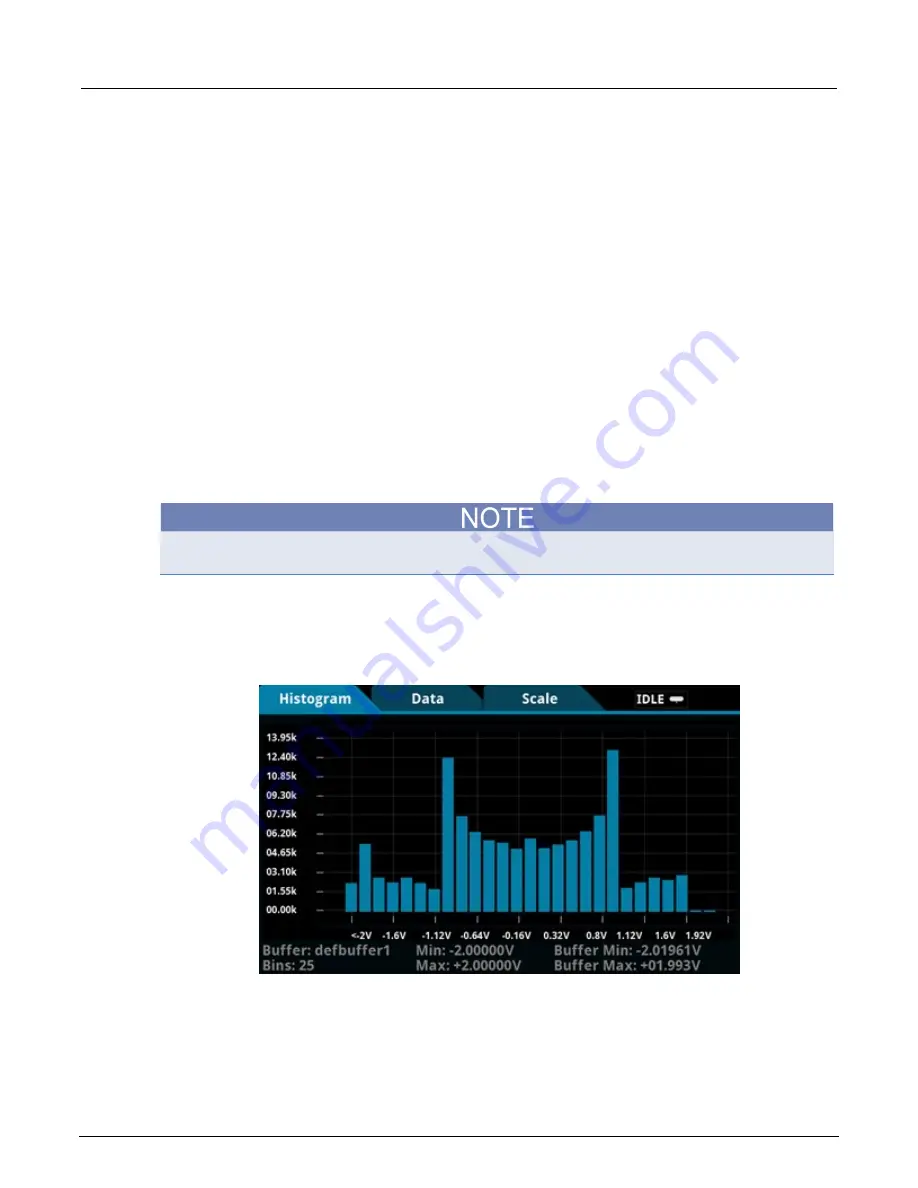
An example of a histogram tab set for 25 bins is shown in the following figure.
Figure 82: Model 2461 Histogram


