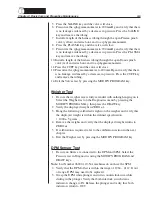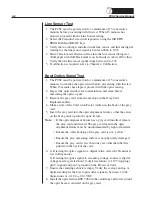
5. Insert the gray card into the optic alignment fixture so that the arrow
on the back points up into the optic fixture.
Note:
• If the optic alignment fixture has a gray card installed, remove
the gray card and discard. The gray card used in the optic
alignment fixture must be uncontaminated by light or material.
• Ensure the white backing of the gray card is not “yellow.”
• Ensure the gray measuring surface is not physically damaged.
• Ensure the gray card is less than one year older than the date
printed on the back of the card.
6. a) If adjusting the optics gain to a digital value, select the Transducer
test in Diagnostics.
b) If adjusting the optics gain to an analog voltage, connect a digital
voltage meter, (greater than 3½ digit resolution), to J105 (top plug)
pin 9 (signal) and pin 5 (ground) on the Processor Card.
7. Install the optics fixture ETD 5060 in the centrifuge and rotate it until
the optic beam is reflecting off the aiming dot on the fixture.
8. If the optic beam is not centered on the fixture aiming dot, loosen the
optic assembly, but leave snug with the (4) 4-40 keps nuts that secure
the optic assembly to the centrifuge. Slide the optic assembly up or
down, until the optic beam is centered on the dot, and tighten the keps
nuts.
9. Rotate the optic fixture until the optic beam is centered on the gray
card.
10. Close the centrifuge cover to allow the cover’s bowl collars to lock
around the optics fixture’s square alignment tabs.
11. Use the Correction Factor printed on the back of the gray card and the
formula below to calculate the optic gain to be calibrated. The PCS2
bowl optics calibration value is 2891 ± 25 digital units or +3.53 ±
0.03 VDC.
Use the following formula to determine the optic gain with Correction
Factor:
Optic
Digital Gain to be Calibrated = Correction Factor x 2891 Digital Units
or
Optic
Voltage Gain to be Calibrated = Correction Factor x 3.53 VDC
4-4
PCS2 Service Manual
Содержание PCS 2
Страница 1: ...HAEMONETICS PCS 2 Service and Maintenance Manual...
Страница 79: ...Notes 6 4 PCS2 Service Manual...
Страница 112: ...7 2 PCS2 Service Manual...


