GE
DRAFT
V
OLUSON
™ P8 / V
OLUSON
™ P6
DIRECTION 5723243, R
EVISION
6
DRAFT (M
AY
23, 2018)
B
ASIC
S
ERVICE
M
ANUAL
Chapter 8 - Replacement Procedures
8-19
15.)Wait until all processes are finished.
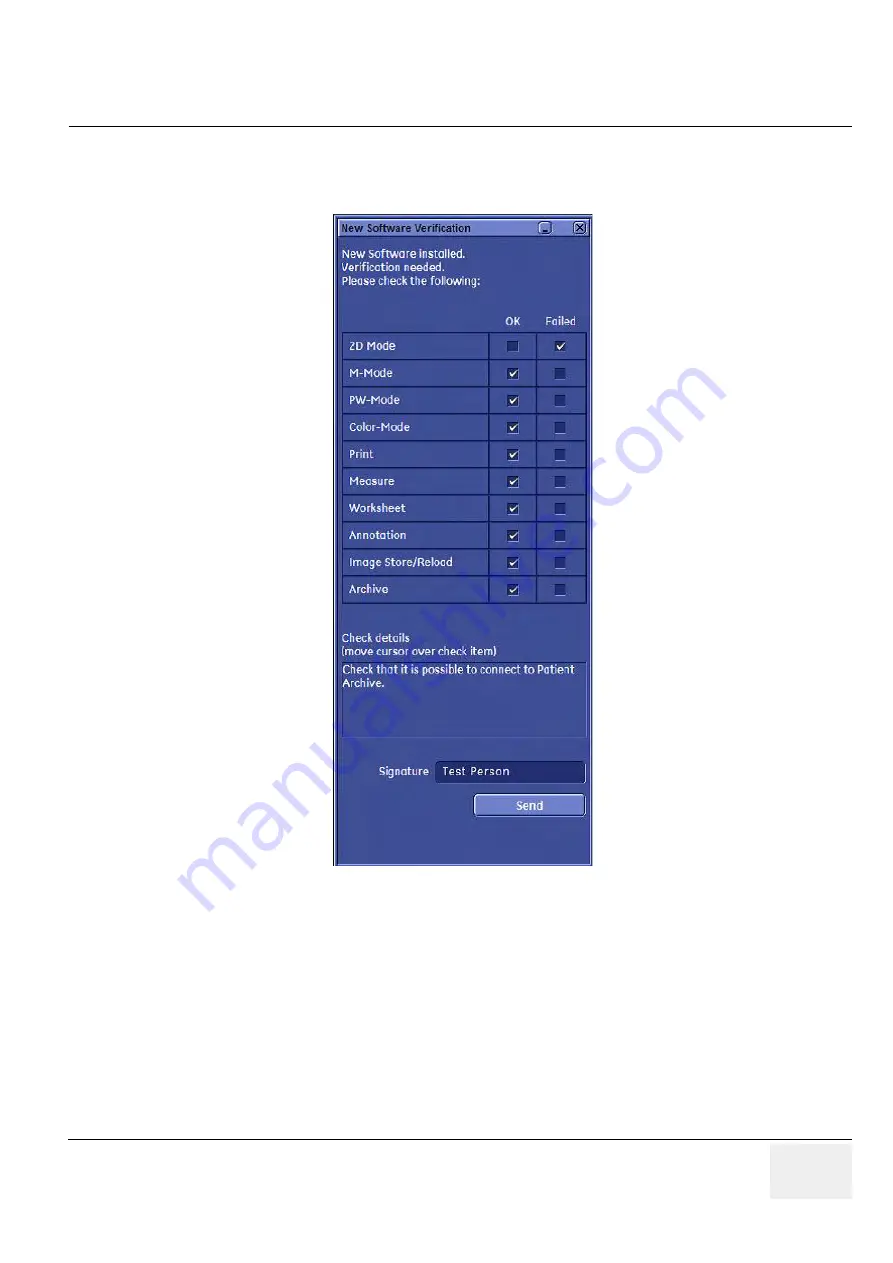
Finally the 2D screen with the "New Software Verification" report is displayed on the monitor.
16.)Reconnect the external devices, install all the printers and adjust the printer settings as described
in
Section 3-7 "Printer Installation" on page 3-32
.
17.)Check and match Printer Remote Control selection in the System Setup - Connectivity - Button
Configuration page.
18.)Confirm date and time setting in the System Setup - General Settings - General Settings page.
19.)Perform a check of all modes and features listed. (Move the cursor over the feature name to get
information how to check.)
Section 3-7 "Printer Installation" on page 3-32
.
20.)When all features are OK, enter your signature and then click Send. See
above.
NOTE:
If one feature gets "Failed", rollback the installation (restore the previously used system configuration).
For more detailed information, see Section
5-15-1-3 "Rollback" on page 5-57
Figure 8-19 New Software Verification


