GE H
EALTHCARE
O
PTIMA
XR200
AMX
/XR220
AMX
D
IRECTION
5336113-1EN, R
EVISION
10
I
NSTALLATION
M
ANUAL
Page 84
Section 4.10 Installing hardware options
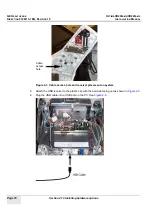
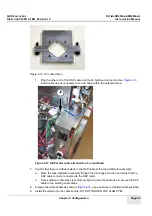
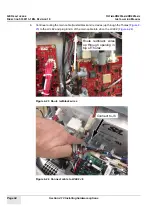
10. Mount the clamp to the Thorax chassis. Slide the clamp to the rear of the mounting screw slots.
11. Tighten the clamp around the cable bundle, ensuring that the cables are not pinched by the
clamp.
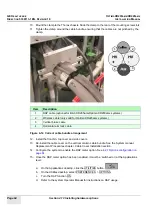
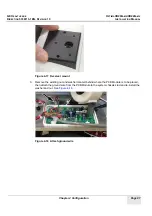
Figure 4-14 Correct cable bundle arrangement
12. Install the front bin, top cover and side covers.
13. Re-install the cable cover on the vertical column cable bundle. See the System manual,
Replacement Procedures chapter, Cable Cover Installation section.
14. Configure the system to enable the DAP meter option. See
4.2.7 Options configuration on
15. Once the DAP meter option has been enabled, it must be ’switched on’ at the Applications
level:
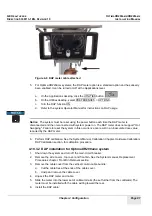
a.
On the Applications desktop, click the UTILITIES button.
b.
On the Utilities desktop, select PREFERENCES > OPTIONS.
c.
Turn the DAP function ON.
d.
Refer to the system Operator Manual for instructions on DAP usage.
Item
Description
1
DAP cable (optional for Brivo XR285amxOptima XR200amx systems)
2
Wireless cable (only valid for Optima XR220amx systems)
3
Vertical brake cable
4
Horizontal arm lock cable
1
2
C
3
4


