GE H
EALTHCARE
O
PTIMA
XR200
AMX
/XR220
AMX
D
IRECTION
5336113-1EN, R
EVISION
10
I
NSTALLATION
M
ANUAL
Chapter 5 Calibration
Page 111
Chapter 5 Calibration
This chapter explains how to calibrate the printer and configure PACS features. No other
calibrations are required during system installation. The unit has been fully calibrated and tested
during the manufacturing process. If desired, please reference the System manual for instructions
of the various calibration processes.
Section 5.1 Saving changes
After changing, creating, or restoring calibration files, be sure to reboot the system so that the
application software can detect the file changes.
After completing the steps in this chapter, save the changes by performing a system backup. See
Chapter 3 System data and software
in the Optima XR200amx/XR220amx System Manual for
the backup procedure.
Section 5.2 Detector calibration
The detector contains a complete set of calibration files. These files are uploaded to the system
upon first tether connection. There is no need to perform any detector calibrations unless QAP fails
or the system reports incompatible detector firmware. See the System Service manual for details
related to detector calibrations.
Section 5.3 Image quality calibration
Image quality calibrations apply only to Optima XR220amx or Optima XR200amx with digital
upgrade systems.
5.3.1 Calibrating the printer
Follow this procedure to send grayscale output to the printer and to calculate compensation LUT
(look up table) for compatibility.
1.
On the Applications desktop, press the UTILITIES button.
2.
On the Utilities desktop, press LAUNCH.
3.
On the SUIF home page, press the CALIBRATION tab button.
4.
On the Calibration page, in the left folder tree, select IMAGE QUALITY > PRINTER.
5.
Press the CALIBRATION icon.
6.
In the left frame, select IMAGE QUALITY > PRINTER.
7.
Select the correct printer from the Printer Label drop-down list.
8.
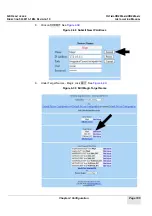
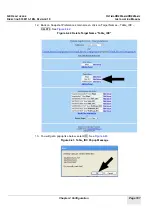
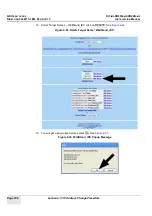
Press START and follow the on-screen instructions.

