GE H
EALTHCARE
O
PTIMA
XR200
AMX
/XR220
AMX
D
IRECTION
5336113-1EN, R
EVISION
10
I
NSTALLATION
M
ANUAL
Chapter 3 Installation
Page 49
2.
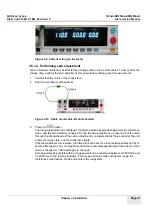
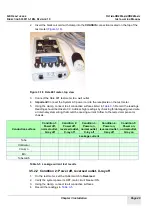
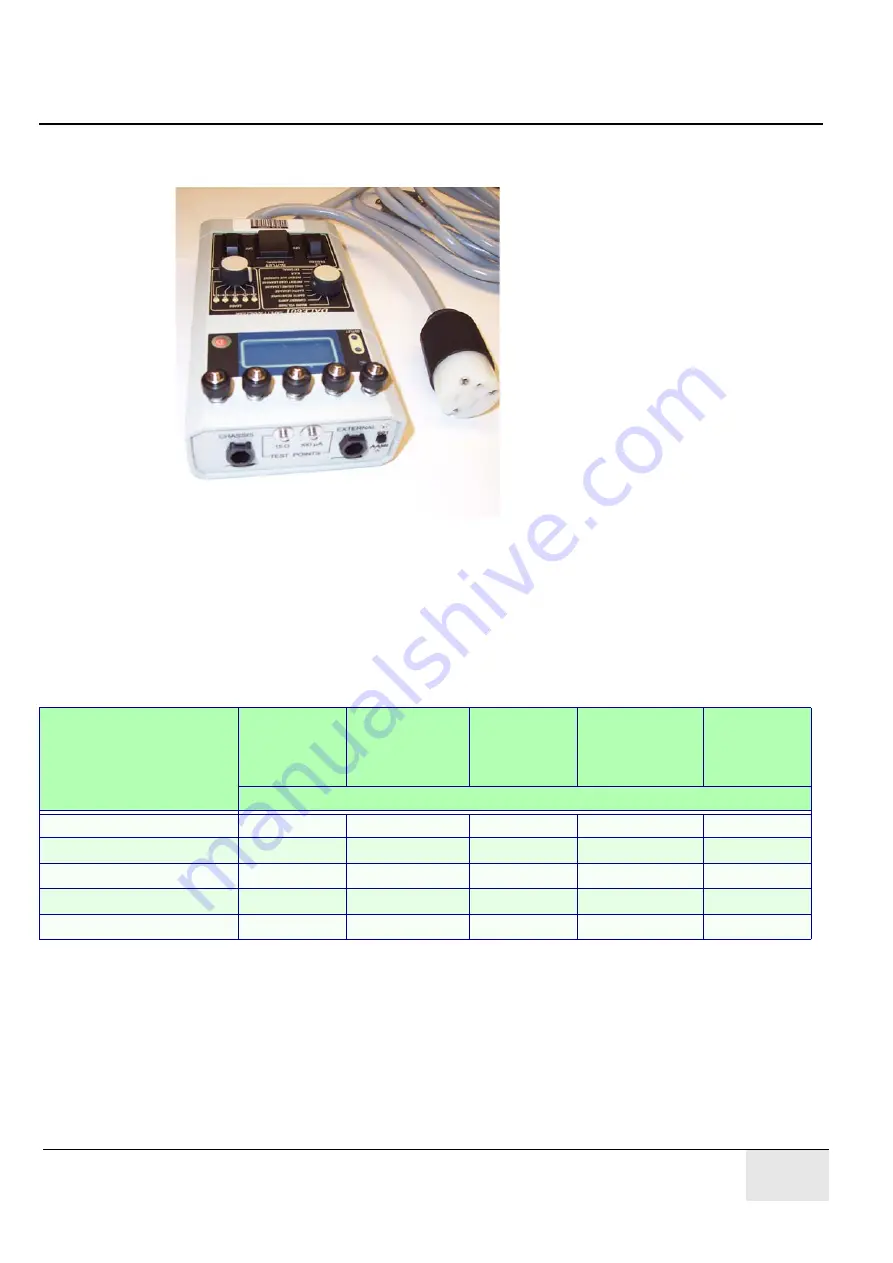
Insert the black coil cord with clamp into the
CHASSIS
connection located on the top of the
test meter (
Figure 3-18 Dale 601 meter, top view
3.
Connect the Dale 601 test meter to a wall outlet.
4.
Important!
Connect the System AC power cord to the receptacle on the test meter.
5.
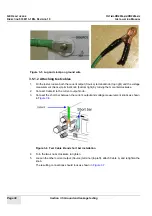
Using the clamp, connect to all conductive surfaces listed in
. Record the readings.
Readings should be close to 0.0. Address high readings by checking for damaged ground wire
or internal system wiring that could be causing current to flow to the tested component or
chassis.
Table 3-5 Leakage current test results
3.5.2.2 Condition 2: Power off, reversed outlet, X-ray off
1.
On the test meter, set the Outlet switch to
Reversed
.
2.
Verify the system power is OFF, main circuit breaker ON.
3.
Using the clamp, connect to all conductive surfaces.
4.
Record the readings in
Conductive surface
Condition 1:
Power off,
normal outlet,
X-ray off
Condition 2:
Power off,
reversed outlet,
X-ray off
Condition 3:
Power on,
normal outlet,
X-ray off
Condition 4:
Power on,
reversed outlet,
X-ray off
Condition 5:
Power on,
normal outlet,
X-ray on
Leakage current
Tube
Collimator
Column
Bin
Tube latch


