130
Upgrade and Maintenance Manual
RX2520
M1
Hard disk drives / solid state drives
Ê
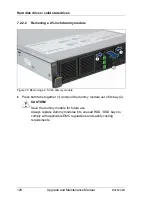
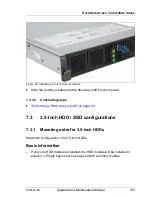
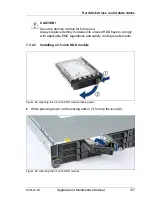
Insert the HDD module into a drive bay and carefully push back as far as it
will go (1).
Ê
Close the locking lever to lock the hard disk drive in place (2).
7.2.2.4
Concluding steps
Ê
"Performing a RAID array rebuild" on page 94
7.2.3
Removing 2.5-inch HDD / SSD modules
7.2.3.1
Preliminary steps
Ê
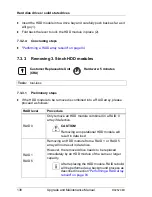
If the HDD / SSD module to be removed is combined into a RAID array,
please proceed as follows:
In order to permanently remove an operational HDD module that is part of a
RAID array from the server, you first need to delete the array using
ServerView RAID Manager or BIOS Utility.
Customer Replaceable Unit
(CRU)
Hardware: 5 minutes
Tools:
tool-less
RAID level
Procedure
RAID 0
Only remove an HDD module combined in a RAID 0 array if
defective.
V
CAUTION!
Removing an operational HDD module will result
in data loss!
RAID 1
RAID 5
Removing an HDD module from a RAID 1 or RAID 5 array
will not result in data loss.
However, the removed drive needs to be replaced
immediately by an HDD module of the same or larger
capacity.
Содержание PRIMERGY RX2520 M1
Страница 36: ...36 Upgrade and Maintenance Manual RX2520 M1 Before you start ...
Страница 120: ...120 Upgrade and Maintenance Manual RX2520 M1 Power supply units ...
Страница 162: ...162 Upgrade and Maintenance Manual RX2520 M1 Hard disk drives solid state drives ...
Страница 169: ...RX2520 M1 Upgrade and Maintenance Manual 169 System fan Figure 73 Removing the fan box Ê Remove the two screws ...
Страница 220: ...220 Upgrade and Maintenance Manual RX2520 M1 Expansion cards and backup units ...
Страница 230: ...230 Upgrade and Maintenance Manual RX2520 M1 Main memory ...
Страница 283: ...RX2520 M1 Upgrade and Maintenance Manual 283 Accessible drives Ê Enabling BitLocker functionality on page 93 ...
Страница 310: ...310 Upgrade and Maintenance Manual RX2520 M1 Accessible drives ...
Страница 410: ...410 Upgrade and Maintenance Manual RX2520 M1 Cables ...

