FloormapX System Overview
31
2.3
Assembling the FloormapX
The FloormapX is supplied and shipped in separate modules amongst two transit cases. In the on-line
learning package, a video is available in Module 7 showing how to assemble the FloormapX. To unpack
and assemble the FloormapX:
1.
Remove the scanner head from the transit case and place onto the ground, wheel touching.
2.
Loosen the brass rear attach bolts on the rear of the scanner head and unscrew all the way,
remove, and then replace so that they are supported by the spring-loaded bearing.
3.
Lift the mainframe up to vertical whilst the reposition wheels remain resting in the transit case.
4.
Attach the user control to the mainframe by sliding it down onto the guide rail and ensure the
locking plunger engages correctly.
5.
Attach the user control cable from the mainframe to the user control.
6.
Lift the mainframe out of the transit case and place the reposition wheels on the floor.
7.
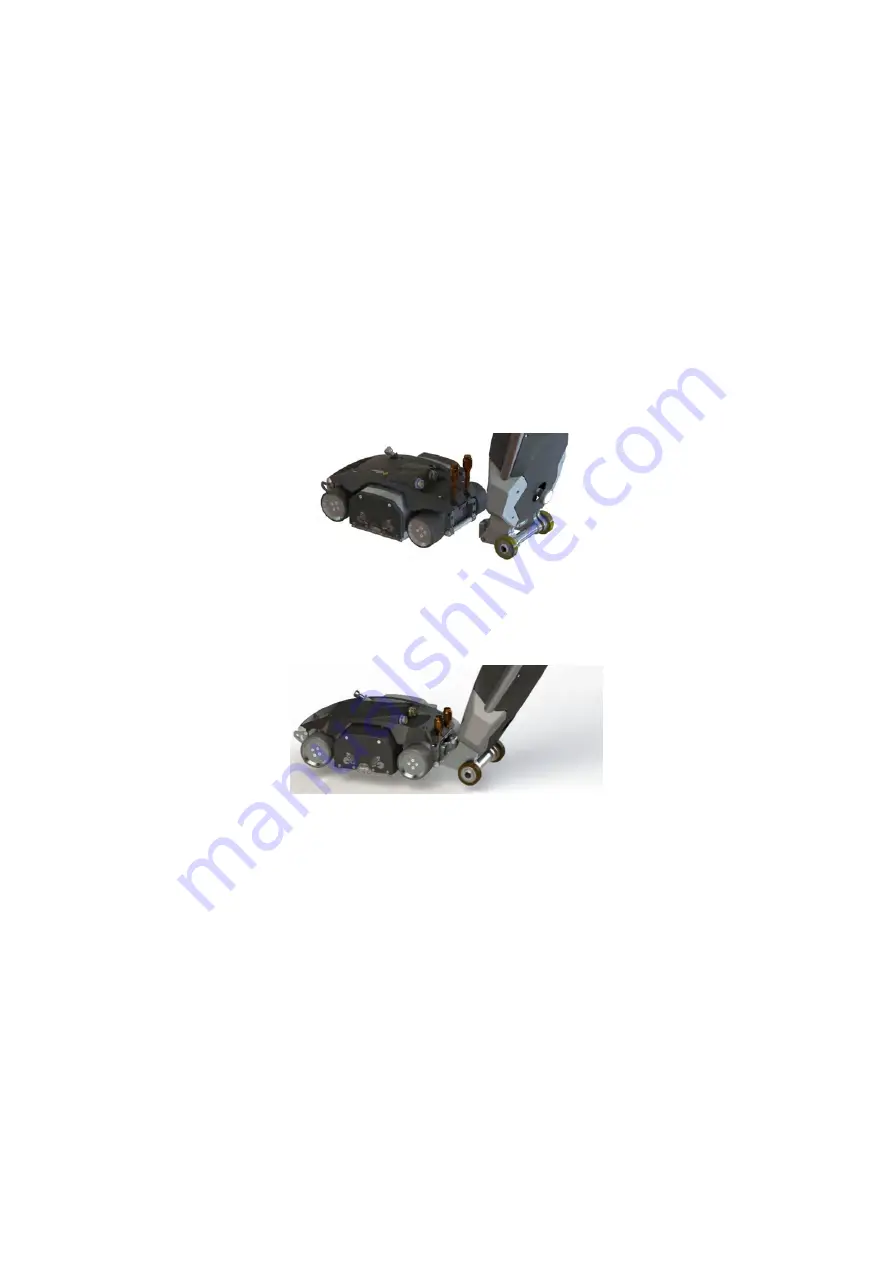
Wheel the mainframe to the scanner head rear attach mechanism.
Figure 20: Offering the mainframe to the scanning head
8.
With a foot placed in front of the scanner head to stop it rolling, engage the mainframe rear
attach mechanism into the scanner head rear attach mechanism. Press down on the brass rear
attach bolts to engage them then screw down fully before letting go of the mainframe.
Figure 21: Engaging the mainframe with the scanning head
9.
Attach the sensor cable with blue identifying rings to the matching color-coded ports on the
scanner head and mainframe.
IMPORTANT
Ensure cable connectors are correctly mated to avoid damage to connector pins.
10.
Attach the motorization cable with orange identifying rings to the matching color-coded ports
on the scanner head and mainframe.
IMPORTANT
Ensure cable connectors are correctly mated to avoid damage to connector pins.
11.
Loosen the docking angle adjustor knob and set the angle of the tablet to the desired position
and retighten the locking knob.
NOTE
The docking angle adjustor knob only needs to be turned a few times to disengage the locking
teeth. It is not necessary to remove it from the system completely.
Содержание Floormap X
Страница 1: ...User s Manual Floormap X MFL Array Tank Floor Inspection Solution...
Страница 10: ...10 Chapter 1 Precautions and conventions...
Страница 16: ...General Precautions and Conventions 16 1 5 EU Declaration of Conformity...
Страница 19: ...19 Chapter 2 FloormapX System Overview...
Страница 35: ...35 Chapter 3 Inspection Preparation Setup and Operation...
Страница 43: ...43 Chapter 4 SIMS GO Data Acquisition Software...
Страница 69: ...69 Chapter 5 SIMS PRO...
Страница 98: ...98 Chapter 6 Troubleshooting and Maintenance...


