Editing System Date and Time Settings
To modify the default time and date settings for your DR Series system, complete the following:
1.
Select System Configuration
→
Date and Time.
The Date and Time page is displayed.
2.
Click Edit on the options bar.
The Edit Date and Time dialog is displayed.
NOTE: If the DR Series system is joined to a Microsoft Active Directory Services (ADS) domain, the Edit
option will be disabled (grayed out) and the Mode, Time Zone, or Date and Time values cannot be changed in
the Settings pane. This is because whenever a DR Series system is joined to a domain, the Network Time
Protocol (NTP) is disabled and the DR Series system uses the domain-based time service. NTP is used in the
Mode setting when the DR Series system is part of a workgroup and not joined to a domain. To be able to
modify or edit any of the Settings pane values when the DR Series system is joined to an ADS domain, you
would first need to leave the ADS domain before you could modify any of the date and time settings. For more
information, see
Configuring Active Directory Settings
.
3.
In Mode, select either Manual or NTP.
If you select Manual, continue on with the tasks in step 3.
If you select NTP, skip to step 4.
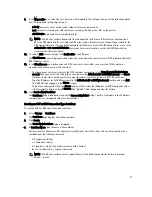
a) Select Manual.
The Edit Date and Time dialog is displayed.
b) Click the Time Zone drop-down list and choose the desired time zone.
c) Click the Calendar icon (adjacent to Set Date and Time), and select the desired day in the month (the system
prevents the selection of unsupported days).
d) Adjust the Hour and Minute sliders to the desired time (or click Now to set the date and time to be the current
date and time in hours and minutes).
a) Click Done.
The Edit Date and Time dialog is displayed with your new settings.
4.
Select NTP.
The Edit Date and Time dialog is displayed.
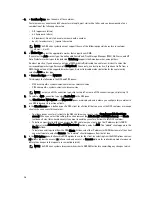
– Click the Time Zone drop-down list and select the desired time.
– Edit or revise the NTP servers as desired (you are limited to selecting only three NTP servers).
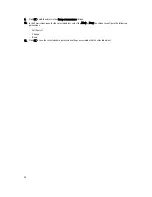
5.
Click Submit (or click Cancel).
The Date and Time page is displayed, and an Enabled NTP service dialog is displayed when successful (and this
was your selected mode).
Creating Containers
After initialization, the DR Series system contains a single default container named backup. Containers function like a
shared file system, which can be assigned a connection type of None (to be defined later), NFS/CIFS, or RDA (includes
both OST and RDS clients). Containers can then be accessed using NFS, CIFS, or RDA.
If needed, you can also create additional system containers for storing your data. For more information about creating a
storage container or specific connection type containers, see
Creating Storage Containers
,
Creating an NSF or CIFS
Connection Type Container
, or
Creating an OST or RDS Connection Type Container
.
82
Содержание DR series
Страница 1: ...Dell DR Series System Administrator Guide ...
Страница 10: ...10 ...
Страница 34: ...34 ...
Страница 138: ...138 ...
Страница 160: ...160 ...

