5-20 Control Wiring
MN766
a. If the homing speed is increased, the homing offset may also need to be increased to avoid the motor reversing
direction to reach the home position. The Home Offset is actually the counts the motor travels to stop after the home
switch is found.
b. During the offset positioning portion of the homing move, Preset Speed 1 and ACC/DEC Group 1 are used.
c. If homing is triggered during a move, the drive enters speed mode, attains homing speed using ACC/DEC Group 1,
then completes the homing normally.
8. Another home sequence can be performed while at the home position by opening and closing J2-11.
5.5.15 Pulse Follower
Provides electronic gearing of two or more controls from an upstream pulse reference. This mode requires expansion board
EXBHH007 and its operation is described in MN755.
5.5.16 PLC
Provides control from a PLC device (Programmable Logic Control) as described in Chapter 10 of this manual. Preset speeds
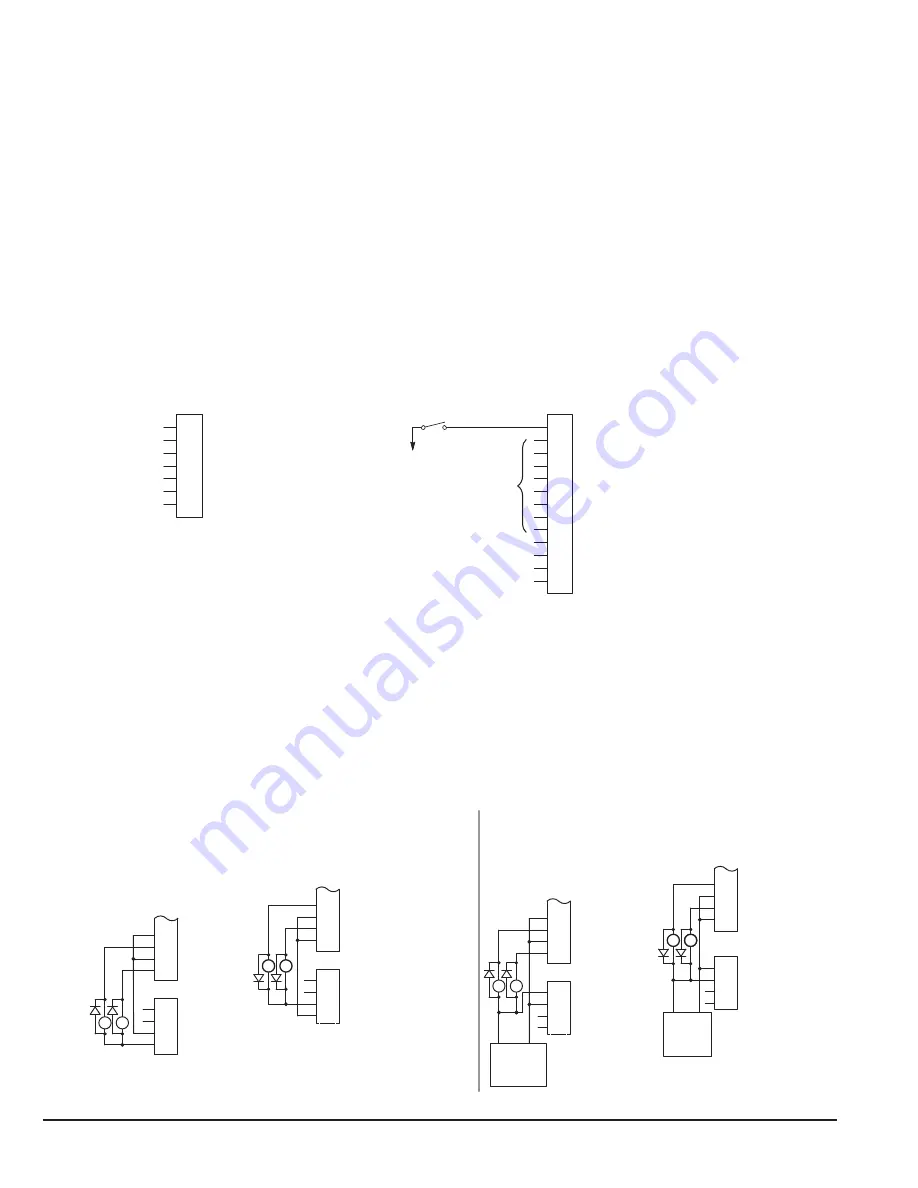
are set in software. The opto inputs can be switches as shown in Figure 5-20 or logic signals from another device.
Figure 5-19 PLC Connection Diagram
1
2
3
4
5
6
7
Enable
J2
Digital Output 1 + (Collector)
Digital Output 1 - (Emitter)
Digital Output 2 + (Collector)
Digital Output 2 - (Emitter)
Digital Input 1
Digital Input 2
Digital Input 3
Digital Input 4
Digital Input 5
Digital Input 6
Digital Input 7
Digital Input 8
8
17
9
10
11
12
13
14
15
16
18
19
20
Enable
See recommended tightening torques in Table A-2.
*
Optional
Inputs
J1
User Analog Return
Analog Input 1
Analog Ref. Power +
Analog Input 2 +
Analog Input 2 -
Analog Output 1
Analog Output 2
See Figure 5-4 for
connection information.
*Note: Remove factory jumper from J2-8 and J3-24 before connecting switch at J2-8.
One input must be a direction
input (FWD or REV).
5.6 Digital Outputs
Digital Outputs 1 and 2 are opto-isolated. Internal supply or a customer provided external power source may be used as
shown in Figure 5-21. The maximum voltage from Digital Output to common when active is 1.0 VDC.
If the Digital Outputs are used to directly drive a relay, a fl yback diode rated at 1A, 100V (IN4002 or equivalent) minimum
should be connected across the relay coil. See Figure 5-21. Each opto output is programmed in the Output programming
block.
Figure 5-20 Digital Output Power Connections
Note:
Digital Outputs are rated to 24VDC @ 60mA resistive (non-inductive).
Sinking Current Connections
Sourcing Current Connections
Internally Supplied 24VDC
Externally Supplied 24VDC
Sinking Current Connections
Sourcing Current Connections
See recommended tightening torques in Table A-2.
J2
Digital Output 1 +
Digital Output 1 -
Digital Output 2 +
Digital Output 2 -
21
J3
Internal 24V Return
22
23
24
17
18
19
20
Out1
Out2
External User Return
External User +24V
In24V
User
24VDC
+
21
22
23
24
19
23
External User Return
External User +24V
In24V
Internal 24V Return
J2
17 Digital Output 1 + (Collector)
Digital Output 1 - (Emitter)
Digital Output 2 + (Collector)
Digital Output 2 - (Emitter)
18
19
20
21
J3
22
Out1
Out2
24
J2
Digital Output 1 +
Digital Output 1 -
Digital Output 2 +
Digital Output 2 -
21
J3
22
23
24
17
18
19
20
Out1
Out2
External User Return
External User +24V
In24V
Internal 24V Return
User
24VDC
+
J2
Digital Output 1 +
Digital Output 1 -
Digital Output 2 +
Digital Output 2 -
J3
Internal 24V Return
17
18
20
Out1
Out2
External User Return
External User +24V
In24V
Содержание VS1SD
Страница 1: ...05 13 Installation Operating Manual MN766 VS1SD AC Servo Control...
Страница 12: ...2 2 General Information MN766...
Страница 16: ...3 4 Installing the Drive MN766...
Страница 108: ...7 34 Parameter Descriptions MN766...
Страница 114: ...8 6 Customizing Your Application MN766...
Страница 128: ...9 14 Troubleshooting MN766...
Страница 154: ...12 12 Monitor and RTC Description MN766...
Страница 188: ...E 2 Remote Keypad Mounting Template MN766...


