Working with System Files
37
NetLinx Studio - Instruction Manual
Adding a File to a System
When a file is added to a System, the file is always added to the selected (highlighted) System (in the Workspace tab of
the Workspace Bar), and it is always automatically added to the appropriate System File folder, based on file type.
1.
Select (highlight) the System to which you want to add the file.
2.
Select
Add File to System
from the Project menu to open the
Add Existing File
dialog.
3.
In the
Existing
tab, locate and select the file to add to the selected System.
Use the
Recent
tab to quickly locate and select recently used files.
4.
Click
Open
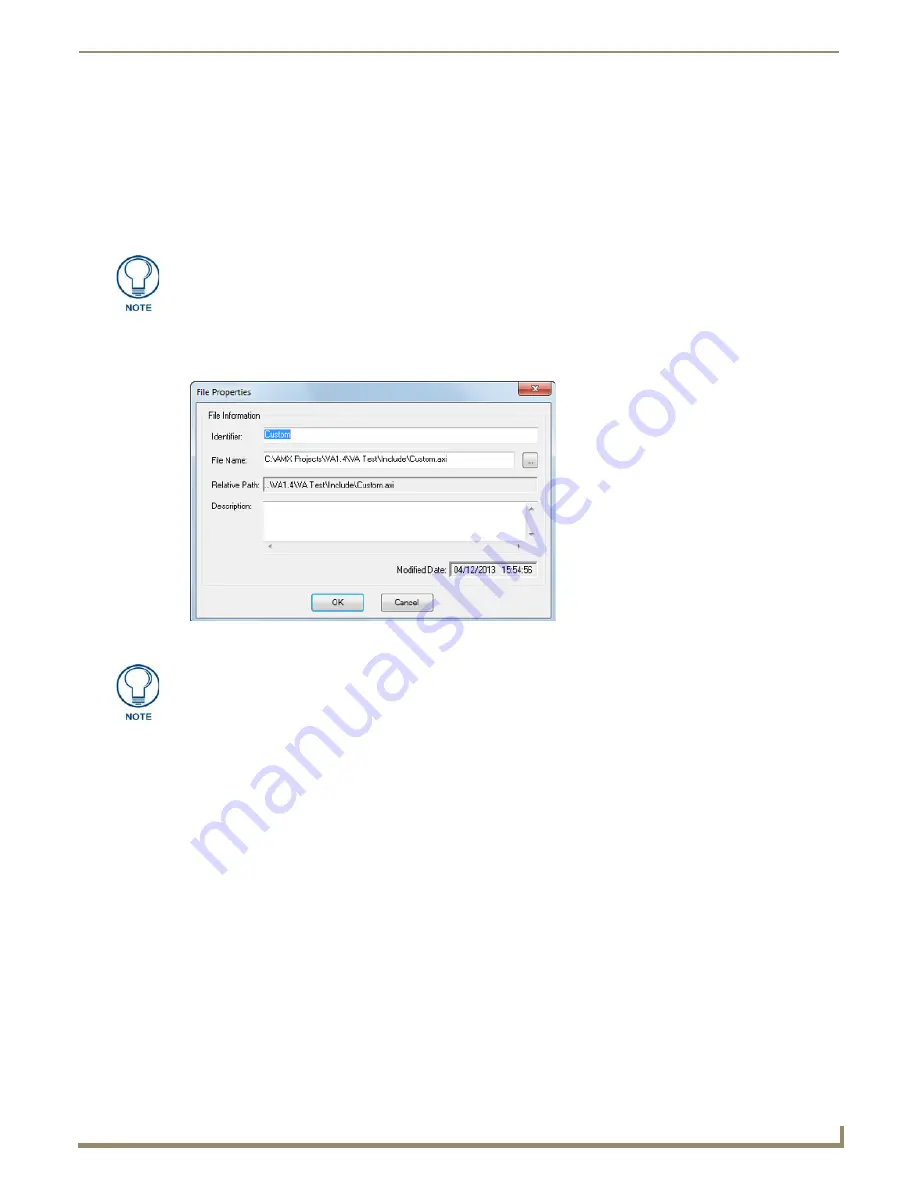
to access the
File Properties
dialog, where you can view/edit general file information for the selected
file (FIG. 57).
5.
Edit the file information (if necessary).
6.
If the file you are adding is to be used as the Master Source Code file, check the
Master File
option.
7.
Click
OK
to add the file to the selected System.
Alternatively, you can drag and drop files into a System in the Workspace Bar from Windows Explorer or from the Find
In Files/Find IR Files tabs of the Output Bar. See the
Drag and Drop Files into a System
section on page 33 for details.
Removing a File from a System
Since all files are linked in NetLinx Studio, when you remove a file from a System, the file is not deleted from the disk,
only removed from the System. If the same file is used in multiple Systems in the open Workspace, the
Remove File
from System
option only removes the file from the selected System (as opposed to all instances of the file in the
Workspace).
1.
Click to select (highlight) the file that you want to remove.
2.
Select
Remove File From System
from the Project menu.
3.
The program prompts you to verify this action (FIG. 58).
By default, the Files of Type option is set to look for Source (.axs) files. Change this
option to look for the desired file type if necessary.
FIG. 57
File Properties dialog
If you select multiple files to add to the System, the program will prompt you to edit
the file properties for each file before adding them.
Содержание NetLinx Studio
Страница 40: ...Working with Projects 28 NetLinx Studio Instruction Manual...
Страница 148: ...Communication Settings 136 NetLinx Studio Instruction Manual...
Страница 160: ...Working with Online Devices 148 NetLinx Studio Instruction Manual...
Страница 178: ...File Transfer Operations 166 NetLinx Studio Instruction Manual...
Страница 208: ...Tools Menu Options 196 NetLinx Studio Instruction Manual...
Страница 229: ...Setting Program Preferences 217 NetLinx Studio Instruction Manual...


