


Working with Projects
25
NetLinx Studio - Instruction Manual
Working with Projects
Overview
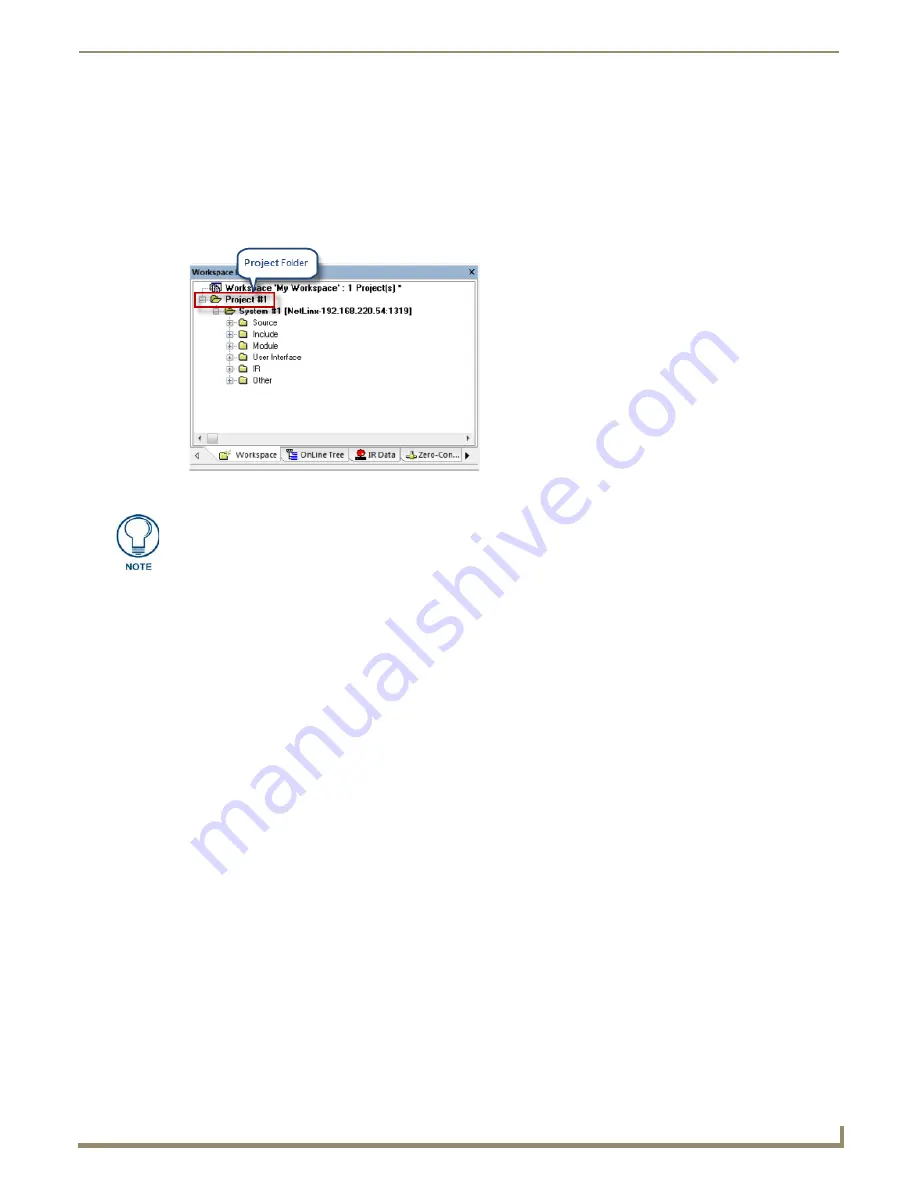
A Project in NetLinx Studio contains one or more Systems. Projects are represented by Project folders in the Workspace
tab (FIG. 42).
Opening Projects
In NetLinx Studio, Projects are always contained within a Workspace. So, rather than opening a Project directly you
must open the
Workspace
containing the Project you want to work on. See the
Opening Workspace Files
section on
page 19.
Adding an Existing Project to the Workspace
There are several ways to add a Project to the open Workspace:
Import an existing Project (see
Importing Projects into a Workspace
section on page 19)
Create a new Project, and import it into the Workspace (see below).
Paste a Project from another Workspace (see the
Copying and Pasting Projects
section on page 26)
Creating a New Project
To create a Project, you must first open or create a Workspace file. When you create a Project, it is automatically added
to the open Workspace:
1.
Select
New Project
from the Project menu to open the
New Project Properties
dialog (FIG. 43).
FIG. 42
Workspace Bar - Workspace tab - Project Folder
Note: You can copy and paste Projects within the Workspace to create several similar
Projects, and modify each one as necessary.
Содержание NetLinx Studio
Страница 40: ...Working with Projects 28 NetLinx Studio Instruction Manual...
Страница 148: ...Communication Settings 136 NetLinx Studio Instruction Manual...
Страница 160: ...Working with Online Devices 148 NetLinx Studio Instruction Manual...
Страница 178: ...File Transfer Operations 166 NetLinx Studio Instruction Manual...
Страница 208: ...Tools Menu Options 196 NetLinx Studio Instruction Manual...
Страница 229: ...Setting Program Preferences 217 NetLinx Studio Instruction Manual...


