Lightsheet Z.1
Carl Zeiss
02/2013
000000-1790-528
49
If you plan to exchange the reflector turret
for emission selection on a regular basis, it
can be helpful to create two databases, one
for each reflector turret. To do so, copy the
original database with a different name (you
find it in the directory: C:\ZEN\database) and
modify it with the Configuration Tool
accordingly. Name both databases, to easily
identify them. When ZEN is started open the
Boot Status
with the black arrow and then
the
Hardware configuration database
the
same way (Fig. 7). Here you can choose
which database to use. The
Recent…
button
shows all databases that have been used
lately. The
Choose…
button opens a
window explorer window which allows one
to search for a database to use.
3.11
Removing and Inserting the Reflector Turret for Laser Blocking Filter
To remove the reflector turret for laser blocking filter (Fig. 40/
7
), first open the upper rear system door
4
). Beneath this is an additional cover plate (Fig. 40/
3
) on which the knurled screws left and right
1
) can be loosened manually to lift off the cover by the black grip (Fig. 40/
2
).
Turn the silver-colored lever (Fig. 40/
5
) and pull the grip (Fig. 40/
9
and
8
) upwards to release the reflector
turret.
To insert the reflector turret, slide it down using the guide rail (Fig. 40/
6
) as far as it will go and return the
silver-colored lever to its original position. Place the cover over the opening and tighten the knurled
screws carefully but without force. Close the upper rear system door.
When the knurled screws are opened, the laser beam will be deactivated by the safety control. In
the event that no laser beam appears after replacing the filter wheel, check the knurled screws.
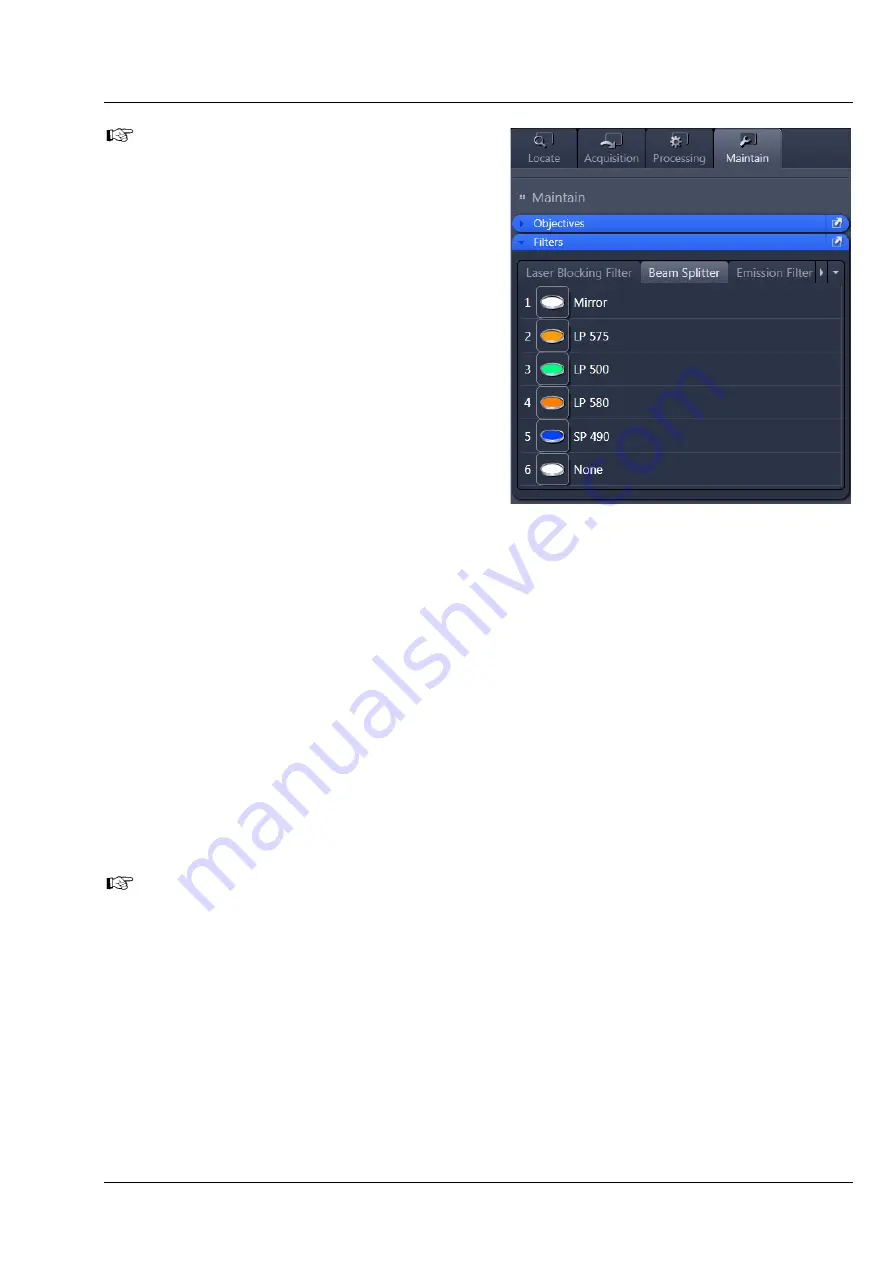
Fig. 39
ZEN Software, Maintain tab, Filters
tool window
Summary of Contents for Lightsheet Z.1
Page 1: ...Lightsheet Z 1 Operating Manual February 2013 ZEN 2012 black edition ...
Page 4: ......
Page 170: ......
Page 427: ...Lightsheet Z 1 Overview ...


