Carl Zeiss
Lightsheet Z.1
16
000000-1790-528
02/2013
After pressing the
Automatic Detector Alignment
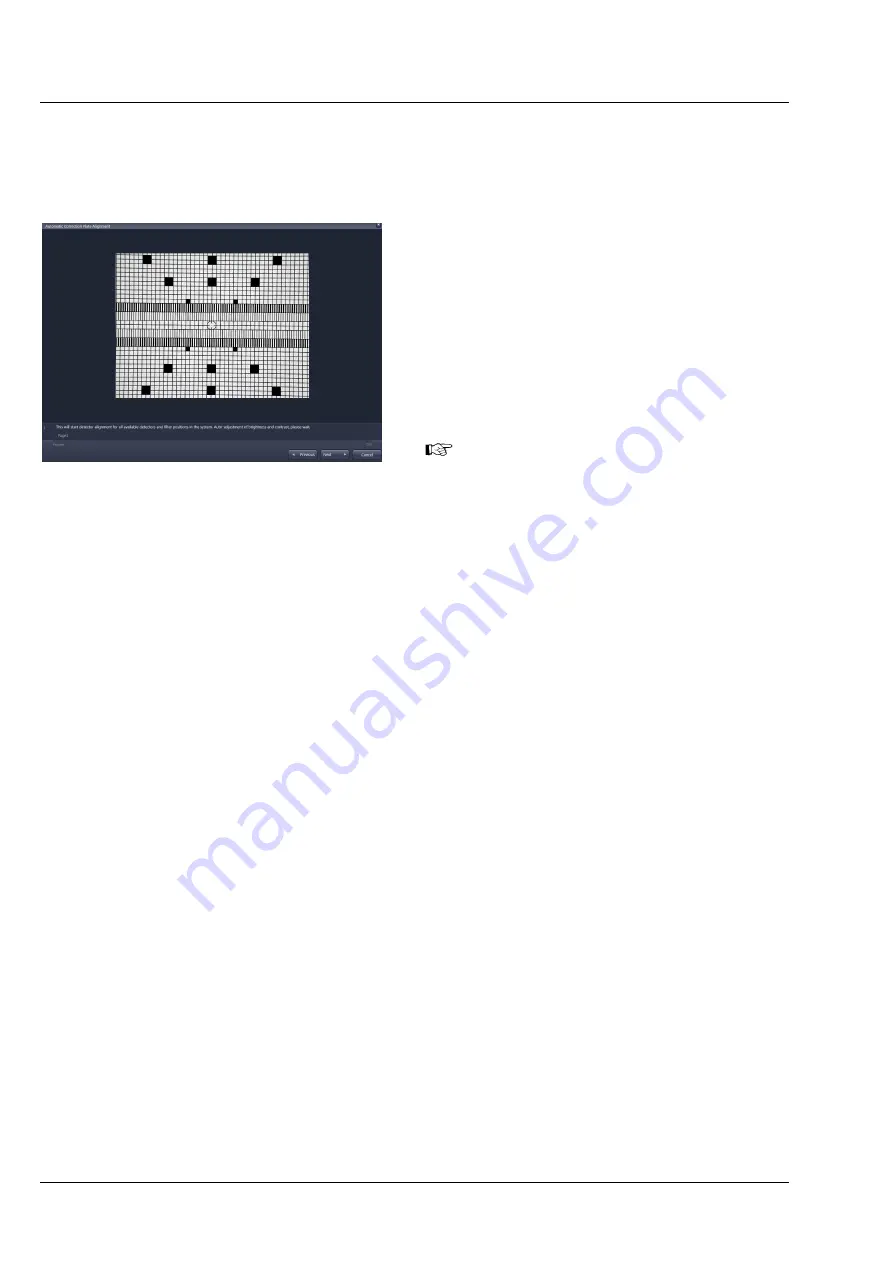
button, a wizard window (Fig. 8) will open that
guides you through the process. Press the
Next
button after each step to continue or the
Previous
button to move one step back. If you press
Cancel
you will abort the process without saving any results.
The first step (Fig. 8) automatically positions the
necessary grating into the light path and adjusts
brightness and contrast. A progress bar is present
in the lower part of the window. You can follow
the process in the displayed live image. You find
the following text below the live image:
“This will start detector alignment for all available
detectors and filter positions in the system. Auto-
adjustment of brightness and contrast, please
wait.”
If the live image of the grating shows the
grid pattern out-of-focus, cancel the
Automatic Camera Alignment wizard and
first manually adjust the focus of the grating.
The necessary steps are described in section
3.2.3 Adjust the Grating Focus for the
Automatic or Manual Detector
In Step 2 the movement of the correction plates is calibrated for both channels. There is no interaction
needed. Press the
Next
button to continue after the task is done. The following text is displayed:
“Calibration of correction plate movement, please wait.”
In Step 3 the zoom center is determined. A graphic of the grating is displayed at the left hand side of the
window (Fig. 9). Two squares are labeled with white crosses in this image. On the right hand side, a live
image of the grating is shown. Now mark the same squares as shown in the graphic in the live image by
simply clicking on them with the left mouse button. This will be repeated for a second zoom step. The
following text will be shown:
“Determining the detector center. Please click on the two squares in the
right live image of the grid that are shown with the white cross within the left image display. Repeat for
both zoom settings, then continue.”
Fig. 8
Automatic Detector Alignment, first
step
Summary of Contents for Lightsheet Z.1
Page 1: ...Lightsheet Z 1 Operating Manual February 2013 ZEN 2012 black edition ...
Page 4: ......
Page 170: ......
Page 427: ...Lightsheet Z 1 Overview ...


