4-16
Keypad controls and menus
Negative values move the image down on the label (out away from the
printer). Positive values move the image up the label (in toward the
printer).
4
Press the SELECT key to confirm your choice.
Note:
Setting the offset via software will always override this setting. You
can set the offset via Color QuickLabel 99 Pro or the QuickLabel Systems
Windows Printer driver.
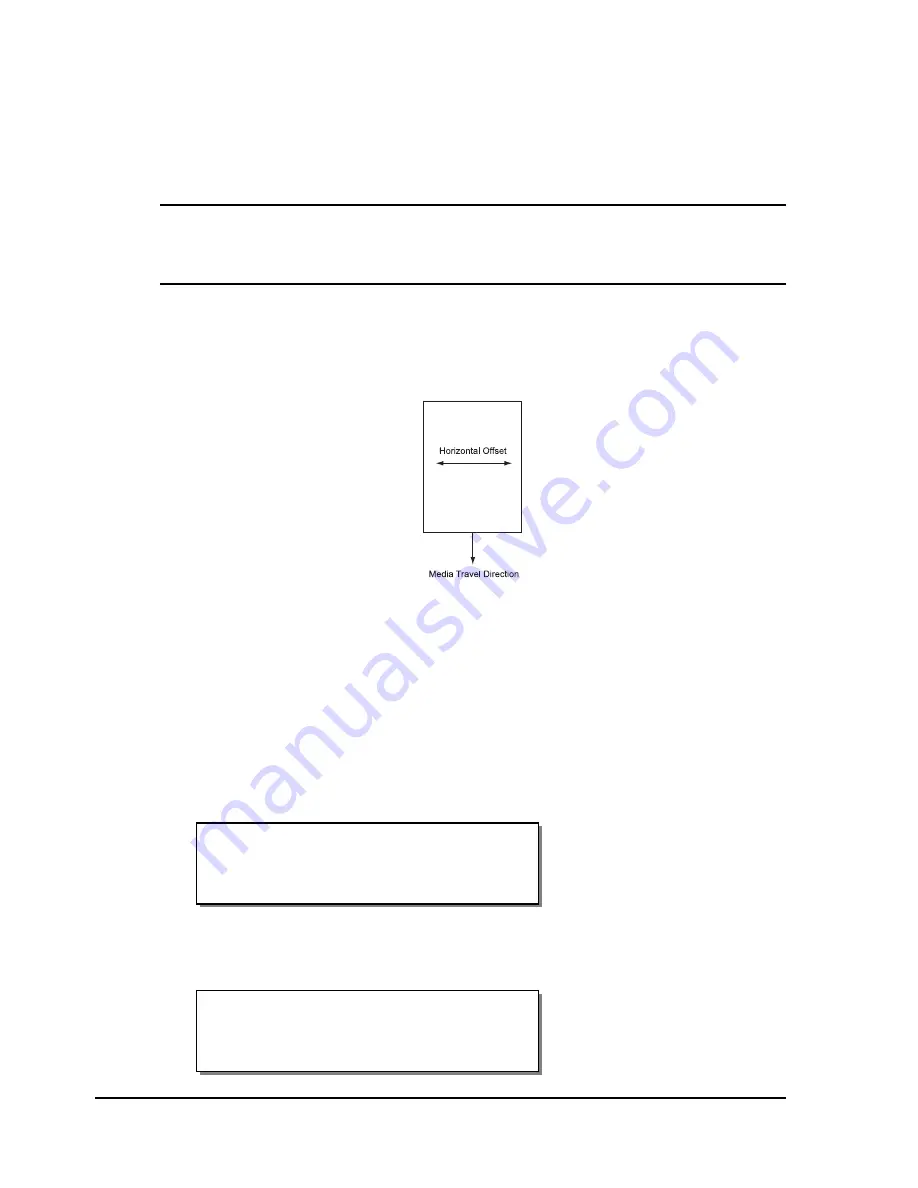
Horizontal Offset
You can horizontally adjust the print registration in fine increments to move
the printed image.
Adjusting the horizontal offset affects each of the four print stations at the
same time. To adjust the print stations individually, refer to the section on
cross web adjustments.
To set the horizontal offset via the front panel:
1
If the printer is in a Ready state, proceed to the next step.
If the printer is in a Pause state, press the NEXT or PREVIOUS key until
the Adjust menu is displayed. Then press the SELECT key.
2
Press the NEXT or PREVIOUS key until the Horizontal Offset menu is
displayed.
Horizontal
Offset = < 16
Pause: Adjust
Press SELECT
Summary of Contents for QLS-8100XE
Page 2: ......
Page 14: ...1 4 Quick start ...
Page 19: ...QLS 8100 Xe 2 5 Side view ...
Page 46: ...3 14 Loading media and calibration ...
Page 149: ...QLS 8100 Xe A 1 Appendix A Physical Data ...
Page 153: ...QLS 8100 Xe B 1 Appendix B Specifications ...
Page 156: ...B 4 Specifications ...
Page 157: ...QLS 8100 Xe C 1 Appendix C Replacement Parts ...
Page 160: ...C 4 Replacement parts ...
Page 161: ...QLS 8100 Xe D 1 Appendix D Color QuickLabel 99 Pro setup ...
Page 166: ...D 6 Color QuickLabel 99 Pro setup ...
Page 167: ...QLS 8100 Xe E 1 Appendix E Windows Printer Driver Setup ...
Page 175: ...QLS 8100 Xe F 1 Appendix F Format error codes ...
Page 180: ...F 6 Format error codes ...
Page 181: ...QLS 8100 Xe G 1 Appendix G Menu Structure ...
Page 182: ...G 2 Menu Structure ...


