QLS-8100 Xe
D-3
4
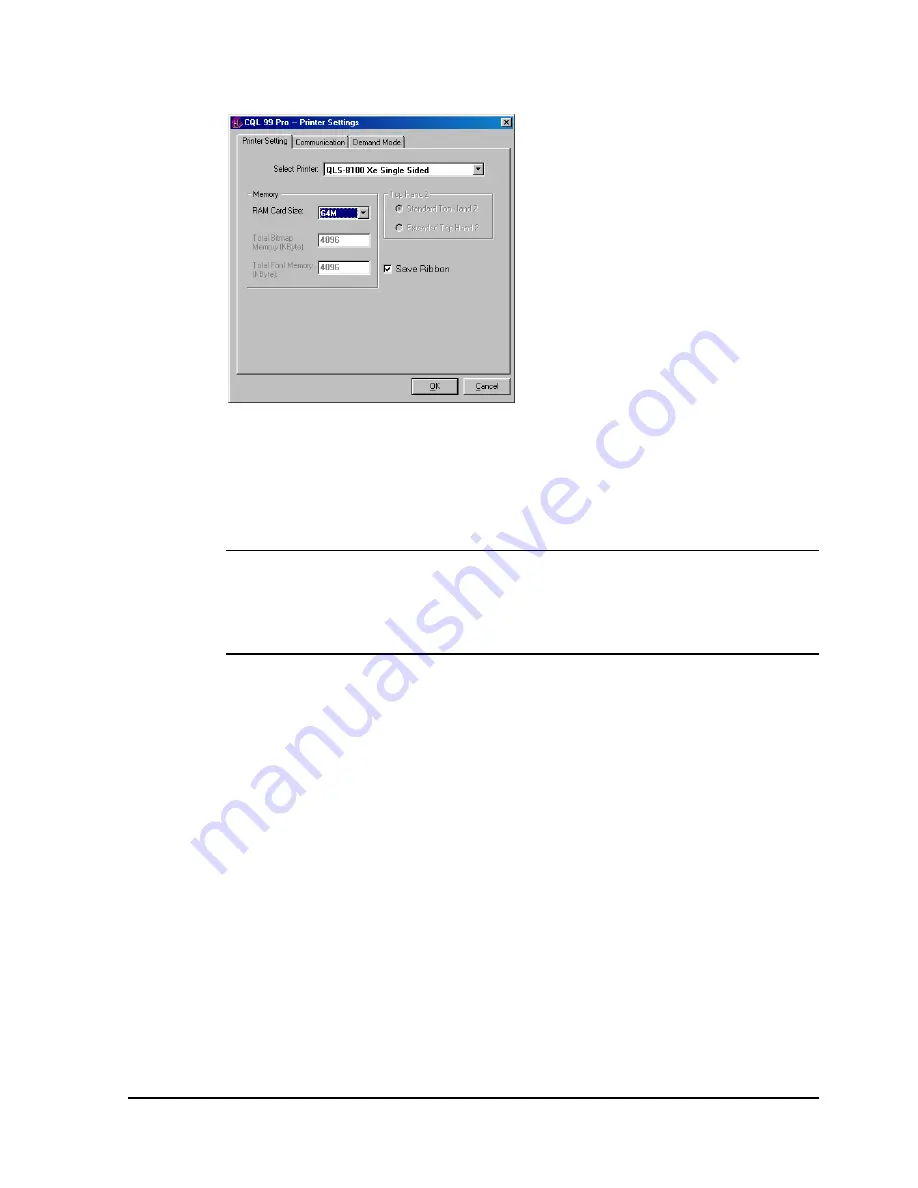
Open the File >> Print Setup menu. The following screen will appear:
5
Choose QLS-8100Xe Single Sided from the Select Printer pull-down list.
6
Select the capacity of the memory card being used or none from the
RAM Card Size pull-down list. This option is used only when set up for
unidirectional communication.
Note:
If
none
is selected, all images will be sent to an internal 4 Mb
dedicated to images. All fonts will be sent to an internal 4 Mb memory
dedicated to fonts. If your images/fonts exceed this capacity, some or all
of the images/fonts may not print.
7
Place a check mark in the Save Ribbon box if RibbonRation™ will be
used.
Summary of Contents for QLS-8100XE
Page 2: ......
Page 14: ...1 4 Quick start ...
Page 19: ...QLS 8100 Xe 2 5 Side view ...
Page 46: ...3 14 Loading media and calibration ...
Page 149: ...QLS 8100 Xe A 1 Appendix A Physical Data ...
Page 153: ...QLS 8100 Xe B 1 Appendix B Specifications ...
Page 156: ...B 4 Specifications ...
Page 157: ...QLS 8100 Xe C 1 Appendix C Replacement Parts ...
Page 160: ...C 4 Replacement parts ...
Page 161: ...QLS 8100 Xe D 1 Appendix D Color QuickLabel 99 Pro setup ...
Page 166: ...D 6 Color QuickLabel 99 Pro setup ...
Page 167: ...QLS 8100 Xe E 1 Appendix E Windows Printer Driver Setup ...
Page 175: ...QLS 8100 Xe F 1 Appendix F Format error codes ...
Page 180: ...F 6 Format error codes ...
Page 181: ...QLS 8100 Xe G 1 Appendix G Menu Structure ...
Page 182: ...G 2 Menu Structure ...


