61
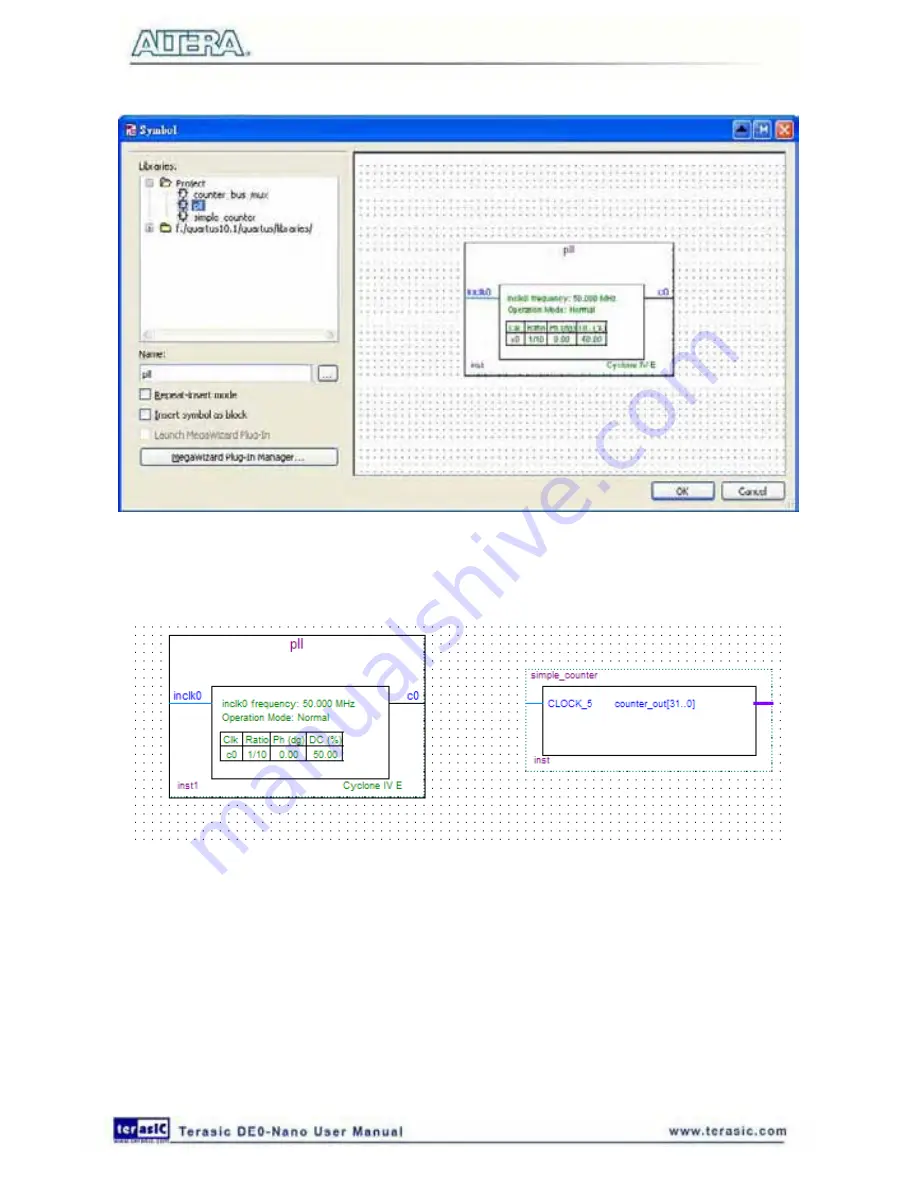
Figure 6-25 PLL Symbol
11. Click
OK
and place the pll symbol onto the BDF to the left of the simple_counter symbol. You
can drag and drop the symbols, if you need to rearrange them. See
Figure 6-26
.
Figure 6-26 Place the PLL Symbol
12. Move the mouse so that the cursor (also called the selection tool) is over the pll symbol’s c0
output pin. The orthogonal node tool (cross-hair) icon appears.
13. Click and drag a bus line from the c0 output to the simple_counter clock input. This action ties
the pll output to the simple_counter input (see
Figure 6-27
).
Summary of Contents for De0-Nano
Page 1: ...1 ...
Page 4: ...4 9 3 Revision History 155 9 4 Copyright Statement 155 ...
Page 44: ...44 Figure 6 5 Browse to find the location Figure 6 6 There is no need to test the driver ...
Page 90: ...90 Figure 7 14 Add NIOS II Processor ...
Page 93: ...93 Figure 7 17 Rename the CPU 1 Figure 7 18 Rename the CPU 2 ...
Page 98: ...98 Figure 7 23 Add On Chip Memory ...
Page 100: ...100 Figure 7 25 Update Total memory size ...
Page 102: ...102 Figure 7 28 Update CPU settings ...
Page 104: ...104 Figure 7 30 Add PIO ...
Page 106: ...106 Figure 7 32 PIO 21 Rename pio_0 to pio_led as shown in Figure 7 33 Figure 7 33 Rename PIO ...
Page 113: ...113 Figure 7 43 Input verilog Text Figure 7 44 Open DE0_NANO_SOPC v ...
Page 146: ...146 Figure 8 16 Display Progress and Result Information for the SDRAM Demonstration ...
Page 150: ...150 Figure 9 3 Select Devices Page ...
Page 151: ...151 Figure 9 4 Convert Programming Files Page ...


