


Section 7 Remote Interfaces
7-9
7.2.3 Windows XP Settings
1. From the Windows Start button, open the Control Panel.
2. Locate the Network Connection icon and open this control
panel.
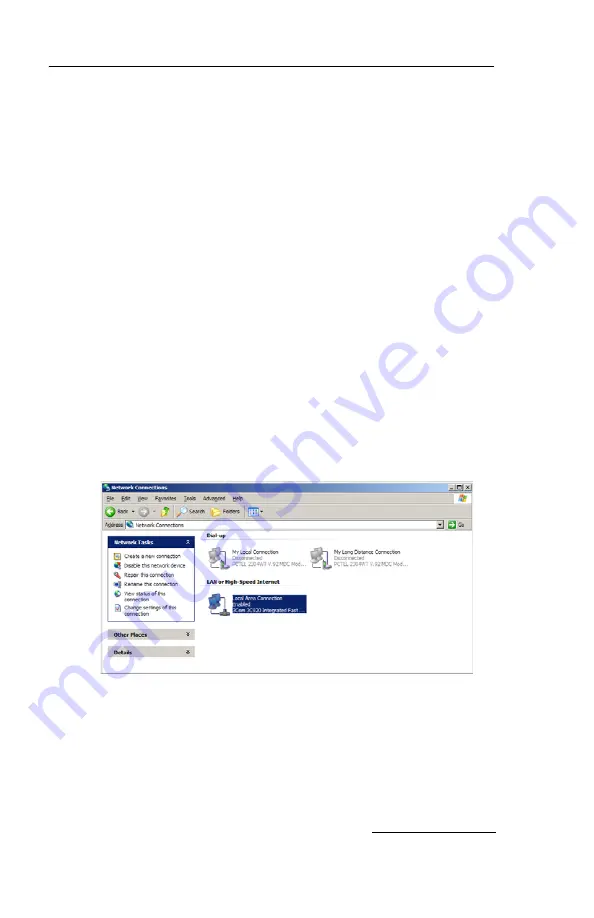
3. Highlight the “LAN or High-speed Internet Connection”
icon. Select the “Change settings of this connection” option,
or right-click and select “Properties.” Refer to Figure 7-3.
4. Highlight the “Internet Protocol (TCP/IP)” item in the list,
and click on the “Properties” button. Refer to Figure 7-4.
5. Select the Alternate Configuration tab. Click the “User
Configured” option. See Figure 7-5.
6. Enter the IP address “192.168.1.200”.
7. Enter the Subnet Mask, “255.255.255.0.”
8. Click the OK button to close the Internet Protocol
properties window. Click the Close button to close the Local
Area Connection properties window.
9. Shut down the PC and place the Combi
Flash
Rf system in
Standby.
Figure 7-3 LAN or High-speed Internet Connection
Summary of Contents for CombiFlash EZ Prep
Page 2: ...CombiFlash Rf User Manual ii ...
Page 8: ...CombiFlash Rf User Manual viii ...
Page 52: ...CombiFlash Rf User Manual 2 16 Figure 2 7 Loading test tubes ...
Page 85: ...CombiFlash Rf User Manual 3 20 ...
Page 103: ...CombiFlash Rf User Manual 4 18 ...
Page 185: ...CombiFlash Rf User Manual 6 64 ...
Page 199: ...CombiFlash Rf User Manual 7 14 ...
Page 223: ...CombiFlash Rf User Manual 8 24 ...
Page 225: ......
Page 227: ......
Page 229: ......
Page 231: ......
Page 233: ......
Page 235: ......
Page 237: ......


