MagicQ User Manual
79 / 348
10.8
Linked Palettes
If you select a Palette and then record it as another Palette without changing any of the attributes then all the values in the new
Palette will be linked to the first Palette. Changing any of the attributes in the first Palette will change the attributes in the new
Palette. This is a linked Palette. MagicQ shows a L in the Palette entry to indicate a linked Palette.
When you change attributes using the encoder wheels or soft buttons then the Palette will contain hard values instead of links.
It is possible to unlink a Palette from the View Palette Window. Put the cursor on the Palette Entry you wish to unlink, press
VIEW PALETTE and then UNLINK.
Only one level of linking is allowed – a Palette can link to another Palette, but it is not possible to link to further Palettes.
10.9
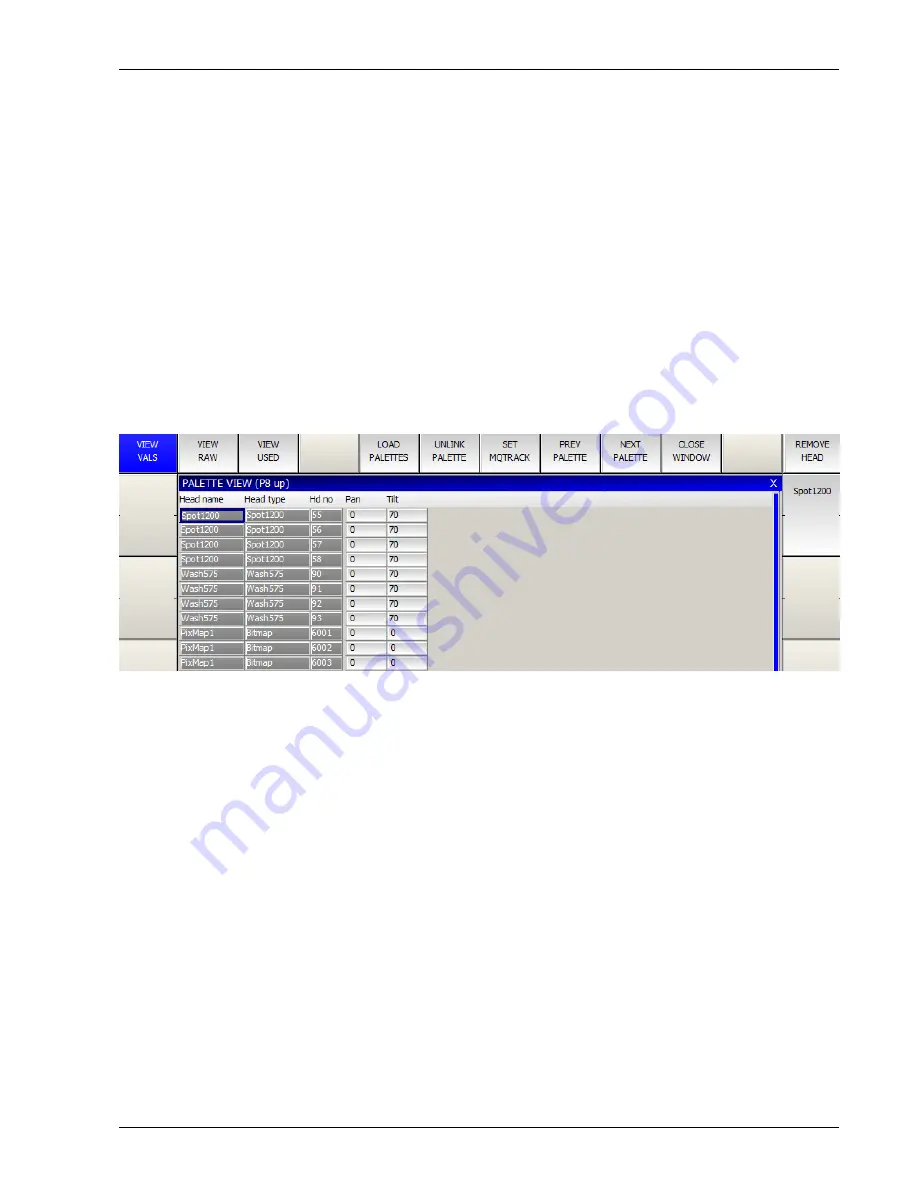
Viewing / Editing Palette contents
You can view the contents of a palette entry at any time by pressing the VIEW PALETTE soft button in the Colour, Beam and
Position windows. This opens the Palette View window and shows the contents of the palette entry that the cursor was on in the
Colour, Beam or Position Window.
Note that the View Palette window shows the entire contents of the palette entry regardless of which heads are currently selected.
You can modify the contents of the palette entry by editing the values in the spread-sheet. You can remove values, entire heads,
or entire attributes from the palette entry using the REMOVE button.
The View Palette, View Used window can be used to determine how many times Palettes have been used within a show.
The View Palettes window shows whether Palettes are linked to other Palettes (highlighted in Red). There is a button to unlink
the specific Palettes or using SHIFT, to unlink all the Palettes of that type (Position, Colour or Beam). Unlinking removes links
within the Palettes to other Palettes – it does not affect the links within Cues.
It is possible to step through the different Palettes using the Next Palette and Previous Palette buttons.
10.10
Using Palettes with times
Palettes can be applied with a time by simply typing in a number of seconds before selecting the Palette - this is very useful for
quickly setting fade times when recording Cues or for busking in effects. In addition you can use FAN mode to quickly spread
different times across a number of heads.
For example, typing in 3 before selecting a position will cause a fade to the position over 3 seconds.
Typing 0 THRU 3 before selecting a position causes the heads to move to the position with a spread of 3 seconds - i.e. the first
head moves immediately whilst the last head takes 3 seconds.
To fan delays, rather than fade times, type delay / fade – e.g. for 1 second fade but delayed from 0 to 3 seconds type 0 THRU 3 /
1 before selecting the palette.


