


Recording Operations
5-10
Recording Operations
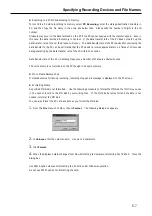
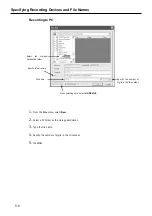
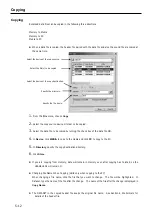
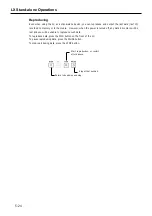
When you choose
File
and
New
, and then select the recording device and the file name, the mode becomes
the recording mode and you can start recording.
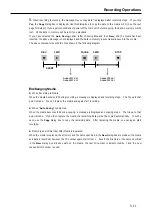
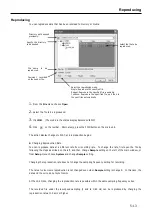
The following procedure shows how to record two IDs. Also, during recording, we will mark data by adding
event marks to the data.
1.
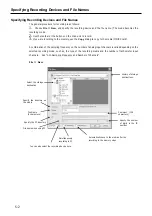
Ensure that the mode shown in the status display is RECORD. If it is VIEW, click the REC button on the
far left of the window to change the mode to RECORD.
2.
If data is saved automatically to the media after recording to memory stops (that is,
Auto Saving
is
selected), or when recording to the media, ensure that the media is inserted.
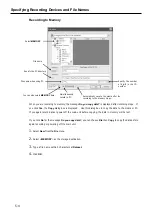
3.
Click the
button on the toolbar. Alternatively, press the
REC
button on the main unit.
The action display will show RECSTANDBY, and the input waveform will be displayed in the waveform display
area.
4.
After 3 seconds, click
on the toolbar. Alternatively, press the FWD button on the main unit.
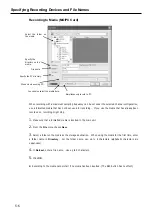
The action display shows REC and recording starts. When recording to memory or recording to the media,
the USAGE LEDs show the percentage of the total capacity used.
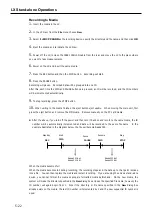
5.
Click
on the toolbar. Alternatively, press the EVENT button on the main unit.
The display of the event mark count will show 0001. The number of scans at this instant is recorded in the
header file. If a new event mark is not separated by the previous mark by 2 or more seconds, the mark is
not valid.
6.
Click
on the toolbar. Alternatively, press the
PAUSE
button on the main unit.
The recording of the first ID ends, and the system enters the pause status. The action display shows
RECSTANDBY.
When recording to the media, you cannot perform another recording until the system has finished writing to
the media.
7.
Click
on the toolbar. Alternatively, press the FWD button on the main unit.
Recording of the second ID starts.
8.
Click
on the toolbar after 3 seconds or more. Alternatively, press the STOP button on the main
unit.
Recording stops.
If you record a voice memo in PC recording, put the system in the recording-standby status by clicking
or pressing the PAUSE button before you stop recording. Otherwise, the voice is not recorded.
Summary of Contents for LX Series
Page 2: ......
Page 10: ...Contents viii...
Page 26: ...Sampling Frequency and Number of Channels 1 16...
Page 117: ...Main Unit Specifications 6 3 External Dimensions...
Page 142: ...Recording Synchronization Specifications 6 28...
Page 146: ...Note 7 4 Note...
Page 147: ......