Recording Synchronization
5-27
Operations
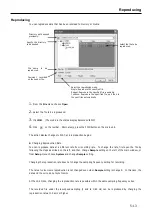
You can set the master unit and the slave unit(s) by using the LX Navi.
1
.
When starting LxNavi from a PC, the serial number information of the LX series units connected to the
same segment is displayed on the LX selection dialog (LX Network).
Click master, slave 1, slave 2…etc in the order of the “sync select” column. Setting information will be
displayed for the area clicked upon.(Setting this operation once skips this process next time.)
Click the “Sync Check” button. As a result, verification of specified LX synchronized operation settings and a
verification test of the settings and the synchronized connection are done.
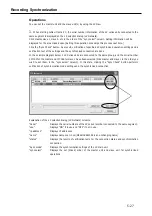
In the example diagram below, 2 LX Series units are connected to the same group, and the serial number
107100 for the master and 107366 for slave 1 have been selected (Click master and slave 1 in the order you
wish to set them, in the “sync select” column). In this state, clicking the “Sync Check” button performs
verification of synchronization mode settings and the synchronized connection.
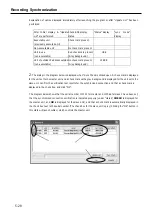
Explanation of the LX selection dialog (LX Network) columns.
"Serial"
Displays the serial numbers of the LX series recorder connected to the same segment.
"use"
Displays “ON” if in use and “OFF” if not in use.
"ip address"
Displays IP addresses.
"name"
Displays names set in LX.(Model IEEE1394 is an unchanging name)
"status"
Displays the results of verification tests for the connection status and synchronization
connection.
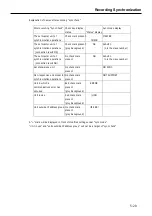
"Sync mode"
Displays the synchronization settings of the LX main unit
"sync select"
Displays the set (linked) order of the master unit and slave unit for synchronized
operations.
Summary of Contents for LX Series
Page 2: ......
Page 10: ...Contents viii...
Page 26: ...Sampling Frequency and Number of Channels 1 16...
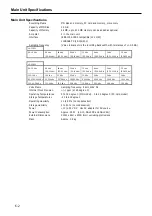
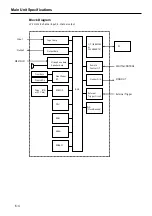
Page 117: ...Main Unit Specifications 6 3 External Dimensions...
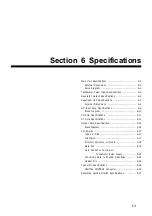
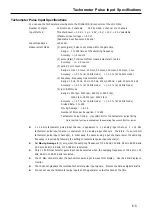
Page 142: ...Recording Synchronization Specifications 6 28...
Page 146: ...Note 7 4 Note...
Page 147: ......

