4 S y s t e m S e t u p
4 - 2 4
[ 1 ] I N S T R U C T I O N S F O R U S E
Connecting System Accessories
Footswitch
The ultrasound system has an optional dual-pedal, watertight footswitch.
To connect the footswitch to the system:
Insert the footswitch connector housing into the socket located on the
side panel.
ECG (EKG) Cables
(Available with the SONOLINE G60 S system; requires the Cardiac Imaging option for the
SONOLINE G50 system)
The ECG feature allows the system to display a scrolling ECG waveform on
the image screen. You can adjust gain using the LCD.
To connect the ECG cables:
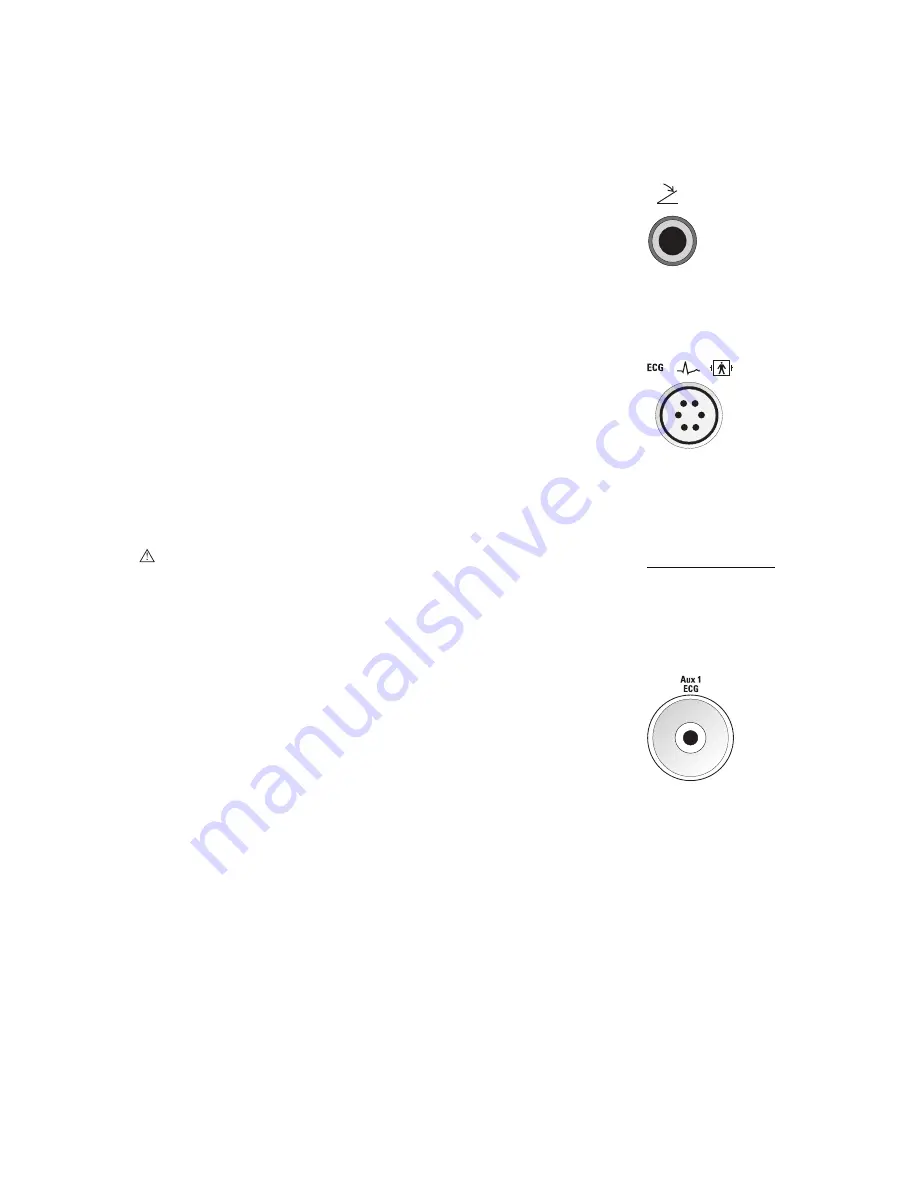
Insert the six-pin ECG connector into the socket labeled ECG on the
front of the system.
External ECG
(Available with the SONOLINE G60 S system; requires the Cardiac Imaging option for the
SONOLINE G50 system)
WARNING:
The Aux 1 ECG input is not intended for direct connection to the
patient. To reduce the risk of electrical shock while using this connection, ensure
that the external source (peripheral equipment) is properly set up and is
designed for direct patient connection.
You can connect an external ECG cable to the ultrasound system for use
with the ECG function.
To connect the external ECG cable:
1. Connect the one-pin external ECG cable to the socket labeled
"Aux 1 ECG" on the front of the system.
2. To connect the external ECG cable to a device (external source), see the
device manufacturer's operating instructions.
Footswitch label
identifying the
connector socket.
ECG label identifying the
connector socket.
[1] Instructions for Use
Peripheral
Equipment
4-28
Aux 1 ECG
connector socket.
Summary of Contents for SONOLINE G50
Page 9: ...1 Introduction 1 2 1 I N S T R U C T I O N S F O R U S E ...
Page 19: ...1 Introduction 1 12 1 I N S T R U C T I O N S F O R U S E ...
Page 57: ...2 Safety and Care 2 38 1 I N S T R U C T I O N S F O R U S E ...
Page 143: ...3 System Controls 3 86 1 I N S T R U C T I O N S F O R U S E ...
Page 145: ...4 System Setup 4 2 1 I N S T R U C T I O N S F O R U S E ...
Page 183: ...5 Beginning an Examination 5 2 1 I N S T R U C T I O N S F O R U S E ...
Page 229: ...6 Technical Description 6 28 1 I N S T R U C T I O N S F O R U S E ...


