104
6.
Using the 3(
↑
)
or 6(
↓
)
,
select
Enabled
or
Disabled
.
A blue arrow
appears next to the selected option.
Key Options Menu, Solo
Solo
allows the user to setup a key that causes all other keys to turn OFF when activated. However, when the solo key is
released, the keys that were turned off by the solo key turn back on.
You can assign only
one (1) solo key
.
To
create a solo key
, do the following:
1.
On the KP 32 CLD keypad, press
MENU
.
The Top Level menu appears
.
2.
Using the 3(
↑
)
or 6(
↓
)
,
select
Key Options
.
3.
Press the
SEL
button.
The Key Options submenu appears.
4.
Using the 3(
↑
)
or 6(
↓
)
,
select
Solo
.
5.
Press the
SEL
button.
Tap Key appears in the panel display.
6.
Tap
down
on the
keypanel key you want to configure as solo.
The selected key turns red and Tap Slave Key(s) appears in the display window
.
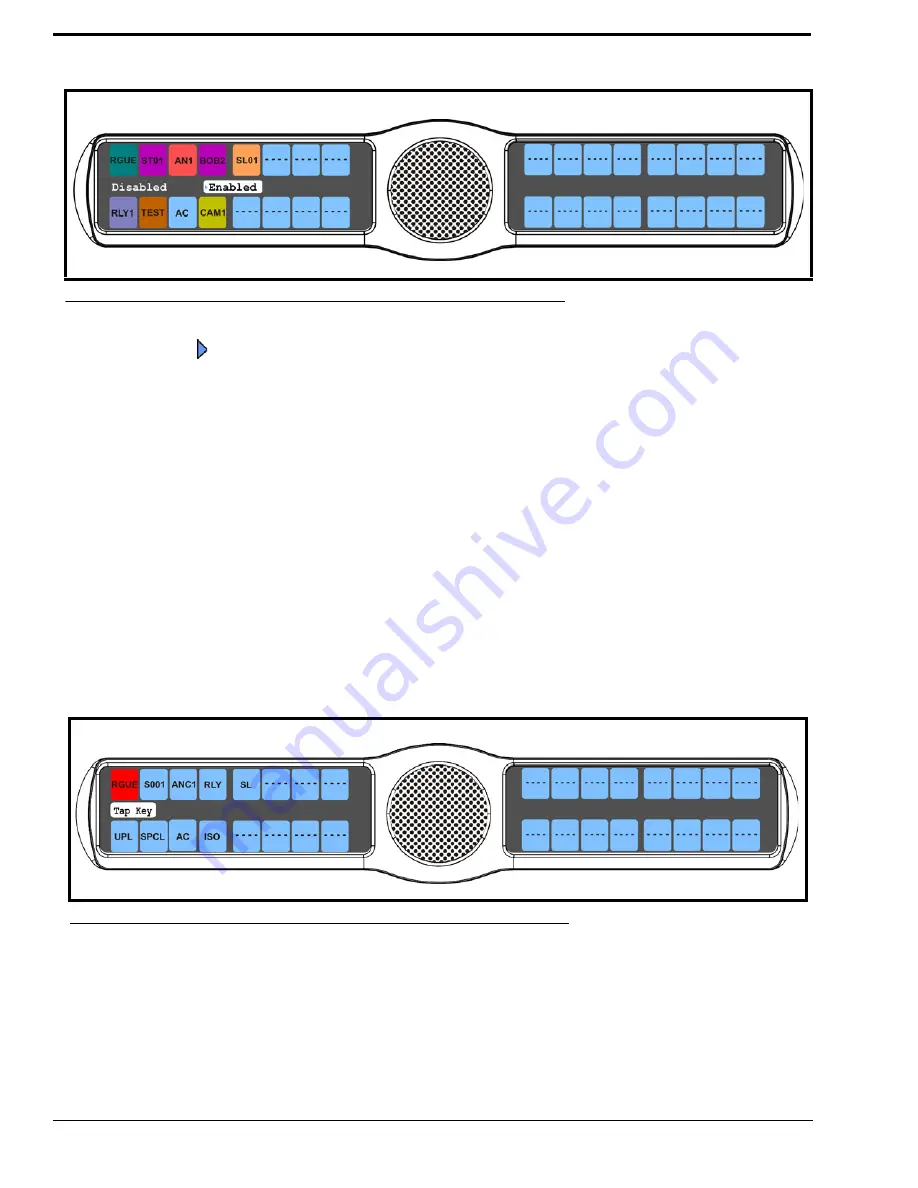
FIGURE 103.
Key Options Menu - Latching Enabled
FIGURE 104.
Key Options Menu - Solo Key Assignment
Summary of Contents for CLD Color Keypanel Family DKP 16 CLD
Page 1: ...CLD Color Keypanel Family User Manual 93507858000 Rev B 8 2008 KP 32 CLD DKP 16 CLD EKP 32 CLD...
Page 8: ......
Page 11: ...5 KP 32 CLD Block Diagram FIGURE 1 KP 32 CLD Block Diagram...
Page 26: ...20...
Page 47: ...41 NOTE The KP 32 CLD resets itself once the firmware download is complete...
Page 52: ...46...
Page 55: ...49 FIGURE 23 Main Audio Options Menu...
Page 142: ...136...
Page 143: ...137 CHAPTER 8 Keypanel Menu Quick Reference...
Page 146: ...140 FIGURE 144 Service Menu for the KP 32 CLD with GPI 32 CLD Option card installed...
Page 150: ...144...
Page 154: ...148...
Page 156: ...150...
Page 160: ......


