Chapter 2 Basic Operations
39
2
11
Set the printing conditions.
Check the printing position and density on the
proof copy.
(
12
Press the [START] key.
The printing process starts.
13
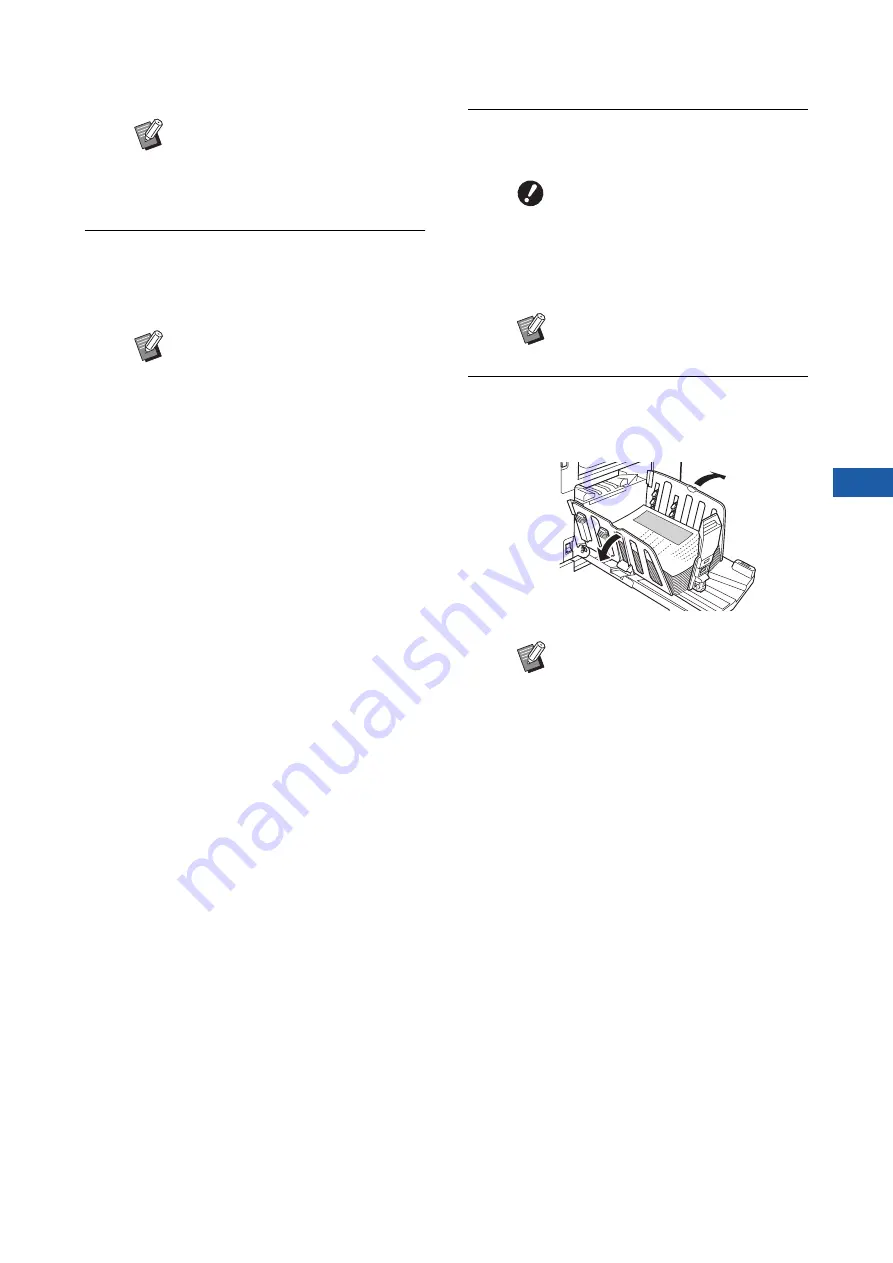
Remove the printed copies.
Fold the receiving-tray paper guides outward
so the printed paper can be removed easily.
B
An idling action (to ensure the ink
usability and stability) may be auto-
matically executed. You can change
the setting in [Auto Idling] (
under [Admin.].
B
Press the [PROOF] key to check the
output using another proof copy.
B
If the machine has not been used
for an extended period of time, the
ink on the print drum (cylinder) dries
and colors in the printed output may
be faint or faded. If you find the case
mentioned above, output several
proof copies to ensure the usability
and stability of the ink. You can out-
put proof copies continuously by
holding down the [PROOF] key.
B
A warning message appears dur-
ing printing if you use only print
drum (cylinder) 2 with the com-
pleted master still loaded on print
drum (cylinder) 1. Follow the
instructions on the screen.
B
To stop the printing process, press
the [STOP] key.
B
To print more copies, enter the num-
ber of copies and press the [START]
key.
B
To start master making for the next
original, repeat the procedure from
step 3.
B
When you place originals on the
optional auto document feeder and
the [ADF Semi-Auto] setting (
is turned on, master making for the
next original starts automatically.
Repeat the procedure from step 11
for each original.
B
To cancel the authentication status,
press the [WAKE-UP] key.
The authentication status is also
cancelled when the time that is set
in [Auto Sleep] (
Summary of Contents for MH 9350
Page 21: ...Chapter 1 19 1 About This Machine ...
Page 31: ...29 2 Chapter 2 Basic Operations ...
Page 53: ...51 3 Chapter 3 Functions for Master Making ...
Page 97: ...95 4 Chapter 4 Functions for Printing ...
Page 109: ...107 5 Chapter 5 Useful Functions ...
Page 130: ...Chapter 5 Useful Functions 128 ...
Page 131: ...129 6 Chapter 6 Functions for Scanning ...
Page 137: ...135 7 Chapter 7 Setting the Operation Conditions ...
Page 159: ...157 8 Chapter 8 RISO Console ...
Page 165: ...163 9 Chapter 9 Replacing Consumables ...
Page 177: ...175 10 Chapter 10 Maintenance ...
Page 181: ...179 11 Chapter 11 Troubleshooting ...
Page 205: ...203 12 Chapter 12 Appendix ...
Page 215: ...Chapter 12 Appendix 213 12 V View edit 48 W WAKE UP key 23 Z Zoom 71 ...


