Chapter 7 Setting the Operation Conditions
151
7
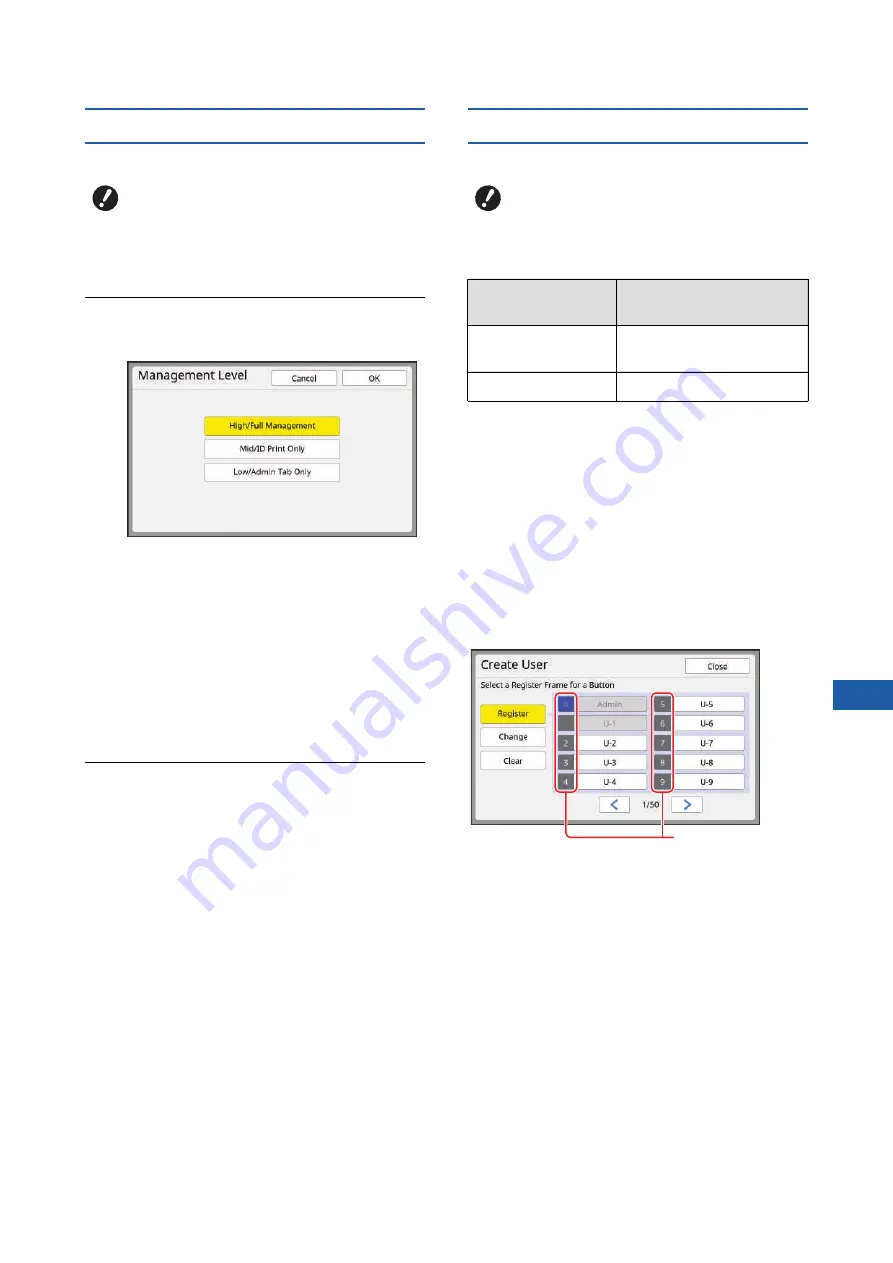
[Management Level]
Set the type of authentication.
1
Touch [Management Level] in the
[User Management] screen.
2
Touch the type of authentication
method to be used.
■
[High/Full Management]
Both “Machine authentication” and “ID print”
are available.
■
[Mid/ID Print Only]
Only “ID print” is available.
■
[Low/Admin Tab Only]
Neither “Machine authentication” nor “ID print”
is available.
The operation of [Admin.] is limited to only the
administrator.
3
Touch [OK].
[Create User]
Register the users who use this machine.
The number of users that can be registered varies
depending on the [Recognized by].
*
40) is available only for User No.0 to 99.
Those users are categorized into “administrator” and
“general user”.
■
What is “administrator”?
“Authentication registration numbers” are assigned to
the users who have been registered in this machine.
The user who has been registered for authentication
registration number 0 is called “administrator”.
The administrator can use all of the functions of this
machine.
Once the administrator is registered, the authentica-
tion function is enabled.
■
What is “general user”?
The users who have been registered for any numbers
from authentication registration number 1 are called
“general users”. General users cannot enter the
[Admin.] screen.
B
Set [Recognized by] in advance.
B
Set [Recognized by] in advance.
[Recognized by]
Available "Authentication
registration numbers"
[PIN Code] or
[USB Flash Drive]
No.0 to 99
[IC Card]
No.0 to 499
*
Authentication
registration
number
Summary of Contents for MH 9350
Page 21: ...Chapter 1 19 1 About This Machine ...
Page 31: ...29 2 Chapter 2 Basic Operations ...
Page 53: ...51 3 Chapter 3 Functions for Master Making ...
Page 97: ...95 4 Chapter 4 Functions for Printing ...
Page 109: ...107 5 Chapter 5 Useful Functions ...
Page 130: ...Chapter 5 Useful Functions 128 ...
Page 131: ...129 6 Chapter 6 Functions for Scanning ...
Page 137: ...135 7 Chapter 7 Setting the Operation Conditions ...
Page 159: ...157 8 Chapter 8 RISO Console ...
Page 165: ...163 9 Chapter 9 Replacing Consumables ...
Page 177: ...175 10 Chapter 10 Maintenance ...
Page 181: ...179 11 Chapter 11 Troubleshooting ...
Page 205: ...203 12 Chapter 12 Appendix ...
Page 215: ...Chapter 12 Appendix 213 12 V View edit 48 W WAKE UP key 23 Z Zoom 71 ...


