Chapter 3 Functions for Master Making
70
8
Touch a separation method.
A preview image is displayed to show the
results when the three separation methods are
applied to the original. Touch your desired but-
ton.
9
Touch [Next].
10
Touch [Print] or [Editor].
■
[Print]
Printing is performed with the separation
method that was selected in step 8.
■
[Editor]
If you want to make fine adjustments to the
areas that will be separated, you can move to
the [Editor] edit screen and perform operations.
For information on [Editor] operations, see the
“RISO Editor User's Guide”.
11
Touch [OK].
Master making starts.
Enlarging or Reducing the Size of
the Original [Size]
[Standard ratio]
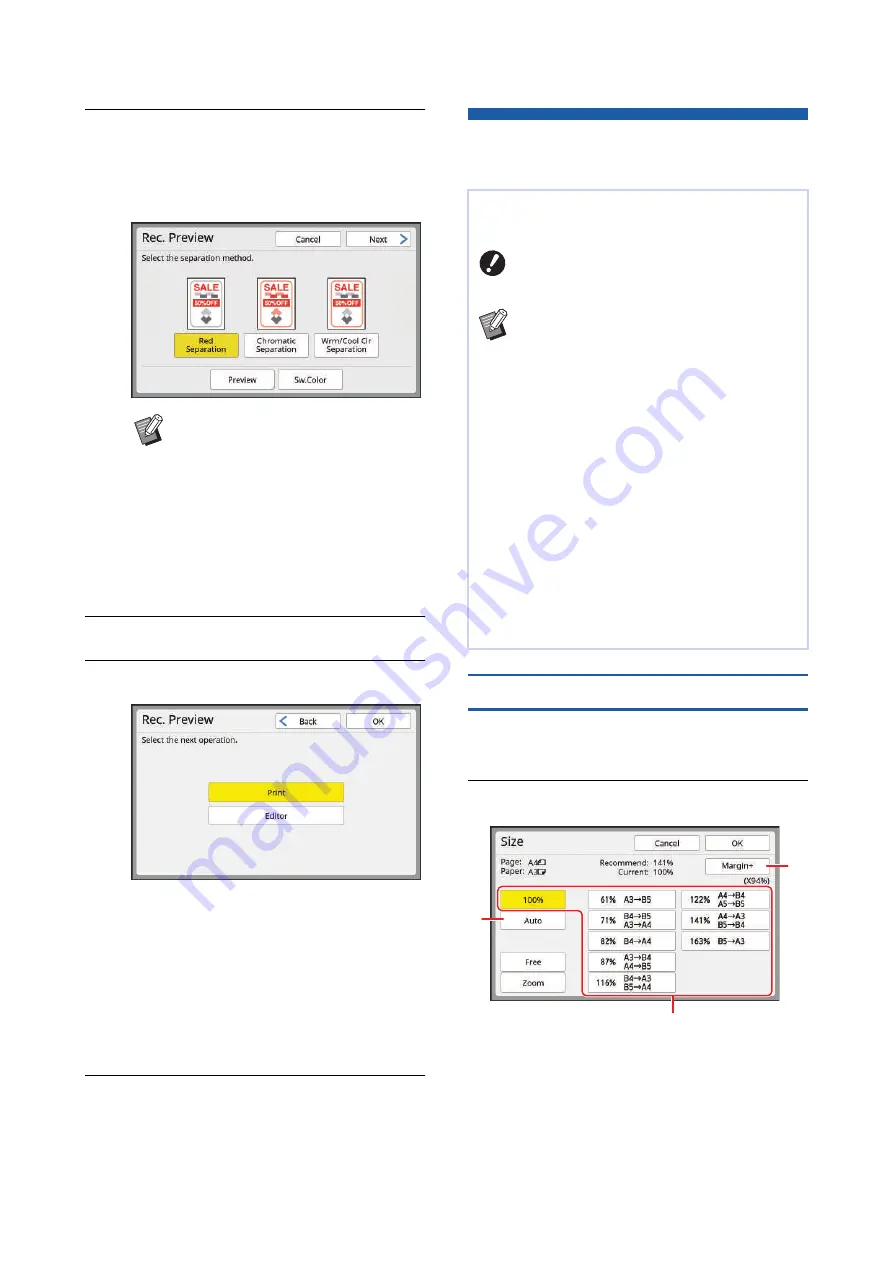
1
Touch [Size] in the [Basic] tab
screen.
2
Touch a target magnification rate.
1
[Auto]: The size of the original is automati-
cally enlarged or reduced according to the
size of the paper on the paper feed tray.
This option can be used only when both the
original and the paper are a standard size.
B
The preview image shows the result
when printing is performed with the
colors of the print drums (cylinders)
that are installed on this machine.
Touch [Sw.Color] to switch between
the images of print drums (cylin-
ders) 1 and 2.
B
By touching [Preview], you can
enlarge and check the selected pre-
view image.
You can scan an original so that it is enlarged or
reduced in size.
B
Image parts outside the range for mas-
ter making are not printed.
(
B
You can change the default setting in
[Reproduction Size] (
[Admin.].
B
You can change the reduction rate for
[] in [Margin-Plus Rate] (
under [Admin.].
B
You cannot use this function with the fol-
lowing function.
C
The size setting method can be selected from the
following three options.
• [Standard ratio]: You can set the size of the origi-
nal simply by selecting a magnification rate.
• [Free]: You can set any magnification rates in the
horizontal and vertical directions.
• [Zoom]: You can set any magnification rate with-
out changing the zoom ratio in both the vertical
and horizontal directions.
1
3
2
Summary of Contents for MH 9350
Page 21: ...Chapter 1 19 1 About This Machine ...
Page 31: ...29 2 Chapter 2 Basic Operations ...
Page 53: ...51 3 Chapter 3 Functions for Master Making ...
Page 97: ...95 4 Chapter 4 Functions for Printing ...
Page 109: ...107 5 Chapter 5 Useful Functions ...
Page 130: ...Chapter 5 Useful Functions 128 ...
Page 131: ...129 6 Chapter 6 Functions for Scanning ...
Page 137: ...135 7 Chapter 7 Setting the Operation Conditions ...
Page 159: ...157 8 Chapter 8 RISO Console ...
Page 165: ...163 9 Chapter 9 Replacing Consumables ...
Page 177: ...175 10 Chapter 10 Maintenance ...
Page 181: ...179 11 Chapter 11 Troubleshooting ...
Page 205: ...203 12 Chapter 12 Appendix ...
Page 215: ...Chapter 12 Appendix 213 12 V View edit 48 W WAKE UP key 23 Z Zoom 71 ...


