T
echnical
B
ulletin
PAGE: 16/34
Reissued: 4-Jun-15
Model:
Taurus-C1a/C1b/P1 (D074/D075)
Date:
17-Jun-14
No.:
RD074119a
<Notes>
File names before/after ‘Image View FR’ adjustments
File name BEFORE
adjustment
File name AFTER
adjustment
Notes
SP data
BEFORE
adjustment
(S/N)_shading_befor
e.csv
yymmdd_hhmm_(S/N)
_shading_xbefore.csv
SP data
AFTER
adjustment
(S/N)_shading_after_7
5.csv
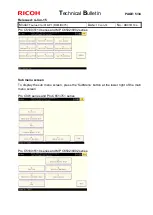
For Pro C901 and Pro C651/751, press
‘Upload to Machine: FR SP’ on the main
menu screen.
(S/N)_shading_after_6
0.csv
For Pro C7100/7100 and MP
C6502/8002, press ‘Upload to Machine:
FR SP’ on the main menu screen.
(S/N)_shading_after_3
0.csv
Press ‘Upload to Machine: FR SP’ on the
main menu screen for all models.
(S/N)_shading_after_1
5.csv
Press ‘Upload to Machine: FR SP’ on the
sub menu screen for all models.
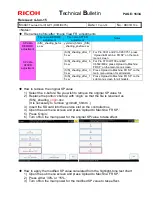
How to retrieve the original SP value
1) Select the ‘x-before’ file you wish to retrieve the original SP value for.
2) Replace the portion ‘xbefore’ with ‘origin’ so that the file is renamed as
(S/N)_shading_
origin
.csv.
(It is necessary to remove ‘yymmdd_hhmm’ .)
3) Insert the SD card into the service slot on the controller box.
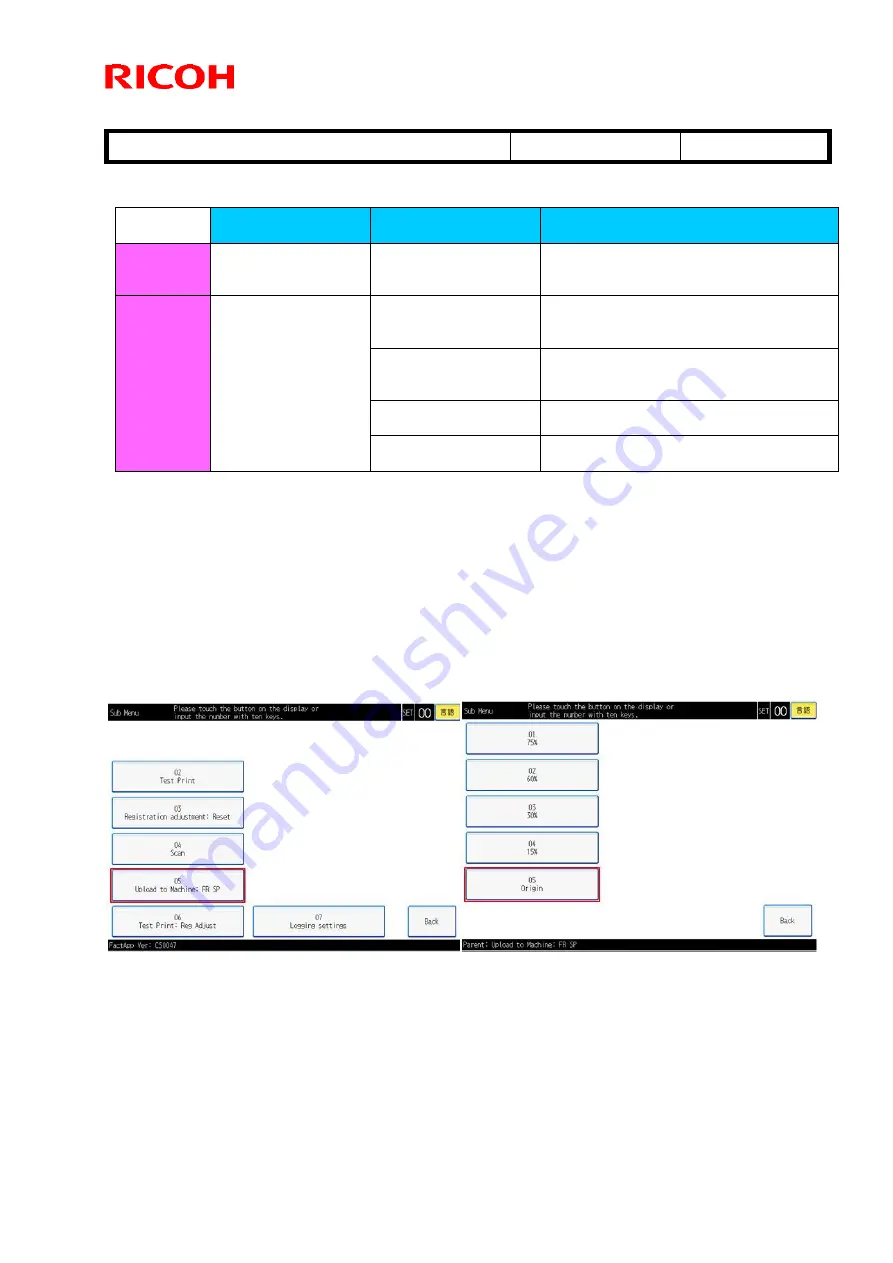
4) Open the sub menu screen and press ‘Upload to Machine: FR SP.’
5) Press ‘Origin.’
6) Turn off/on the main power for the original SP value to take effect.
How to apply the modified SP value calculated from the highlight-tone test chart
1) Open the sub menu screen and press ‘Upload to Machine: FR SP.’
2) Press either ‘30%’ or ‘15%.’
3) Turn off/on the main power for the modified SP value to take effect.

