T
echnical
B
ulletin
PAGE: 2/2
Model:
Pro C651EX/Pro C751EX/ Pro C751
Date:
7-July-11
No.:
RD074016
Steps in
red
were changed as follows:
Correction
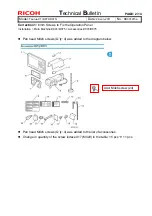
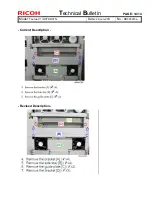
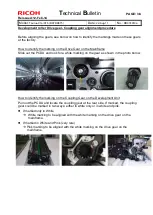
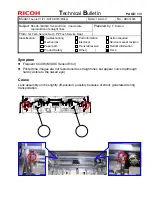
1. Mount the cleaning unit for the intermediate transfer belt (A) on its rails (B), and then
carefully push it in until it can go no further.
2. Reattach the black screw.
NOTE: Do not touch the levers and do not reattach the cover yet.
3. Remove the transfer unit. For details, see p.76 “Removing the Transfer Unit”.
4. Close the right drawer with the transfer unit detached.
5. Reconnect the power cord to the power source.
6. Turn the machine’s main power switch to ON,
and close both front doors.
7. Access the Adjustment Settings for Skilled Operators menu. (See p.18 “Accessing the
Adjustment Settings for Skilled Operators”.)
NOTE: Although the alert message “cover open” is on the operation panel, press the
[User Tools] key on the operation panel.
8. Reset the replaceable parts counter for the replaced cleaning unit for intermediate
transfer belt. (See p.20 “Resetting the Replaceable Parts Counter”.)
9.
Open the right front door and,
on the Adjustment Settings for Skilled Operators menu,
press [0303: ITB Manual Lubrication]
10. Press [OK]
and close the right door.
Wait for the operation to finish.
This operation takes about five minutes during which time a message appears on the
operation panel.
NOTE Do not open the doors while it is in progress.
11. Open the left and right front
doors
.
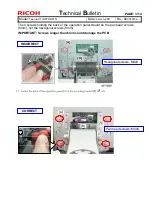
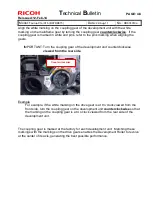
12. Pull down both levers.
13. Reattach the cover with the two bracket screws.
14. Turn the machine off. (See p.14 “Power Off Sequence”.)
15. Lower the lever B5 and pull out the right drawer until it stops
16. Reattach the transfer unit. (See p.78 “Installing the Transfer Unit”.)

