4.System Maintenance
101
13.
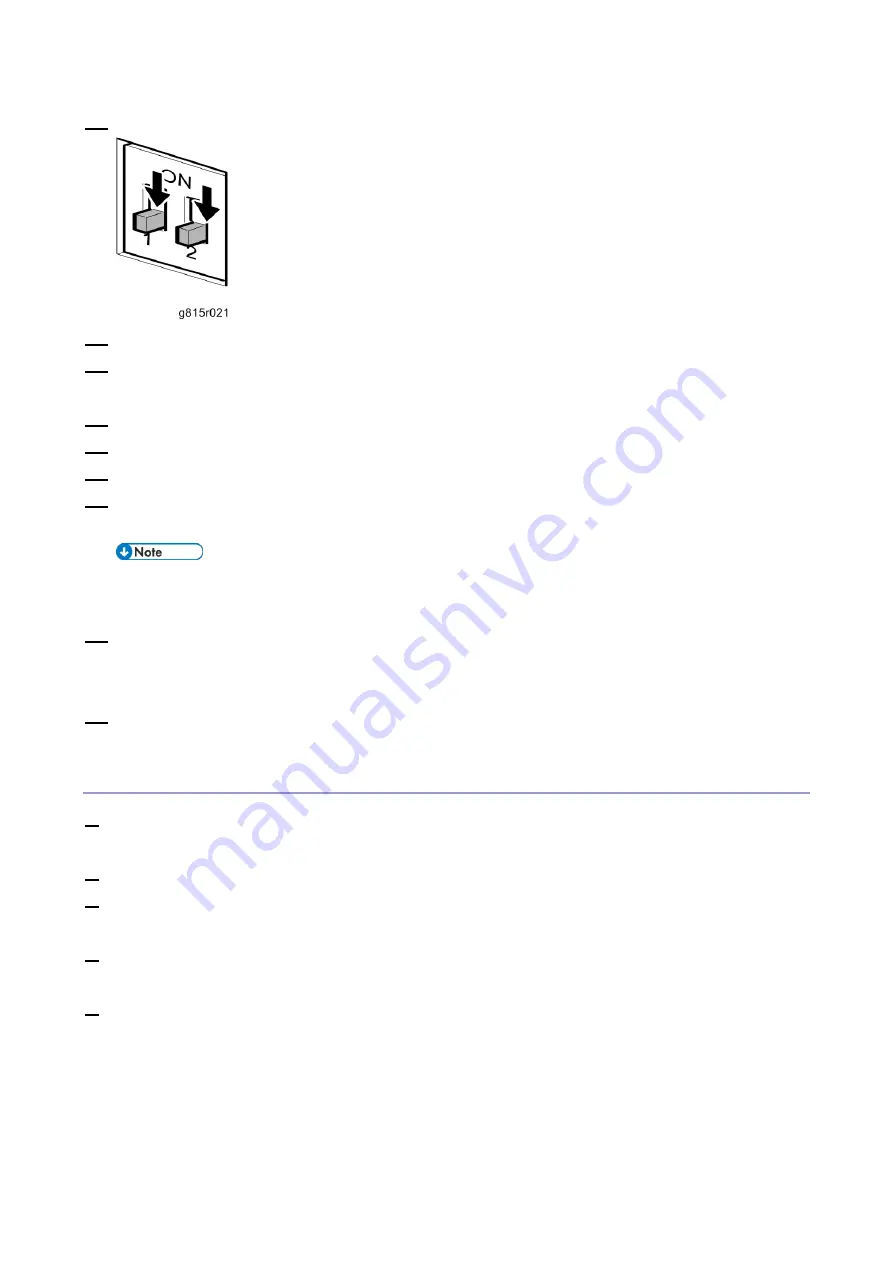
Set the service switches to the normal position (not ON).
14.
Disconnect the network cable from the E-25C network port and LAN port on the Windows PC.
15.
Return all the settings made on the PC in Step 1 and reconnect all cables that you removed earlier
from the E-25C rear panel.
16.
Turn ON the copier main power switch.
17.
Turn the main power switch on the E-25C rear panel to ON.
18.
Press and release the soft power push button on the front panel of the E-25C.
19.
Wait for 10-15 minutes. When the diagnostic LEDs remain at '00', go to the copier operation panel
and press the Home button.
During the 10-15 minutes, the diagnostic LED may remain displaying 'FF' for several times, but this
does not indicate an error.
20.
Touch the Fiery icon. "Please Wait!" may appear on the copier operation panel for a while.
Within a few minutes, the language selection screen appears. If it does not appear, press the
Home button on the operation panel of the copier and touch the Fiery icon again.
21.
Continue the initial setup. For details, see [Link to
After Installing or Updating the System Software
USB Installation (via a USB Flash Drive)
1.
Complete the procedure of "Preparation at the Customer Site". [Link to
2.
Remove all the USB devices that may be connected to the E-25C.
3.
Perform the shutdown procedure from the copier operation panel [Link to
4.
When the E-25C power is down (that is when the diagnostic LEDs are off), turn the main power
switch of the E-25C to OFF.
5.
Disconnect all cables from the E-25C connector panel, except the power cable.
Be sure to leave the power cable connected between the E-25C and the power outlet.
Summary of Contents for D3GF
Page 2: ......
Page 6: ......
Page 13: ...1 Installation 7 Installation Flow Chart Recommended installation steps are as follows ...
Page 46: ...1 Installation 40 If activation does not require a restart Server Option Client Option ...
Page 71: ...3 Replacement 65 Cover Removal Side Cover for the E 25C 1 Remove the side cover A ...
Page 93: ...4 System Maintenance 87 Command WorkStation For details refer to the Command WorkStation help ...
Page 187: ...7 Specifications 181 H 4 9 x 14 3 x 11 6 Weight 5 5 kg 12 2 lb ...


