127
10.
Press the E
NTER
key to view the cycle count.
11.
Press the E
NTER
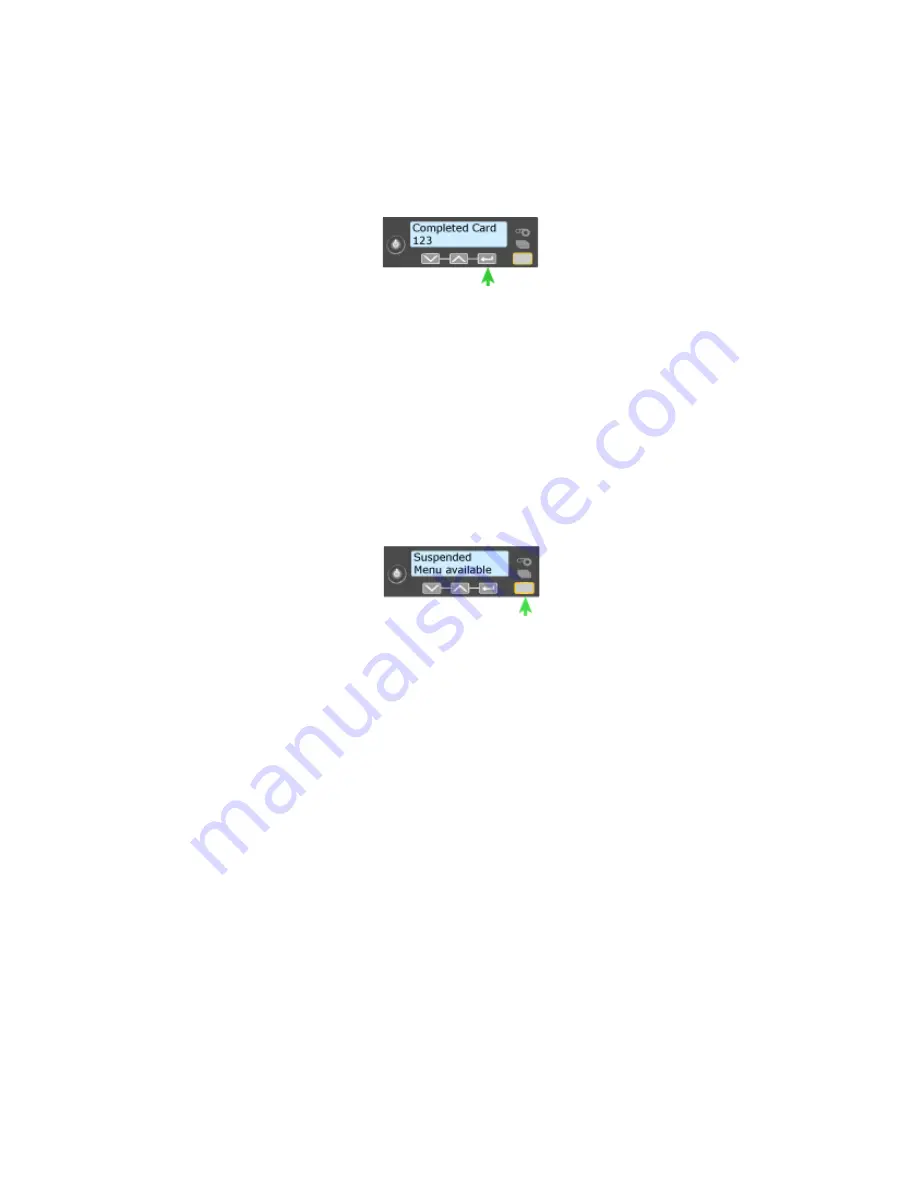
key to display “Completed Card” on Line 2.
12.
Press the E
NTER
key to view the Completed Cards count.
13.
Press the E
NTER
key to display “Rejected Cards” on Line 2.
14.
Press the E
NTER
key to display the Rejected Cards count.
15.
Press the E
NTER
key to display to display “Lost Cards” on Line 2.
16.
Press the E
NTER
key to display the Lost Cards count.
17.
Press the E
NTER
key to display “Exit” on Line 2.
18.
To print cards, press the E
NTER
key repeatedly to return to the “Suspended /
Menu Available” display.
19.
Press the U
SER
button to display “Ready” on the LCD panel.
How to Change a Card Design
Card design is the name given to the combined features of the printed cards. See
“Card Design and Setup”
for more information.
An organization can change:
•
The arrangement of card components, such as moving a photo from the center
to the left side of the card
•
The source for card components, such as using a different camera for taking
photos, or using a new file for a logo.
•
The components on the card, such as adding magnetic stripe, logo, or bar
code.
Whenever the card design changes, review the settings used for the card. Use this
checklist to guide your changes. Always:
•
Use high quality (300dpi) photos and graphics.
•
Print several samples of the updated card design.
Summary of Contents for 539957-020 Rev. A
Page 1: ...Polaroid XPS Card Printer Installation and User Guide June 2011 Part No 539957 020 Rev A ...
Page 10: ...8 ...
Page 13: ...3 Inside a printer Printer with Duplex Option ...
Page 15: ...5 ...
Page 18: ...8 Welcome to Card Printer Information ...
Page 51: ...41 ...
Page 52: ...42 Printing Cards ...
Page 92: ...82 Printer Driver ...
Page 95: ...85 ...
Page 96: ...86 Updates Upgrades and More ...
Page 100: ...90 Removing a Printer from a Windows PC ...
Page 118: ...108 Troubleshooting ...
Page 183: ...173 ...
Page 184: ...174 Legal Notices ...


