155
How to Set the Print Area
The XPS Card Printer Driver can prevent printing and topcoat on specific areas of
the card. By default, the entire side of the card is printed. If your cards include a
magnetic stripe, a smart card chip, or other area, define the area to block printing.
For custom print areas, see How to Use Blocking Escapes. For standard areas,
follow these steps:
1.
Open Printing Preferences from the Start menu.
See
“How to Open Printing Preferences”
for
the steps to follow.
2.
Click the Print Area Tab.
3.
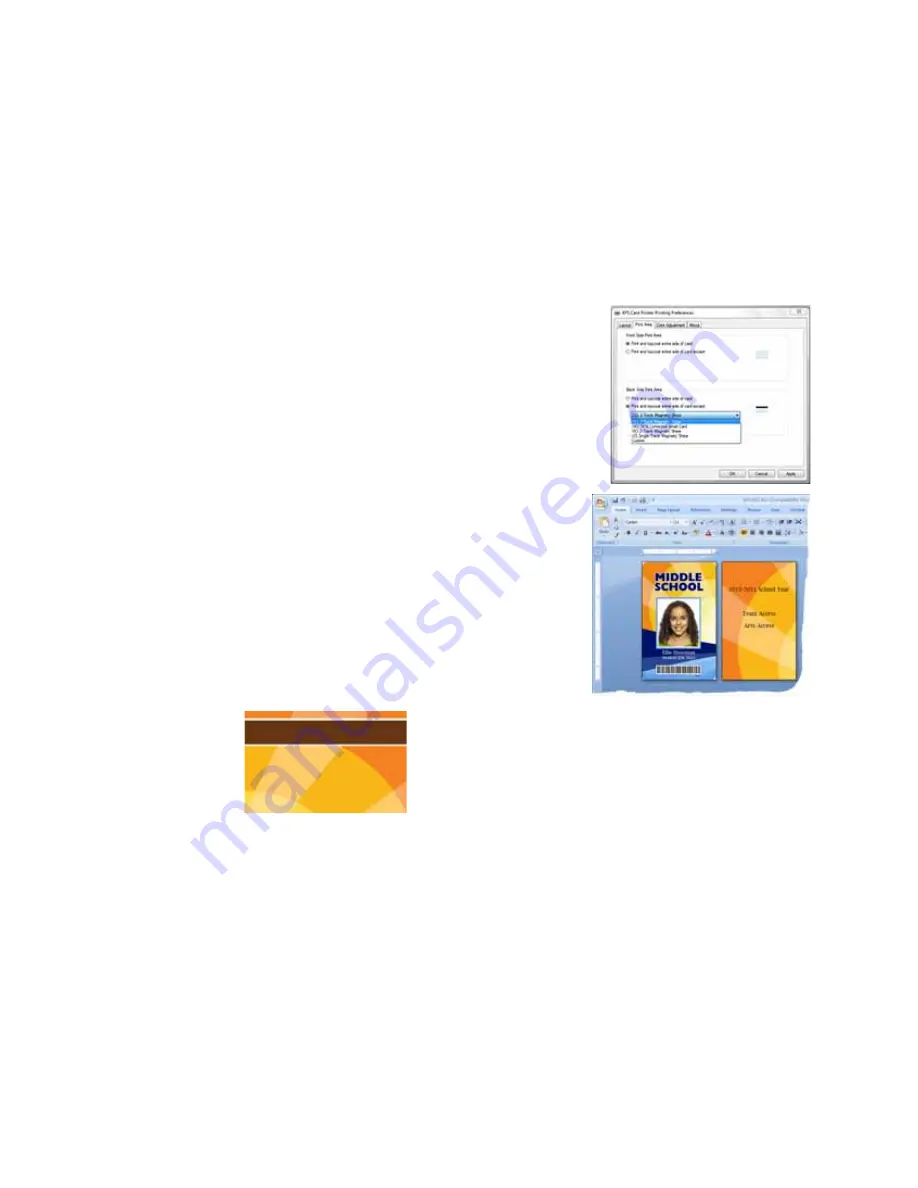
For the side of the card with the non-printing
area, click the “Print and topcoat entire side of
card except” list and choose the area.
4.
For the example shown, do not print the ISO
3-Track Magnetic Stripe area on the back of
the card. (Text shown on the back is formatted
with a mag stripe font and will be encoded.)
5.
Click Apply to save the setting, and then click
Close.
6.
Send the card to print.
The back of the completed card looks like this:
Notice the narrow white area above and below the magnetic
stripe. The non-printing area is slightly larger than the
feature, in this case the magnetic stripe.
Summary of Contents for 539957-020 Rev. A
Page 1: ...Polaroid XPS Card Printer Installation and User Guide June 2011 Part No 539957 020 Rev A ...
Page 10: ...8 ...
Page 13: ...3 Inside a printer Printer with Duplex Option ...
Page 15: ...5 ...
Page 18: ...8 Welcome to Card Printer Information ...
Page 51: ...41 ...
Page 52: ...42 Printing Cards ...
Page 92: ...82 Printer Driver ...
Page 95: ...85 ...
Page 96: ...86 Updates Upgrades and More ...
Page 100: ...90 Removing a Printer from a Windows PC ...
Page 118: ...108 Troubleshooting ...
Page 183: ...173 ...
Page 184: ...174 Legal Notices ...


