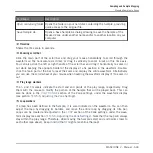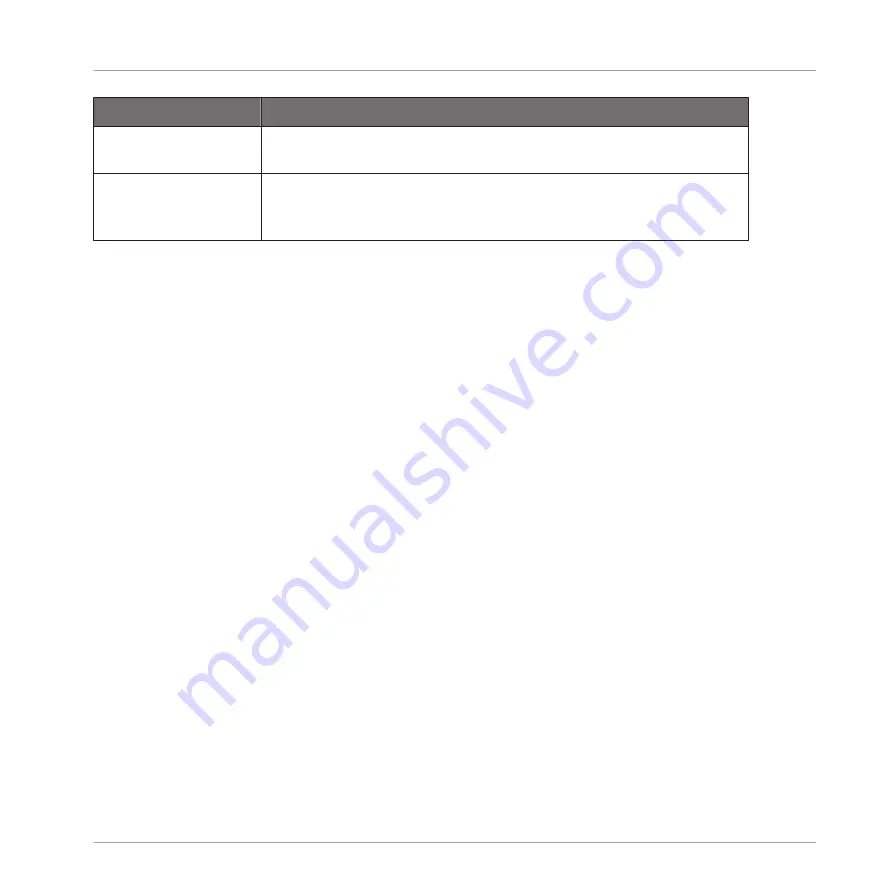
Command
Description
Open containing folder
Opens the folder on your hard disk containing the Sample, providing
quick access to the original file.
Save Sample As…
Opens a Save Sample As dialog allowing to save the Sample of the
focused Zone under another name and/or to another location on your
computer.
(2) Timeline
Shows the time scale in seconds.
(3) Zooming scroll bar
Click the main part of the scroll bar and drag your mouse horizontally to scroll through the
waveform on the horizontal axis (time), or drag it vertically to zoom in/out on this time axis.
You can also click the left or right handle of the scroll bar and drag it horizontally to zoom in/
out while keeping the opposite border of the display at a fix position in the waveform. Double-
click the main part of the bar to reset the zoom and display the entire waveform. Alternatively
you can use the scroll wheel of your mouse when hovering the waveform display (1) to zoom in/
out.
(4) Play range markers
The
S
and
E
markers indicate the start and end points of the play range, respectively. Drag
them with the mouse to modify the portion of the Sample that will be played back. This can
also be done in the
PLAY RANGE
section of the Zone settings, under the waveform display
13.5.6, Adjusting the Zone Settings
).
(5) Loop markers
If a loop has been defined in the Sample, it is also indicated on the waveform. You can then
adjust the loop by dragging its borders, and move the entire loop by dragging its title bar.
Loops can be created and adjusted in the
LOOP
section of the Zone settings, under the wave-
form display (see section
13.5.6, Adjusting the Zone Settings
). Note that the loop will always
stay within the play range. Therefore, when moving the Sample’s start and end points closer to
each other (see above), keep in mind that it might also shrink the loop!
Sampling and Sample Mapping
Mapping Samples to Zones
MASCHINE 2 - Manual - 644


