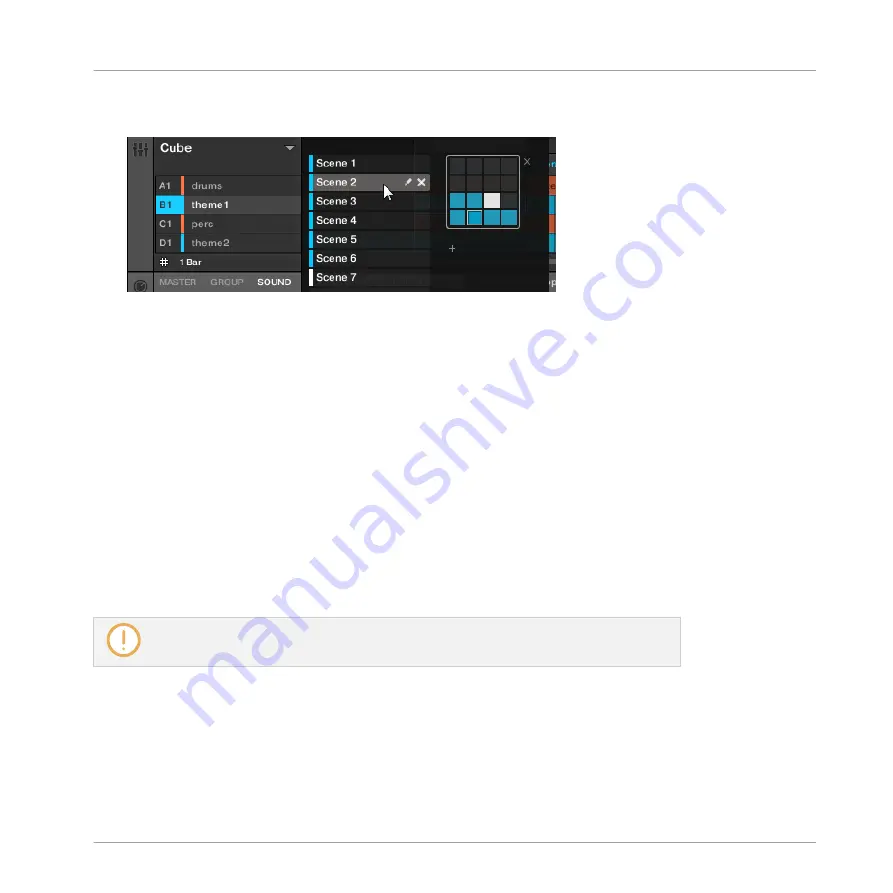
3.
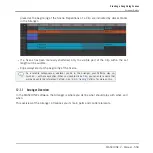
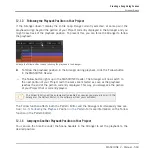
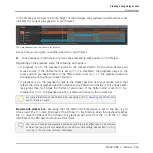
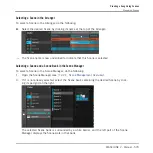
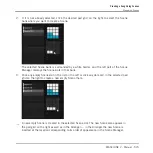
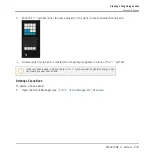
Select the desired Scene by clicking the slot with its name in the list on the left or by
clicking its cell in the selected pad grid on the right.
→
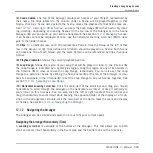
The Scene slot and the corresponding cell on the right are now highlighted to indicate
that this Scene is selected.
Once a Scene Has Been Selected…
Once you have selected a Scene using either of the methods described above, the following
happens:
▪
The Pattern Editor displays the Pattern corresponding to the Clip for the focused Group in
this Scene. If there is no Clip for the focused Group in the Scene you have just selected,
the Pattern Editor is empty.
▪
Additionally, if the selected Scene is outside the current Loop Range:
◦
The Loop Range is set to the selected Scene.
◦
If playback is off the playhead immediately jumps to the beginning of the selected
Scene. If playback is on the playhead jumps according to the Perform Grid settings.
For more info on the Loop Range see section
12.3.1, Selecting a Loop Range
. For
more info on the Perform Grid settings see section
12.3.2, Jumping to Other Scenes
12.2.3 Creating Scenes
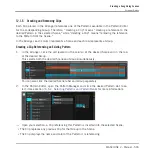
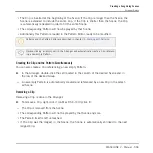
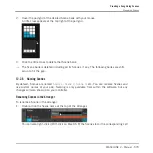
You can create a new Scene via the Scene Manager or directly in the Arranger.
Creating a Song Using Scenes
Managing Scenes
MASCHINE 2 - Manual - 571


