83
DPSClick User Manual
v. 4.0
•
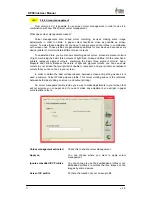
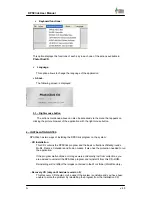
In the middle are the pictures of the customer inserted into a box where they can be
selected one by one (clicking each one separately) or all (double–clicking any part
inside the frame containing the photos), this selection will be highlighted by a red frame
around the each selected picture and the number of pictures selected at all times will be
displayed at the bottom. There is also a scroll bar (of there are more than 20 photos) to
•
be able to see any photos that are hidden. The date on which the CD was recorded is
shown under the frame.
•
To the right of the image are the buttons corresponding to the functions used by the
application, which are described later. These functions can be run from the top menu or
by right–clicking with the mouse anywhere inside the frame containing the pictures.
5.1 – On–screen buttons :
Rotate clockwise:
This action rotates an image selected from the panel 90º
clockwise and keep it rotated in the image Panel, as in
Zoom
and the
Slide
Show
.
Rotate anticlockwise:
This action rotates an image selected from the panel
90º anticlockwise and keep it rotated in the image Panel, as in
Zoom
and the
Slide Show
.
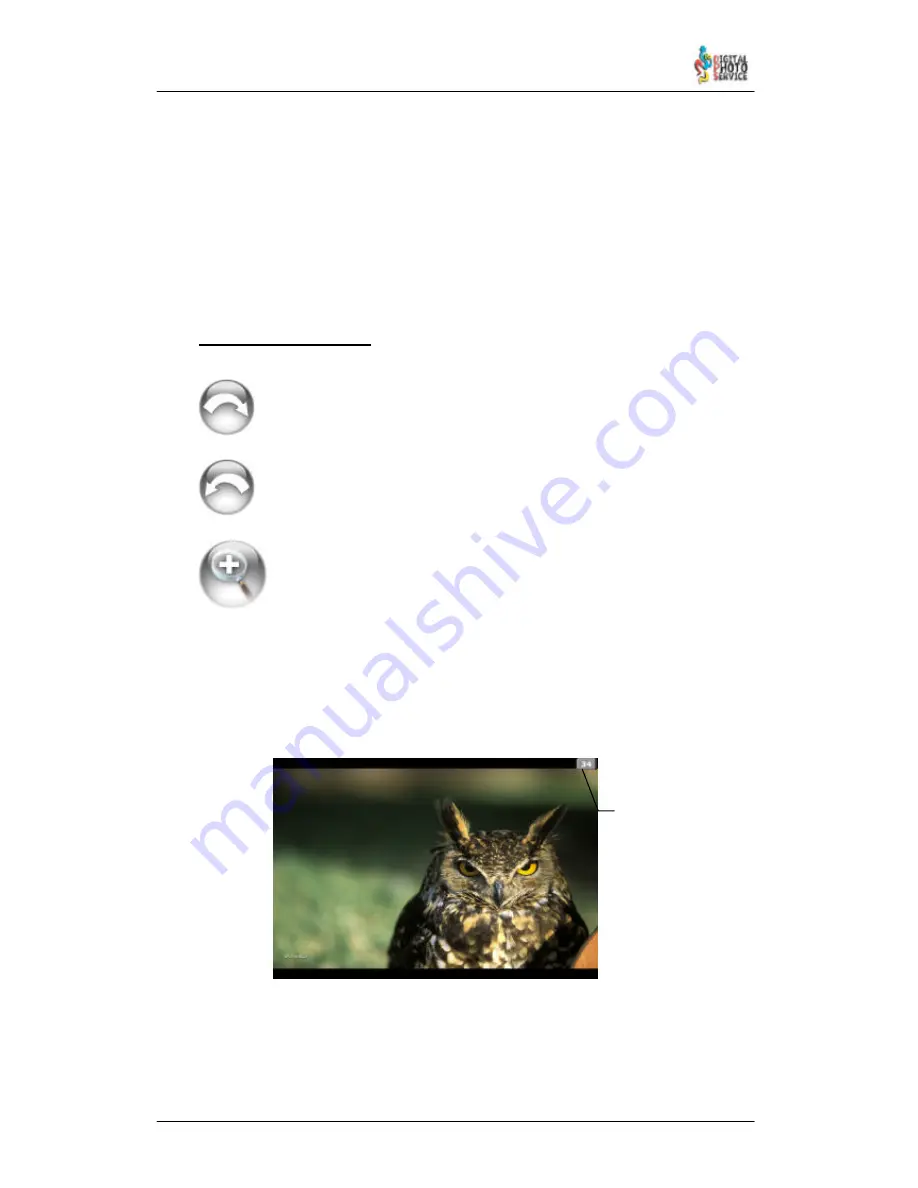
Zoom:
This displays the picture/s selected in full–screen mode, and allows
you to toggle between them by clicking the forward and back icons.
The image will always take up the maximum possible space on screen,
regardless of its resolution.
To go forward or back you can also use the PC keyboard by pressing the
spacebar
,
PageDown
or “
↓
” to view the next picture, and
delete, PageUp
or “
↑
” to see the next
picture. You can use also the mouse to advance (center of the screen) and exit (upper
center part of the screen): of course, if you are using a DPSClick machine to run
PhotoClickCD application, you can use your finger directly on the screen.
Another function permitted inside
Zoom
is the rotation of the image being viewed by
pressing
←
to rotate it 90º anticlockwise or
→
or to rotate it 90º clockwise.
Picture
number


