76
DPSClick User Manual
v. 4.0
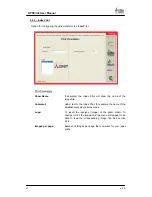
4.10.3 – Checking printers and papers
If you wish to check with detail the printers connected to the system, access:
Menu > Settings > Printers
You can check the
Name
(model) of the printer, the kind of
Connection
(SCSI or USB),
the
Target
and
Device
, the
Format
(Paper size), the remaining
Copies
of the printer (if
available), and the
Status
.
There is no possibility to change this information manually. The system automatically
detects these parameters.
Note:
some printers can not give information about remaining paper, so “9999” will be
displayed.
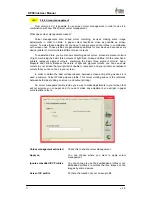
4.10.4 – Deleting and recovering Jobs.
You can delete or recover one or several jobs:
-
Previous to do anything with printing jobs, is better to pause Printserver with pause
button.
-
To delete a given job, select it with the mouse, and then press the
“Delete job”
button.
Is possible also to delete all jobs (
“Delete all”)
or delete only the jobs belonging to the
same request (
“Delete Request”
).
-
If some problem happened after sending jobs to the printer and they are blocked, they
can be resent pressing
“Recover All”, “Recover Request”, “Recover Job”
button.
-
“Resend Request”:
in printing blocked mode (not balanced) the jobs are liberated from
the printer that originaly were assigned to, so now printserver application can decide to
assign them to another printer. This can be useful when one printer is out of paper and
the user wants to go on with printing process.
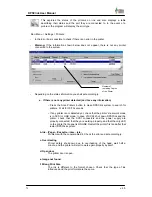
4.10.5 – Print–out Adjustments: Sharpness, Colour Gamma and Mode
It’s possible to change different print-out quality adjustments:
-
Menu/Adjust/Sharpness
: Variation of the detail (Sharpening outlines). There are three
degrees: Soft, Normal, Hard. There is also the User mode (Personalised) where you can
choose between Auto, automatic opening values are used, and Manual, where you can
configure the Threshold values and the Quantity of pixels of the focus Mask.
-
Menu/Adjust/Colour Gamma
: Colour depth. There are two values: Photo and High
Sharpness in which pure tones are emphasised.
-
Menu/Adjust/Mode
: You can select the ID work mode, which gives better image quality
but slower printing speed. This mode is recommended for studio photography.
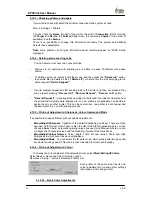
4.10.6 – Print–out Adjustments: Colour
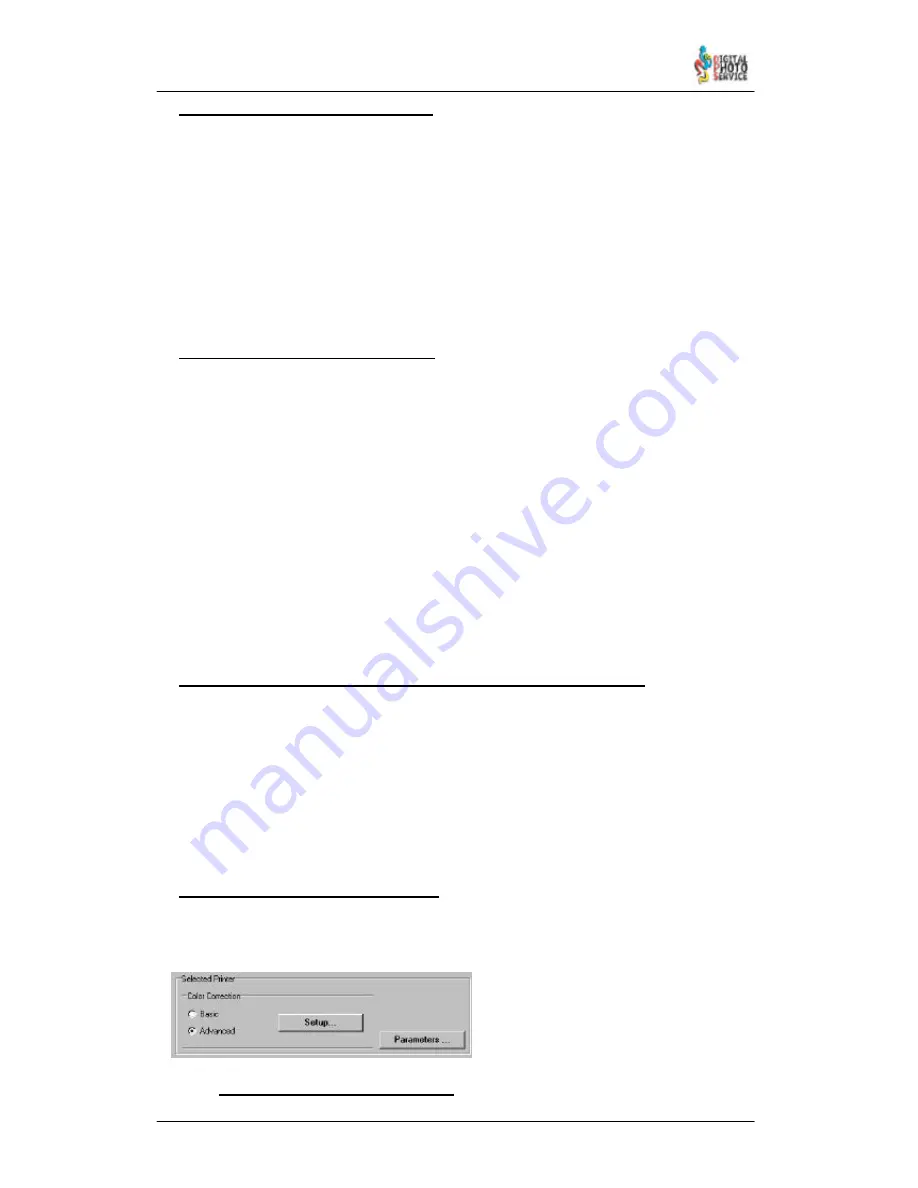
To change the colour adjusts of the selected printer, select
Menu/Settings/Printers.
Select Basic or Advanced Color Correction option
Now press “Setup...” button in Detected Printers List.
Each printer of the same kind has its own
colour adjustment curve and printer settings
(sharpness, mode and gamma).
4.10.6.1 – Basic Color Adjustments


