46
DPSClick User Manual
v. 4.0
Other possible actions include clicking the Adjustments button to adjust the brightness
or the colour of the image (see section 4.3.8 of the manual) and return to the Adjustments
screen to print the adjusted image. You can also choose whether to select several images at
once and click the print button, or else press the
Index Print
button.
Index Print
: Once the parameters have been set on the Configuration screen this
tool creates index prints using the miniatures of the pictures selected. This may
be useful for the customer to know which images he has recorded on the digital
card, for example.
4.4.2 – How to read and print images from a CD–ROM.
Proceed as follows when a customer delivers images taken with a digital camera and
saved to a CD–ROM.
Proceed as follows.
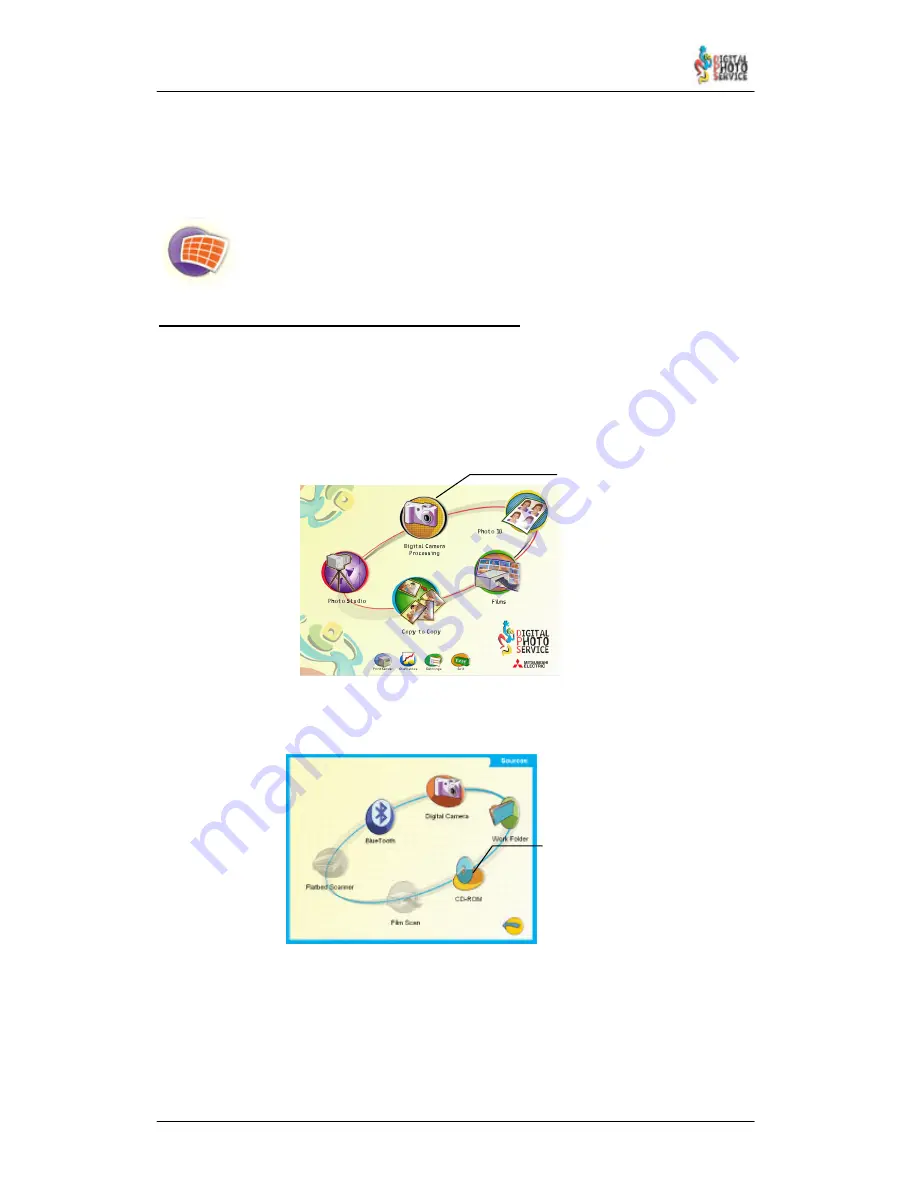
1) Firstly, in the main screen, choose the digital camera option.
2) Then choose the source device used by the customer: in this case the CD–ROM.
3) Open the CD–ROM drive tray with the eject button normally located to the right of the
drive face at the front of the equipment. Place the customer's CD–Rom in the tray and
press the drive button again to close the drive.
4) Click the CD–ROM icon on the Inputs screen. If there is no CD–ROM inserted in the tray
the following message will appear: “Cannot access device”. Proceed as in the previous
step.
CD-ROM
Digital Camera
Processing


