35
DPSClick User Manual
v. 4.0
NEW!
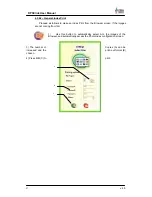
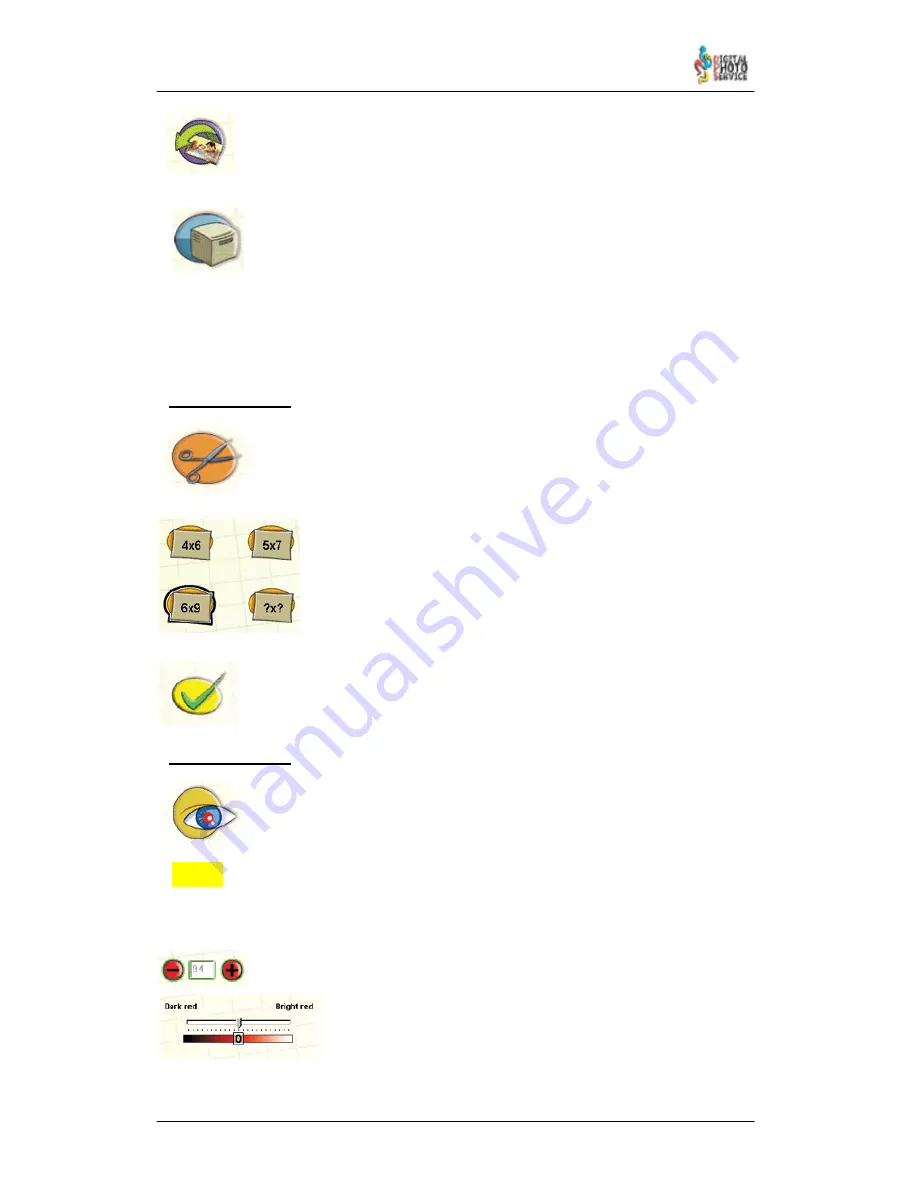
Click on this button to recover the image with the appearance it had before
accessing this screen.
Press this button to print the image.
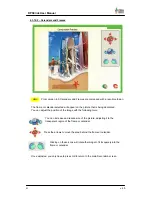
The labels
Shift
,
Ctrl
and
Alt
, which can be seen bottom right of the screen, have different
functions depending on the action activated.
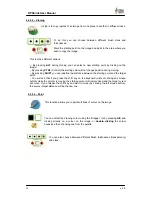
4.3.9.1 – Cropping
This function allows you to redefine the format of the image without distorting it,
optimising the size of the image, or making it possible to define it manually
using a box, maintaining the proportions if you wish.
You can choose from three picture formats. This means that when you
create a box inside the image it will take on the proportions of the
format. If you do not want the box to maintain any proportion, choose
the ‘Free Format’ option [ ? x ? ].
You can also create a box that optimises size simply by
double–
clicking
any of the format buttons.
Once you have defined the box you can move it over the image and modify its
size. When the appearance is right, click ‘Apply’ to validate the format.
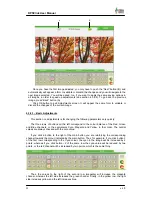
4.3.9.2 – Red Eyes
This function eliminates the so–called “Red Eyes” effect.
From version 4.0, it is possible to correct red eyes easier and faster.
To use the tool, click on the eye with this defect. You will see a circle that can match more or
less with the size of the eye. This is the region where appears the red correction.
Use these buttons to make the circle bigger or smaller according to the size of
the red zone. You can move the circle to fit better by dragging and dropping it.
Finally, use this bar to adjust correction if you don’t have good
results by default, and repeat the process for every red eye.


