


200
List of Messages
This section describes the messages displayed on the operation panel.
□
: Means that an arbitrary message is displayed on the top.
[CODE]
: Displays an arbitrary numeric value.
[INFO]
: Displays an arbitrary message.
[FS_ERROR]
: Displays an arbitrary numeric value.
[ERRERROR]
: Displays an arbitrary numeric value.
[SUBCODE]
: Displays an arbitrary numeric value.
[COVER]
: Indicates the top cover or feeder cover.
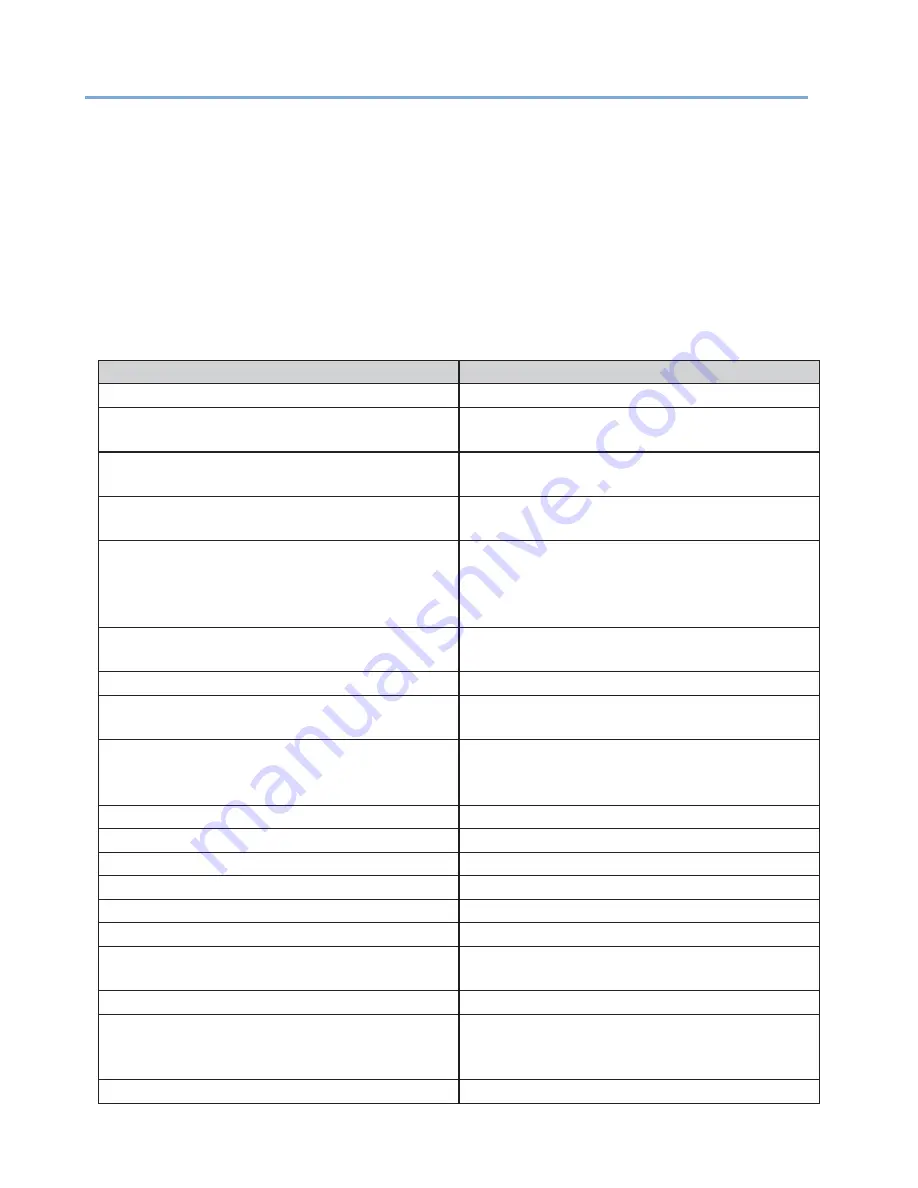
Message
Description
PLEASE WAIT
Wait until the machine becomes ready to print.
INITIALIZING
The machine is initializing. Wait until the machine
becomes ready to print.
MENU RESETTING
The menu items are being reset. Wait until the
machine becomes ready to print.
WAIT A MOMENT
NETWORK INITIAL
The network settings are being initialized. Wait until
the machine becomes ready to print.
DETECTED AN ABNORMALITY OF INTERNAL
DATABASE
AFTER PRESSING [OK] THE DATA WILL BE
DELETED AND THEN REBOOT
An error occurred in the internal database of the
machine. Press «OK» button to delete the data. The
machine then restarts.
PU FLASH ERROR
The machine cannot start.
Contact your dealer.
READY TO PRINT
Printing can be performed.
OFFLINE
The machine is offline. Press «ONLINE» button to
turn the machine online.
FILE ACCESSING
The internal file system of the machine is being
accessed. Wait until the machine becomes ready to
print.
DATA ARRIVE
Data is being received.
PROCESSING
Data is being processed.
DATA
Unprinted data remains in the machine.
PRINTING
The machine is printing.
PRINT DEMO PAGE
A demonstration page is being printed.
PRINT CONFIGURATION
The settings of the machine are being printed.
PRINT FILE LIST
The list of files stored in the internal file system of the
machine is being printed.
PRINT ERROR LOG
An error log is being printed.
□
COPY kkk/lll
A copy is being printed.
[kkk] indicates the number of pages being printed
and [lll] indicates the total number of pages.
CANCELING JOB
Printing is being canceled.
Summary of Contents for 360C
Page 1: ...360C Operator s Manual 880076 0101 Rev 2 ...
Page 17: ...17 Unpacking How to Unpack the Machine Checking the Accessories Installing Consumables 2 ...
Page 24: ...24 ...
Page 36: ...35 7 Tighten the screws x 2 8 Connect the connector ...
Page 37: ...36 9 Attach the Cover Cable PSNT 10 Attach the Cap Cover PSNT x 2 ...
Page 50: ...49 ...
Page 91: ...90 ...
Page 147: ...146 ...
Page 156: ...155 8 Remove the cover toner 9 Close the top cover 10 Open the toner cartridge cover ...
Page 167: ...166 8 Close the top cover ...
Page 178: ...177 15 Close the feeder cover until it clicks ...
Page 179: ...178 ...
Page 198: ...197 4 Close the feeder cover until it clicks ...
Page 233: ...232 ...
Page 244: ...243 The settings of the machine can be changed from the Admin Setup tab ...
Page 280: ...279 11 Confirm the setting results and click Back ...
Page 289: ...288 ...
Page 296: ......
Page 297: ......


