


14
Screens
Unless otherwise specified, this manual uses screens from the following operating system in examples.
·
Windows 10
Screens may differ from those in this manual, depending on the operating system, model, and version
you are using.
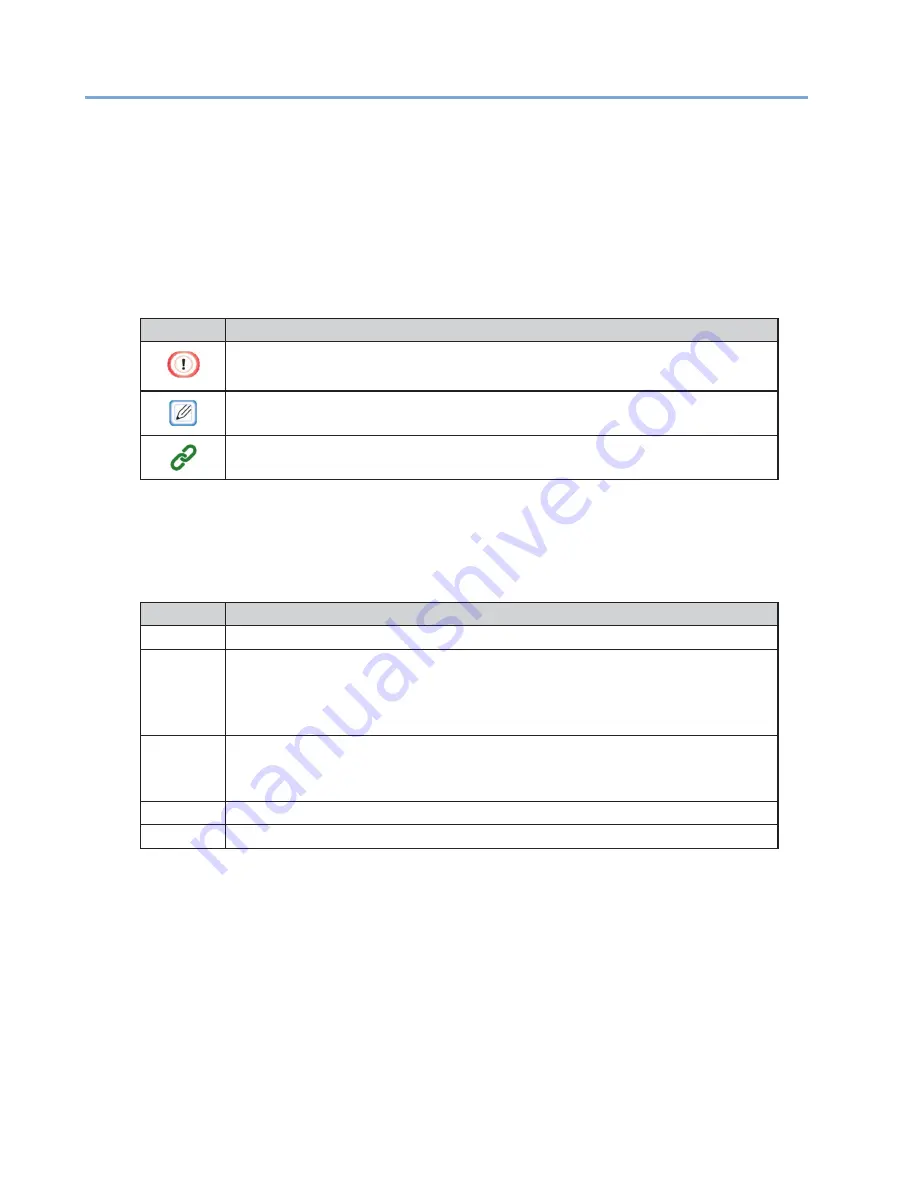
Marks
This manual uses the following marks.
Mark
Meaning
Indicates cautions for operating the machine correctly. Make sure to read these
cautions to ensure that you operate the machine correctly.
Indicates information that is convenient or useful for using the machine. It is
recommended that you read this information.
Indicates a reference topic. Read when you need more information.
Symbols
This section describes the symbols used in this manual and their meaning.
Symbol
Meaning
« »
Indicates buttons/keys on the operation panel of the machine.
[ ]
Indicates menu names, item names, and selections displayed on the operation
panel.
Indicates the menus, windows, and dialog names displayed on the computer
screens.
" "
Indicates message and entered text displayed on the operation panel.
Indicates file names on a computer.
Indicates the titles of links.
< >
Indicates keys on the keyboard of the computer.
>
Indicates the menu transition of the machine and the computer.
Illustrations
The operation panel screens used in this manual use the default settings.
Summary of Contents for 360C
Page 1: ...360C Operator s Manual 880076 0101 Rev 2 ...
Page 17: ...17 Unpacking How to Unpack the Machine Checking the Accessories Installing Consumables 2 ...
Page 24: ...24 ...
Page 36: ...35 7 Tighten the screws x 2 8 Connect the connector ...
Page 37: ...36 9 Attach the Cover Cable PSNT 10 Attach the Cap Cover PSNT x 2 ...
Page 50: ...49 ...
Page 91: ...90 ...
Page 147: ...146 ...
Page 156: ...155 8 Remove the cover toner 9 Close the top cover 10 Open the toner cartridge cover ...
Page 167: ...166 8 Close the top cover ...
Page 178: ...177 15 Close the feeder cover until it clicks ...
Page 179: ...178 ...
Page 198: ...197 4 Close the feeder cover until it clicks ...
Page 233: ...232 ...
Page 244: ...243 The settings of the machine can be changed from the Admin Setup tab ...
Page 280: ...279 11 Confirm the setting results and click Back ...
Page 289: ...288 ...
Page 296: ......
Page 297: ......


