Section 3 - On The Water
90-899883234 JANUARY 2008
Page 55
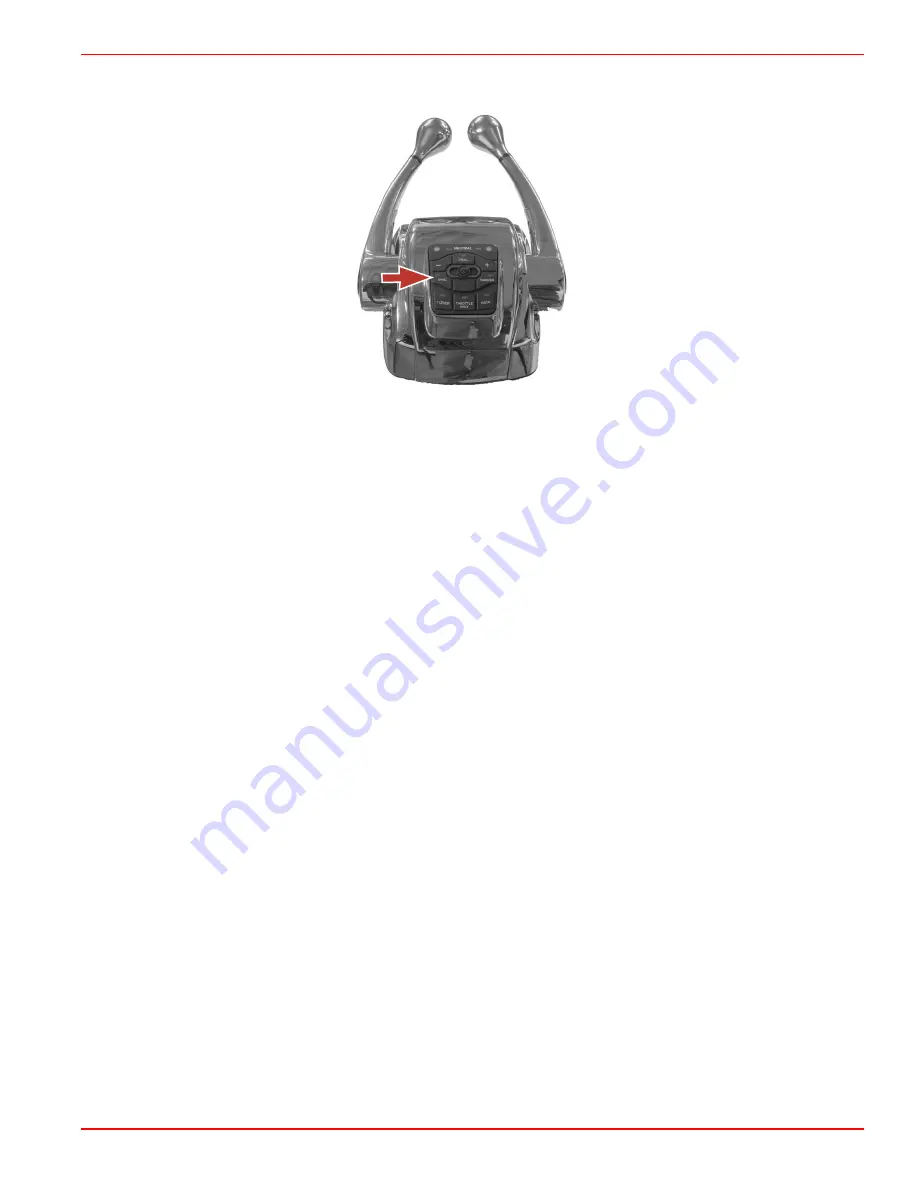
VesselView shows an orange icon if the engines exceed a 10% difference in RPM of each
other, and the icon turns red when they synchronize. The icon turns off when Sync is off.
31467
"SYNC" button
To disengage Sync mode:
1. Place the ERC levers in any detent.
2. Press the "SYNC" button.
To re‑engage Sync mode, press the "SYNC" button.
Axius Plus CAN Control Pad (If Equipped)
GENERAL INFORMATION
• Axius Plus CAN Control Pad functions are controlled through the Axius trackpad only.
• Axius Plus CAN Control Pad screens, when accessed by the trackpad, appear on the
VesselView for three seconds unless calibrated otherwise.
• Pressing any button on VesselView dismisses the Axius Plus CAN Control Pad screen
from the VesselView screen, unless the screen was chosen from the VesselView
environment menu.
NOTE: Not all of the functions of the Axius system work when DTS functions are engaged.
Disengage the DTS functions to use the functions of Axius track pad.
The following information shows the location and explains the function of the Axius track
pad lights and buttons.
HEADING ADJUSTMENT AND OVERRIDE
When Auto Heading is engaged, the steering wheel feels locked into a detent .
Approximately 3.4–4.5 kg (8–10 lb.) of force are required to overcome this detent. Manually
overcoming the steering wheel's detent force automatically puts Axius CAN into standby
mode.
1. When Auto Heading is engaged the "TURN" buttons provide a 10° course correction
for each press to the port or starboard.
2. The joystick provides a 1° course correction for each press to the port or starboard.
STANDBY
• In standby mode, the display shows a digital compass value and the angle of the drives
when engaged.
• The compass value is the actual current heading from the Axius CAN.
• On the right side of the screen, an icon labeled "OFF" indicates that the Axius track
pad is not engaged.
Summary of Contents for Axius 350 MAG
Page 26: ...Section 1 Warranty Notes Page 18 90 899883234 JANUARY 2008 ...
Page 42: ...Section 2 Getting to Know Your Power Package Notes Page 34 90 899883234 JANUARY 2008 ...
Page 76: ...Section 4 Specifications Notes Page 68 90 899883234 JANUARY 2008 ...
Page 120: ...Section 5 Maintenance Notes Page 112 90 899883234 JANUARY 2008 ...
Page 138: ...Section 6 Storage Notes Page 130 90 899883234 JANUARY 2008 ...


