


WavePro 7Zi
113
WP700Zi-OM-E-RevA
Persistence Time
You can control the duration of persistence by setting a time limit, in seconds, after which persistence data will be
erased: 0.5 s, 1 s, 2 s, 5 s, 10 s, 20 s, or infinity.
Locking Traces (Not Available in All Oscilloscopes)
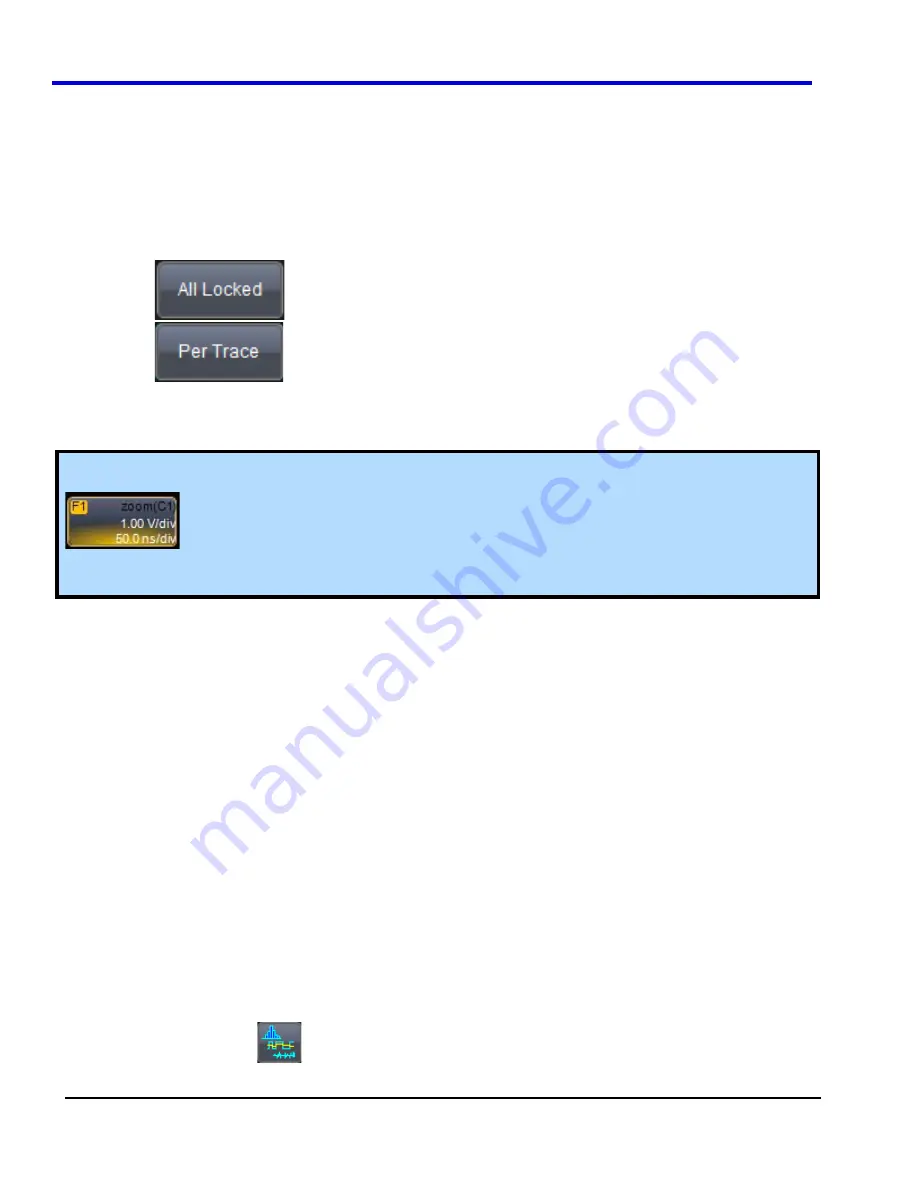
The instrument gives you the choice of constraining all input channels to the same mode, saturation level,
persistence time, and last trace display, or setting these for each input channel individually.
x
Choose
to constrain input channels.
x
Choose
to set up input channels individually.
Creating and Viewing a Histogram
Histogramming is not available on all instrument models.
Note:
The number of sweeps comprising the histogram will be displayed in the bottom line of the trace
descriptor label:
Note:
The range of a histogram is limited to the portion of the trace that is visible on screen. That is, if you zoom
in on a trace, the histogram will not contain data for that part of the original trace no longer visible.
Setting Up a Single Parameter Histogram
From Measure Dialog
1. Touch
Measure Measure Setup
on the menu bar.
2. Touch
the
My Measure
button.
3.
Touch one of tabs
P1
through
Px
.
4. Touch
inside
the
Source1
field and select an input waveform from the
Select Source
window.
5. Touch
inside
the
Measure
field and select a parameter from the
Select Measurement
window.
6. Touch
the
Histogram
button at the bottom of the dialog.
7.
Touch a math trace in which to place the resulting histogram, then close the pop-up menu.
8.
Touch the trace descriptor label for the math trace you just created.
9.
In the dialog to the right, touch the
Histogram
tab.
10. On the
Buffer
side of the
Histogram
tab, touch inside the
#Values
data entry field and enter a value.
11. On the
Scaling
side of the
Histogram
tab, touch inside the
#Bins
data entry field and enter a value.
12. To center the histogram, touch the
Find Center and Width
button.
OR
Touch inside the
Center
, then the
Width
, data entry fields and enter a value using the pop-up numeric
keypad.
From Math Dialog
1. Touch
Math Math Setup
on the menu bar.
2.
Touch one of function tabs
F1
through
Fx
[The number of math traces available depends on the software
options loaded on your scope. See specifications.] .
3.
Touch the Graph button
.
4. Touch
inside
the
Source1
field and select a source from the pop-up menu.
Summary of Contents for DDA 7 Zi series
Page 1: ...Operator s Manual WavePro SDA and DDA 7 Zi Series Oscilloscopes ...
Page 2: ... L R R H HUD RU D D ...
Page 41: ...Operator s Manual WP700Zi OM E RevA 40 The detachable WavePro Zi front panel ...
Page 376: ...WavePro 7Zi 375 WP700Zi OM E RevA Absolute Offset Relative ...
Page 439: ...Operator s Manual WP700Zi OM E RevA 438 ...
Page 440: ...WavePro 7Zi 439 WP700Zi OM E RevA ...
Page 544: ...Thank you for purchasing a WavePro SDA or DDA 7 Zi Oscilloscope ...


