


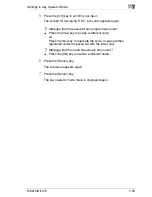
7
Settings in Key Operator Mode
7-16
Di5510/Di7210
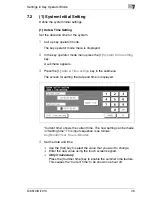
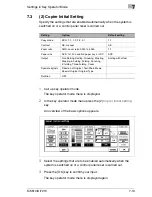
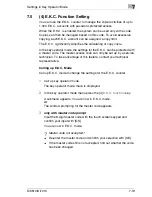
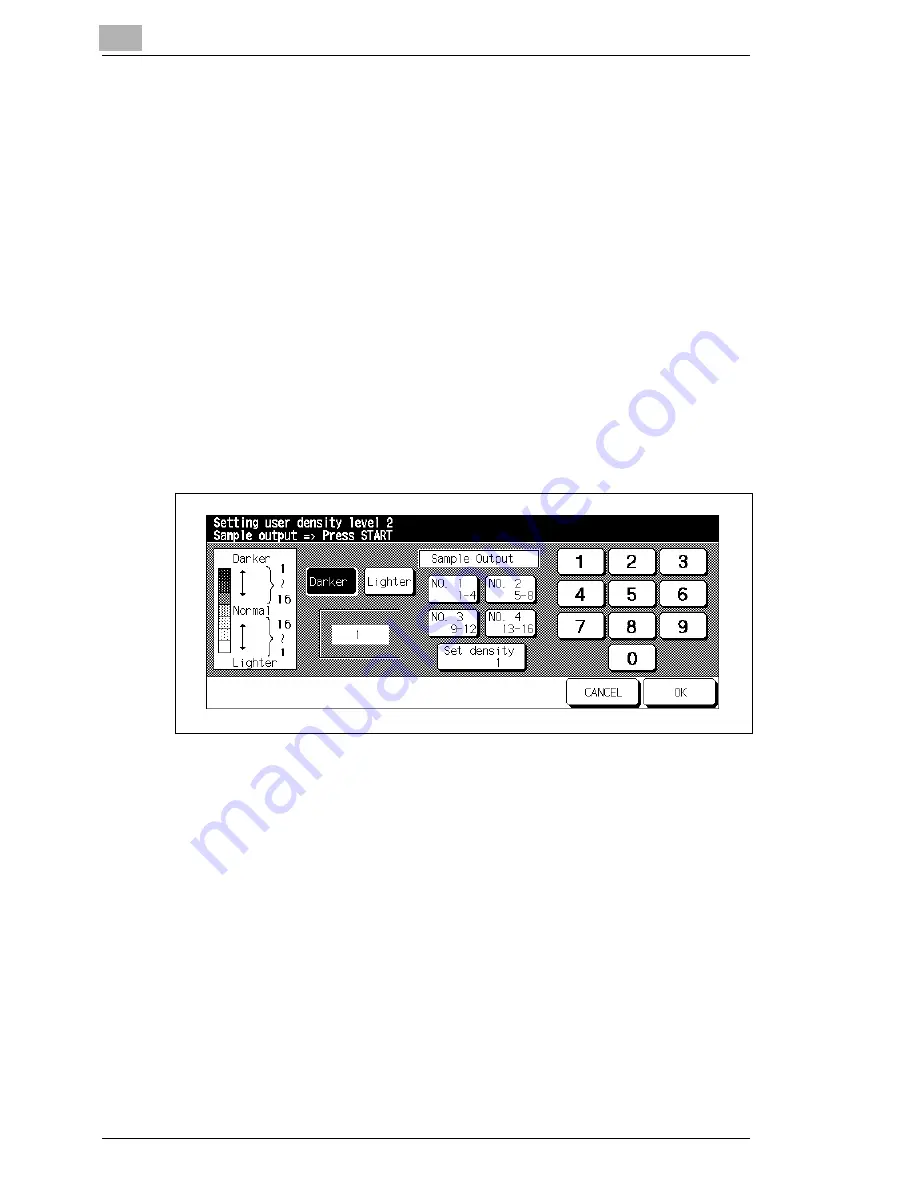
(2) Setting user density 2
Specify the density setting for user 2.
Two user-defined density settings (user 1, user 2) can be selected in the
touch screen basic options screen
Density
.
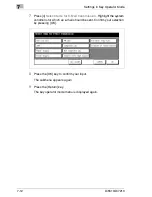
1
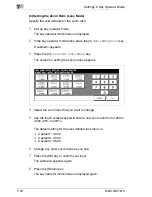
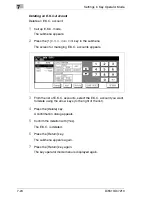
Load an original.
2
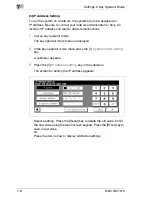
Call up key operator mode.
The key operator mode menu is displayed.
3
In the key operator mode menu press the [3]
User setting menu
key.
A submenu appears.
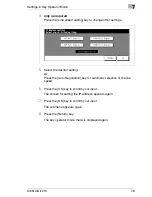
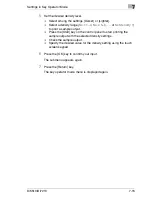
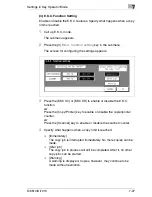
4
Press [2]
Setting user density level 2
in the submenu.
The screen for setting the copy density appears.
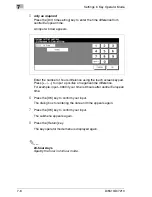
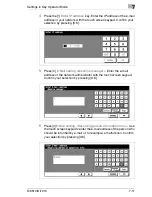
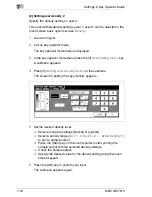
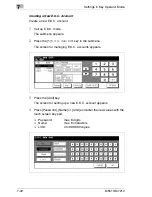
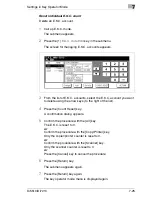
5
Set the desired density level.
H
Select among the settings [Darker] or [Lighter].
H
Select a density range (
No.1 1~4
,
No. 2 5~8
, . . . or
Set density 1
)
to print a sample output.
H
Press the [Start] key on the control panel to start printing the
sample output with the selected density settings.
H
Check the sample output.
H
Specify the desired value for the density setting using the touch
screen keypad.
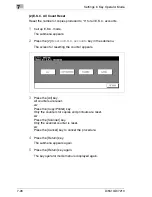
6
Press the [OK] key to confirm your input.
The submenu appears again.
Summary of Contents for Di5510
Page 1: ...Di5510 Di7210 Advanced Information...
Page 2: ......
Page 28: ...1 Introduction 1 16 Di5510 Di7210...
Page 90: ...2 Getting to Know Your System 2 62 Di5510 Di7210 9 Close the finisher door...
Page 96: ...2 Getting to Know Your System 2 68 Di5510 Di7210...
Page 148: ...3 Initial Steps 3 52 Di5510 Di7210...
Page 236: ...4 Basic Functions 4 88 Di5510 Di7210...
Page 352: ...6 Network functions 6 54 Di5510 Di7210 3 Configure settings as required...
Page 455: ...Troubleshooting 8 Di5510 Di7210 8 13 5 Close the finisher door...
Page 457: ...Troubleshooting 8 Di5510 Di7210 8 15 5 Close the finisher door...


