


6
Network functions
6-24
Di5510/Di7210
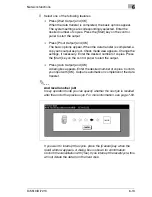
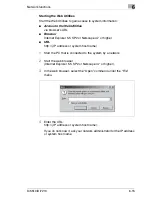
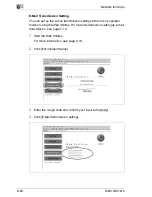
E-Mail Transmission Setting
You can set up the e-mail transmission settings either in key operator
mode or using the Web Utilities. For more information on setting up e-mail
transmission, see page 7-10.
1
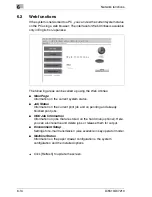
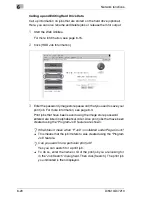
Start the Web Utilities.
For more information, see page 6-15.
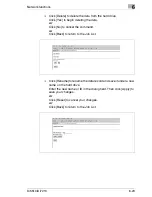
2
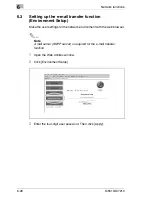
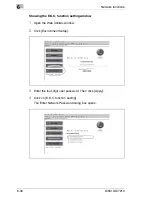
Click [Environment Setup].
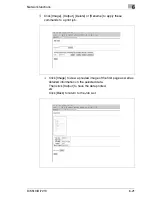
3
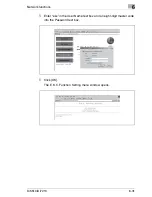
Enter the 4-digit code and confirm your input with [Apply].
4
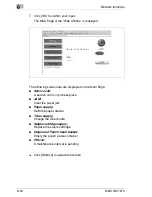
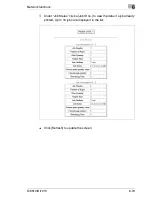
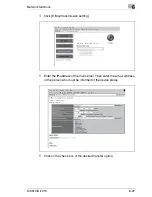
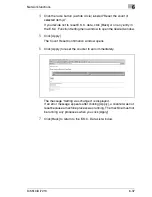
Click [E-Mail transmission setting].
Summary of Contents for Di5510
Page 1: ...Di5510 Di7210 Advanced Information...
Page 2: ......
Page 28: ...1 Introduction 1 16 Di5510 Di7210...
Page 90: ...2 Getting to Know Your System 2 62 Di5510 Di7210 9 Close the finisher door...
Page 96: ...2 Getting to Know Your System 2 68 Di5510 Di7210...
Page 148: ...3 Initial Steps 3 52 Di5510 Di7210...
Page 236: ...4 Basic Functions 4 88 Di5510 Di7210...
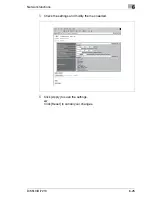
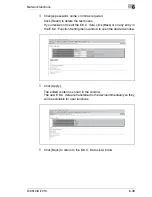
Page 352: ...6 Network functions 6 54 Di5510 Di7210 3 Configure settings as required...
Page 455: ...Troubleshooting 8 Di5510 Di7210 8 13 5 Close the finisher door...
Page 457: ...Troubleshooting 8 Di5510 Di7210 8 15 5 Close the finisher door...


