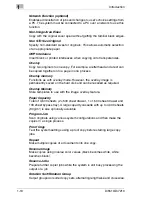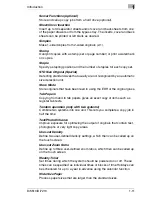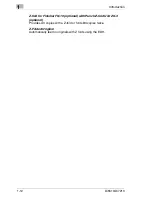
Introduction
1
Di5510/Di7210
1-9
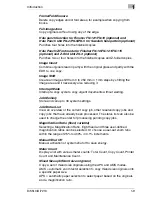
Frame/Fold Erasure
Delete copy edges and/or fold areas, for example when copying from
books.
Full-Image Area
Copy originals without losing any of the edge.
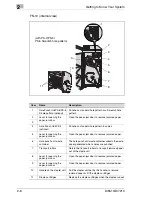
Hole punch function for Finisher FN-121/FN-10 (optional) and
Hole Punch Unit PK-2/PK-5/PK-5 for Swedish hole pattern (optional)
Punches four holes into the finished copies.
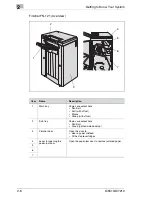
Hole Punch/Z-Fold mode for Finisher FN-10/FN-121/FN-115
(optional) and Z-Fold Unit ZK-3 (optional)
Punches two or four holes into the finished copies and Z-folded copies.
Image Insert
Combine originals read in partly with the original glass and partly with the
EDH to one copy.
Image Shift
Create an image shift from 0 to 250 mm in 1 mm steps by shifting the
image area and if necessary also reducing it.
Interrupt Mode
Interrupt a copy cycle to copy urgent documents without waiting.
Job Memory
Store and call up to 30 system settings.
Job Status List
View an overview of the current copy job, other reserved copy jobs and
copy jobs that have already been processed. The status list can also be
used to change the order for processing pending copy jobs.
Magnification Ratio (fixed, variable)
Selecting a Magnification Ratio. Eight fixed and three user-defined
magnification ratios can be selected. Or choose a user-set zoom ratio
within the range of 25% to 400% in 0.1% increments.
Manual Shut Off
Manual activation of system shut off to save energy.
Meter Count
Display a list with various meter counts: Total Count, Copy Count, Printer
Count and Maintenance Count.
Mixed Sizes (different size originals)
Copy a set of mixed size originals using the APS and AMS modes.
AMS = automatic zoom factor selection to copy mixed size originals onto
a specific paper size.
APS = automatic paper selection to select paper based on the originals
and a magnification ratio.
Summary of Contents for Di5510
Page 1: ...Di5510 Di7210 Advanced Information...
Page 2: ......
Page 28: ...1 Introduction 1 16 Di5510 Di7210...
Page 90: ...2 Getting to Know Your System 2 62 Di5510 Di7210 9 Close the finisher door...
Page 96: ...2 Getting to Know Your System 2 68 Di5510 Di7210...
Page 148: ...3 Initial Steps 3 52 Di5510 Di7210...
Page 236: ...4 Basic Functions 4 88 Di5510 Di7210...
Page 352: ...6 Network functions 6 54 Di5510 Di7210 3 Configure settings as required...
Page 455: ...Troubleshooting 8 Di5510 Di7210 8 13 5 Close the finisher door...
Page 457: ...Troubleshooting 8 Di5510 Di7210 8 15 5 Close the finisher door...


