


5
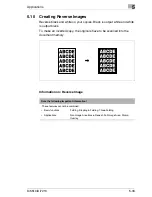
Applications
5-32
Di5510/Di7210
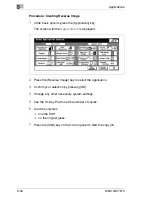
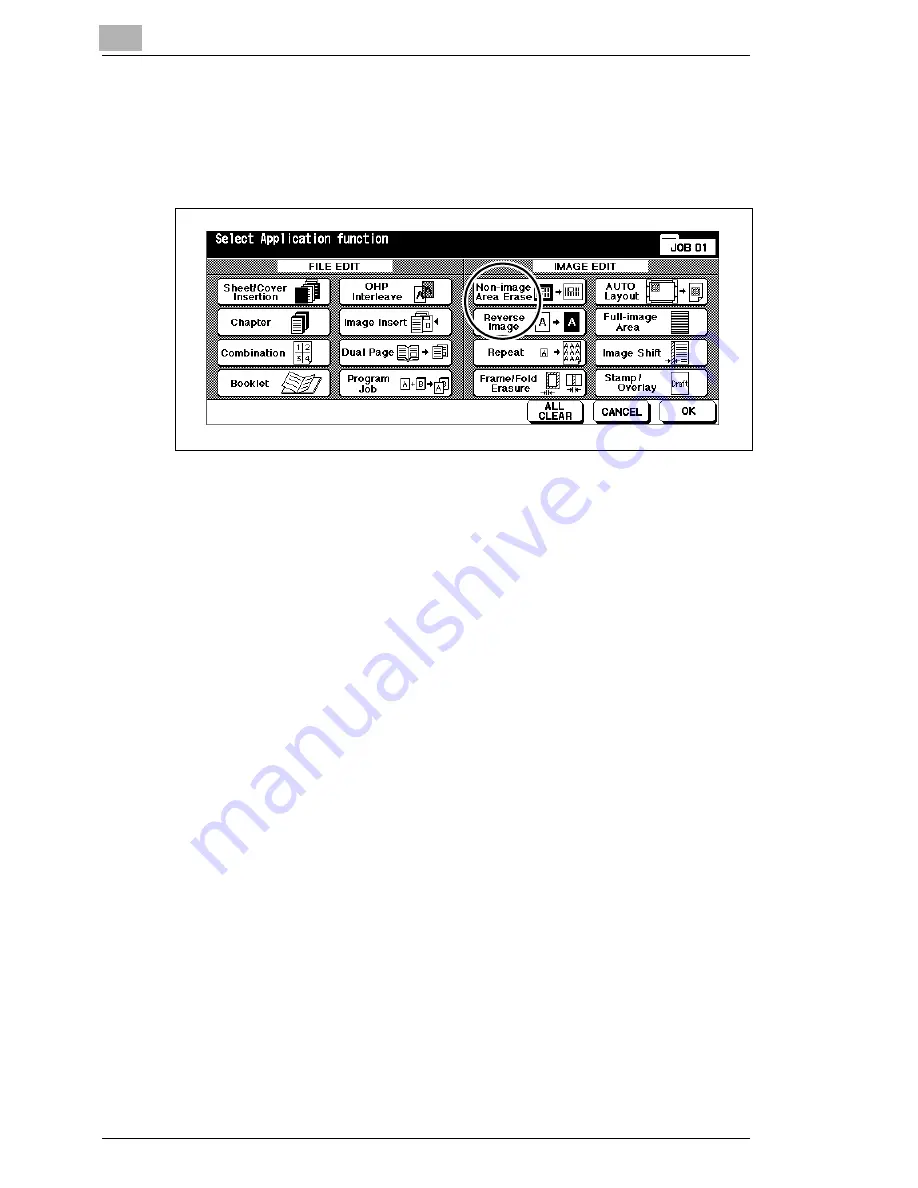
Procedure: Using Non-Image Area Erase
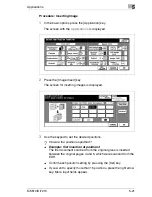
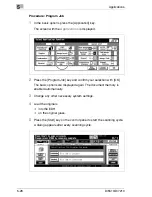
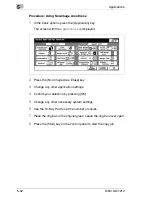
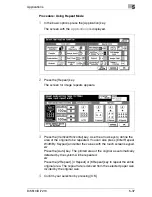
1
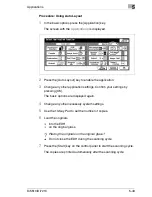
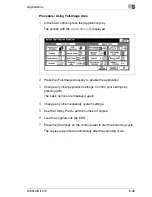
In the basic options press the [Application] key.
The screen with the
Applications
is displayed.
2
Press the [Non-Image Area Erase] key.
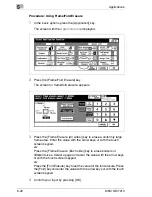
3
Change any other application settings.
4
Confirm your selection by pressing [OK].
5
Change any other necessary system settings.
6
Use the 10-Key Pad to set the number of copies.
7
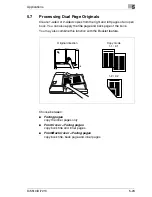
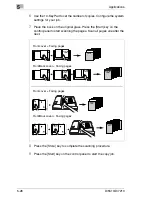
Place the original on the original glass. Leave the original cover open.
8
Press the [Start] key on the control panel to start the copy job.
Summary of Contents for Di5510
Page 1: ...Di5510 Di7210 Advanced Information...
Page 2: ......
Page 28: ...1 Introduction 1 16 Di5510 Di7210...
Page 90: ...2 Getting to Know Your System 2 62 Di5510 Di7210 9 Close the finisher door...
Page 96: ...2 Getting to Know Your System 2 68 Di5510 Di7210...
Page 148: ...3 Initial Steps 3 52 Di5510 Di7210...
Page 236: ...4 Basic Functions 4 88 Di5510 Di7210...
Page 352: ...6 Network functions 6 54 Di5510 Di7210 3 Configure settings as required...
Page 455: ...Troubleshooting 8 Di5510 Di7210 8 13 5 Close the finisher door...
Page 457: ...Troubleshooting 8 Di5510 Di7210 8 15 5 Close the finisher door...


