Network functions
6
Di5510/Di7210
6-13
8
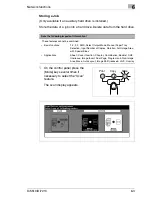
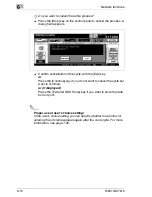
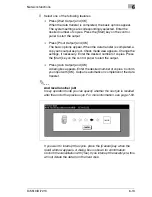
Select one of the following features.
H
Press [Wait Output] and [OK]
When the data transfer is completed, the basic options appear.
The system settings are correspondingly selected. Enter the
desired number of copies. Press the [Start] key on the control
panel to start the output.
H
Press [Proof Output] and [OK]
The basic options appear. When the data transfer is completed, a
copy set is output as proof. Check mode view appears. Change the
settings, if necessary. Enter the desired number of copies. Press
the [Start] key on the control panel to start the output.
H
Press [Auto Output] and [OK]
A dialog box appears. Enter the desired number of copies. Confirm
your input with [OK]. Output is automatic on completion of the data
transfer.
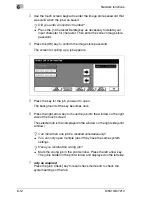
And recall another job!
In key operator mode you can specify whether the next job is recalled
after the end of the previous job. For more information, see page 7-50.
If you want to interrupt the cycle, press the [Cancel] key when the
recall window appears. A dialog box is shown for confirmation.
Confirm the cancellation with [Yes]. If you interrupt the recall cycle, this
will not delete the data from the hard disk.
Summary of Contents for Di5510
Page 1: ...Di5510 Di7210 Advanced Information...
Page 2: ......
Page 28: ...1 Introduction 1 16 Di5510 Di7210...
Page 90: ...2 Getting to Know Your System 2 62 Di5510 Di7210 9 Close the finisher door...
Page 96: ...2 Getting to Know Your System 2 68 Di5510 Di7210...
Page 148: ...3 Initial Steps 3 52 Di5510 Di7210...
Page 236: ...4 Basic Functions 4 88 Di5510 Di7210...
Page 352: ...6 Network functions 6 54 Di5510 Di7210 3 Configure settings as required...
Page 455: ...Troubleshooting 8 Di5510 Di7210 8 13 5 Close the finisher door...
Page 457: ...Troubleshooting 8 Di5510 Di7210 8 15 5 Close the finisher door...

