5
Specify the in point.
0
Operate buttons such as
O
/
N
or
S
/
T
to move the video to the in point.
0
Specify the in point by pressing the [OIS/1]
button at the point you want to start trimming.
6
Specify the out point.
0
Operate buttons such as
O
/
N
or
S
/
T
to move the video to the out point.
0
Specify the out point by pressing the
[MARKER/2] button at the point you want to
end trimming.
7
Perform trimming.
Press the [LOAD FILE/3] button to perform
trimming.
Memo :
0
While trimming is in progress, you can press the
[CANCEL] button to return to the thumbnail
screen.
0
While trimming is in progress, you can press the
[DISPLAY] button to switch the display, but the
trimming information is displayed at all times.
0
When trimming the in and out point, the in point
trimmed may be up to one second before the
specified in point and the out point trimmed may
be up to one second behind the specified out
point.
Basic Operations in Menu
Screen
0
Press the [MENU/THUMB] button on the side
control panel of the camera recorder or on the
LCD monitor to display the menu screen on the
LCD monitor and viewfinder.
0
Various settings for shooting and playback can
be configured on the menu screen.
0
There are two types of menu screens - [Main
Menu] and [Favorites Menu].
0
[Main Menu] contains all the setting items of the
camera recorder, classified according to
functions and uses, while [Favorites Menu]
allows users to customize the menu items freely.
P142 [Adding/Editing Frequently Used
0
The operating procedures and main screen
displays are the same for both menus.
0
The menu screen can also be displayed on
external monitors connected to the video signal
output terminal.
P126 [ VIDEO Out Character ] )
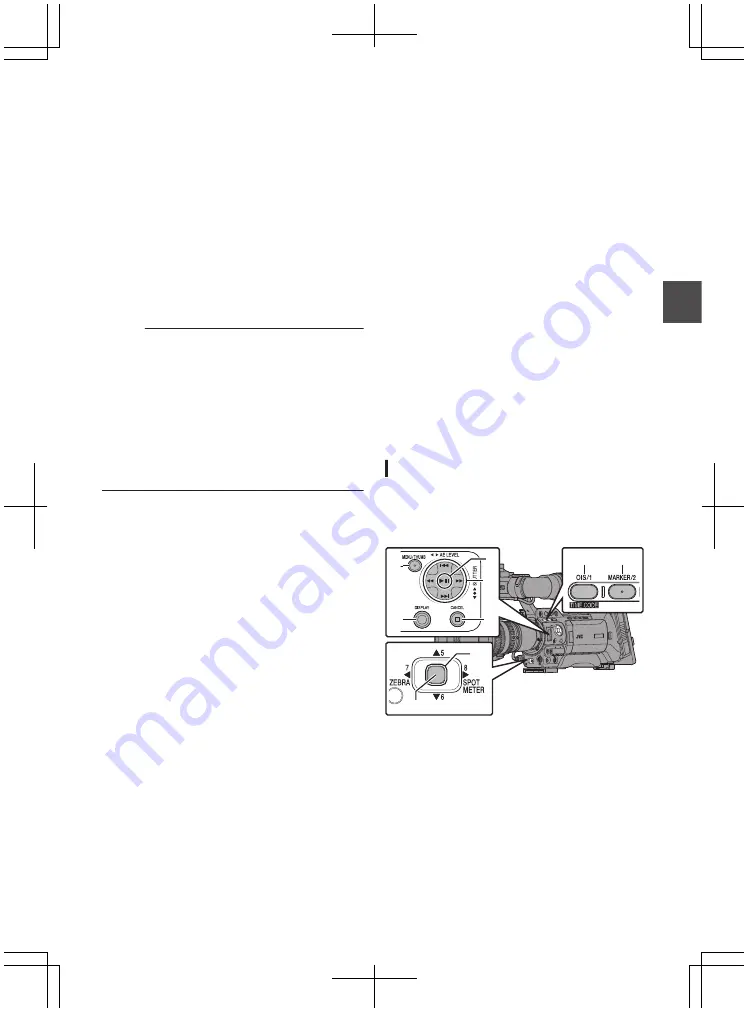
Operation Buttons
To operate the menu, use the cross-shaped
buttons on the side operation panel of the camera
recorder or the cross-shaped buttons at the front of
the camera or at the bottom of the lens.
.
A
D
F
G
B
E
D
C
E
Trimming Recorded Clips
103
Playback
Summary of Contents for GY-HM850CHE
Page 2: ...2 ...
Page 219: ...219 ...


