ID61/62 Series Panel - Installation, Commissioning & Configuration Manual
Appendix 2 - VIEW
, Optiplex & SMART Sensors
A2 - 9
997-457-000-8, Issue 8
January 2010
8
Using the numeric keypad press ‘
3
’ to select the
Service option. If configured, the next system service
date is displayed:
9
Press the ‘
4
’ button to return to the Maintenance
menu.
A2.6 Service Due Date
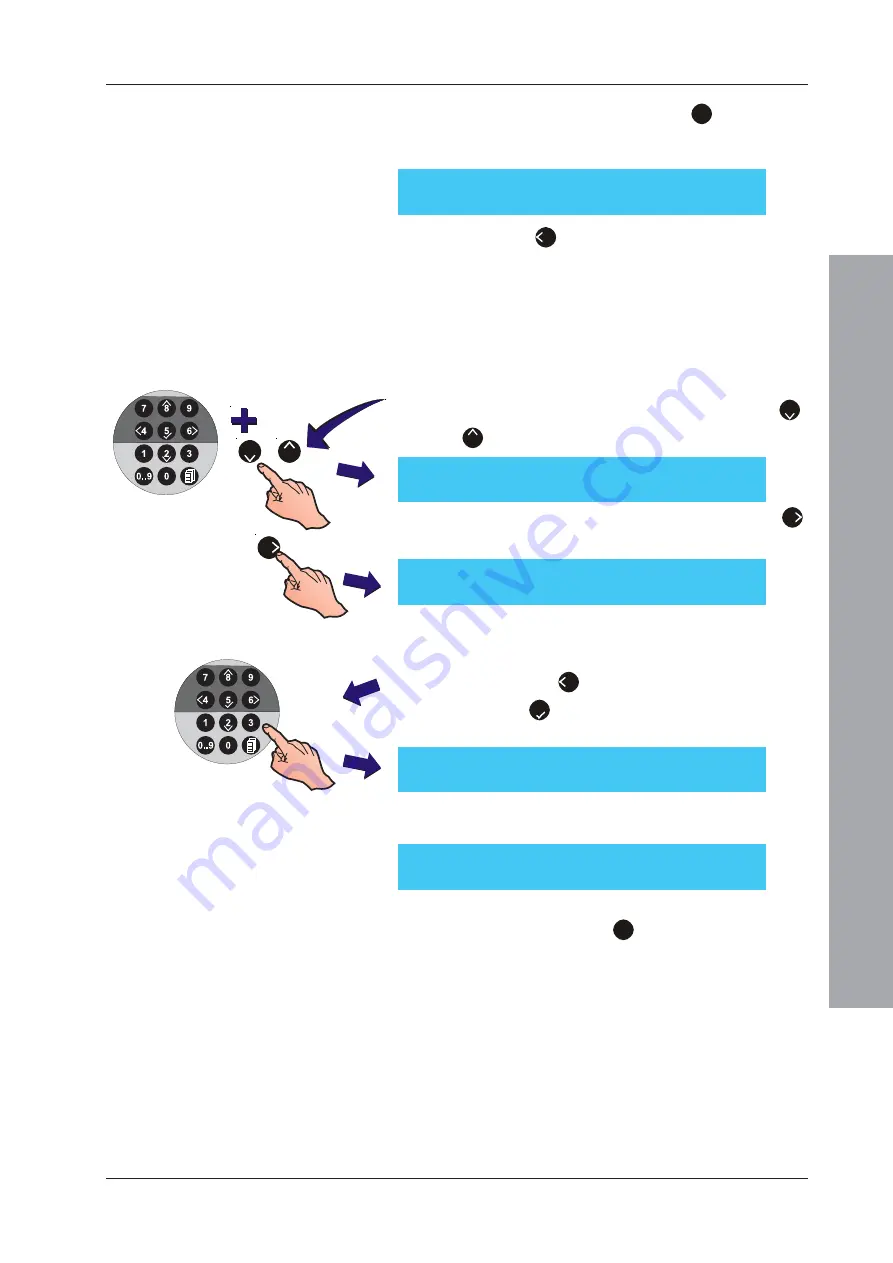
The Site Details Setup option enables a next service date
to be configured. This option is disabled by default.
1
Using the numeric keypad enter the Access Level 3
passcode. From the Site Details menu press the ‘
2
/
8
’ buttons to the Service Due option appears.
SYSTEM SERVICE DUE day nn/nn/nnnn
< : Exit
[Setup]
Service Due
=
DISABLED
> : Change
1: Disable
¦
: More
< : Exit
[Setup]
Service Due
=
DISABLED
Enter Date : - -/- -/- -
< : Cancel
2
To configure the service due date press the ‘
6
’
button. The displays now prompts for the date entry:
3
Using the numeric keypad enter the date of the next
service. Entry requires two digits to be entered each
time to move the flashing cursor to the next entry
field. Use the ‘
4
’ button to backspace at any time.
Press the ‘
5
’ button to confirm. The year is displayed
using 4 digits.
Invalid Value Entered !
4
If an invalid date is entered the following warning is
displayed:
[Setup]
Service Due
=
02/06/2010
> : Change
1: Disable
¦
: More
< : Exit
5
To clear a configured service date use the numeric
keypad and press the ‘
1
’ pushbutton
6
/
8
2


