GE H
EALTHCARE
D
IRECTION
FQ091013, R
EVISION
1
V
IVID
I
N
AND
V
IVID
Q
N S
ERVICE
M
ANUAL
Chapter 3 - System Setup
3-57
3-7-3-3
Battery Recalibration
NOTE:
For more details on recalibration and an explanation of why it is necessary, refer to
Recalibration
on
page 5 - 82.
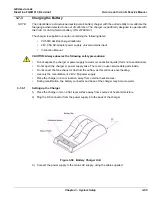
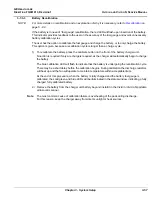
If the battery is in need of “fuel gauge” recalibration, the red LED will flash upon insertion of the battery.
This indicator provides feedback to the user on the accuracy of the fuel gauge and avoids unnecessary
battery calibration cycles.
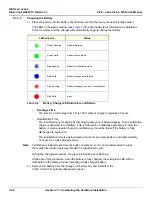
The user has the option to calibrate the fuel gauge and charge the battery, or to only charge the battery.
This option is given because a recalibration cycle is longer than a charge cycle.
1) To recalibrate the battery, press the calibrate button on the front of the battery charger unit.
No action is required if only a recharge is required, as the charger will automatically begin to charge
the battery.
The blue calibration LED will flash to indicate that the battery is undergoing the recalibration cycle.
There may be a short delay before the calibration begins. During calibration the discharge resistors
will heat up and the fan will operate to maintain temperature within acceptable limits.
At the end of this procedure, when the battery is fully charged and the battery fuel gauge is
calibrated, the solid green and blue LEDs will be illuminated in the status window, indicating a fully
charged, fully calibrated battery.
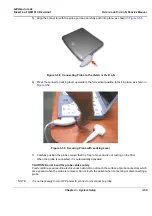
2.) Remove the battery from the charger unit battery bay and install it in the Vivid
i
n/Vivid q N portable
ultrasound scanner.
Note:
The most common cause of calibration failure is overheating of the pack during discharge.
For this reason, keep the charger away from direct sunlight or heat sources.
Summary of Contents for Vivid in
Page 2: ......
Page 30: ...GE HEALTHCARE DIRECTION FQ091013 REVISION 1 VIVID I N AND VIVID Q N SERVICE MANUAL xxviii...
Page 739: ......

